How to Make Beautiful Soft Christmas Tree Ornaments?
A tutorial for soft Christmas tree ornaments made from fabric: trace templates onto fabric, cut mirror-image pieces, insert a hanging loop, sew, turn right side out, stuff, and sew the opening closed.
Beginner1 hr 30 minFree
Translated
Things you will learn
You don't have to hang only classic baubles and snowflakes on your tree — you can make original soft ornaments from shaped scraps of sturdy holiday-print cotton instead.
A piece of fabric 10 by 110 cm is enough for 8 ornaments; you don't have to draw the templates yourself — just trace ready-made patterns by holding a sheet of paper up to your monitor.
Cut the templates out of paper and trace them onto the fabric, keeping in mind that the two halves of each piece need to be mirror images of each other; cut with seam allowances and pin the pieces together with the wrong sides facing out.
For the hanging loop, use ribbon or cord, about 25-30 cm per ornament; insert the future loop into the piece before you start sewing, positioned so that after stitching and turning it ends up on the outside.
After stitching, make small clips at the curves so the ornament takes the right shape when turned right side out; turn it, smooth out the corners and folds (an orange stick makes this easier), and press the pieces with an iron; then stuff with soft filling and neatly sew the open edges closed.
What you'll get
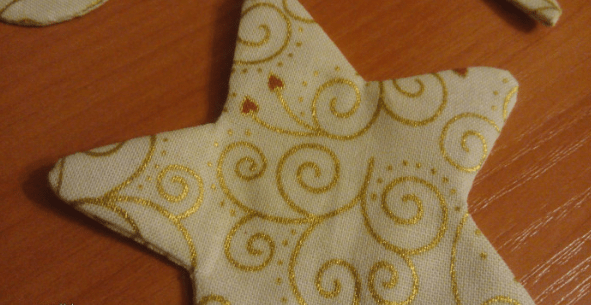
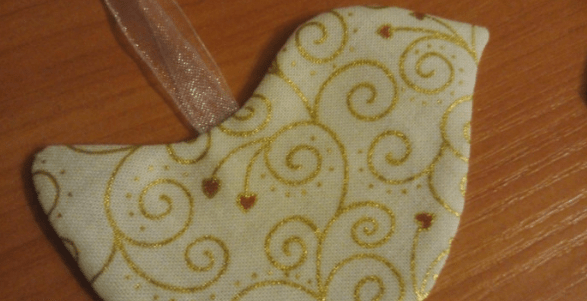
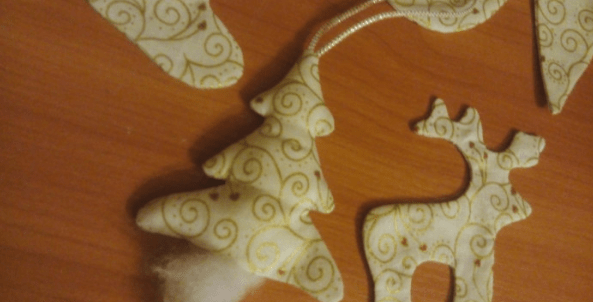
You'll get a set of soft fabric Christmas tree ornaments in different shapes — for example, deer, hearts, and stars — each with a hanging loop.
Materials and tools
Materials
Sturdy holiday-print cotton, a piece about 10 by 110 cm is enough for 8 ornaments
Ribbon or cord, about 25-30 cm per ornament, for the hanging loop
Soft filling, for stuffing the ornaments
Paper for the templates
Tools
Scissors
Pins
Sewing machine, or a needle for hand-sewing
An orange stick, for smoothing corners and stuffing
Iron, for pressing the pieces
Preparation
Choose your fabric
Fabric shops now carry a huge range of colors and prints — sturdy holiday-print cotton works well. A small piece (10 by 110 cm) is enough for 8 ornaments.
Prepare the templates
You don't have to draw the ornament templates yourself — just hold a sheet of paper up to your monitor and trace the patterns. Cut the templates out of paper.
Choose the fabric for the ornaments
The author recently found an interesting holiday-print cotton.
Choose your fabric
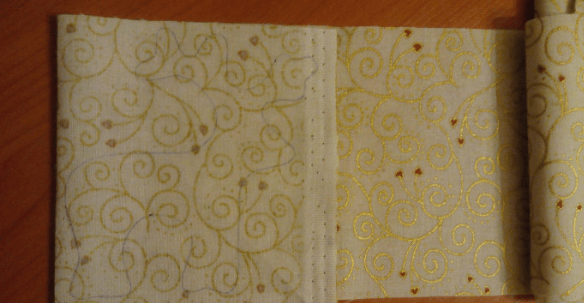
I recently came across a really interesting "holiday" cotton (made in Denmark). Good quality, and the range of prints is dazzling — nice and sturdy too. You don't need much fabric for tree ornaments — a small piece (10 by 110 cm) was enough for 8 ornaments.
Fabrics for the ornaments
Transfer the template onto the fabric
Trace the paper templates onto the fabric.
Trace the template onto the fabric
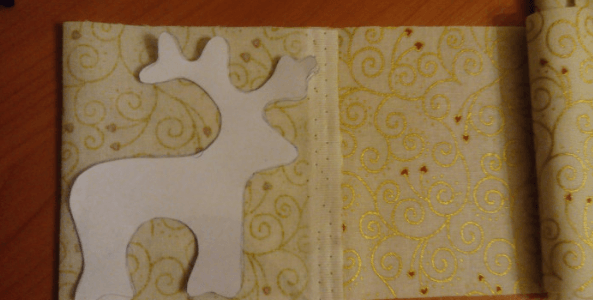
Cut the templates out of paper and trace them onto the fabric.
The paper template on fabricThe fabric rectangle for cutting
Cut the mirror-image pieces
Keep in mind that the two halves of each piece need to be mirror images.
Cut and pin the pieces wrong side out
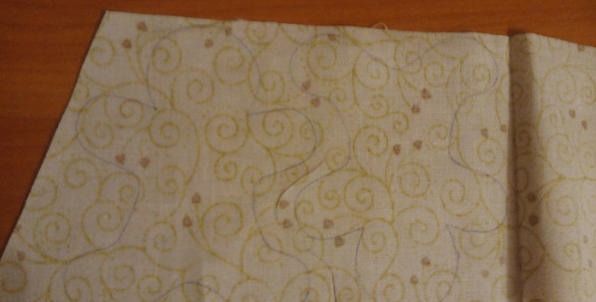
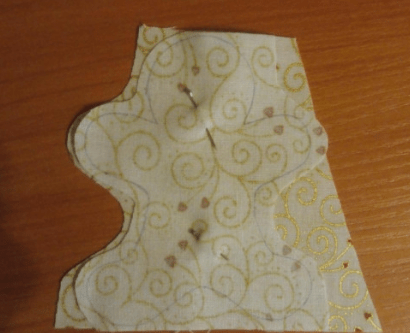
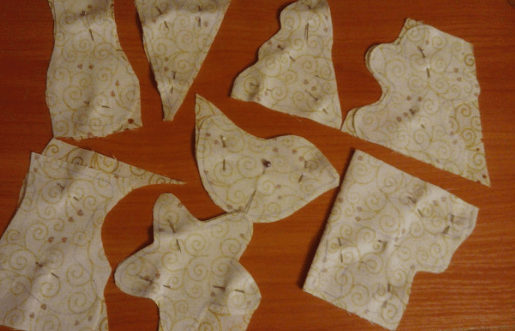
When cutting the pieces, keep in mind that the two halves need to be mirror images of each other. Cut with seam allowances, and pin the pieces together with the wrong sides facing out.
Folded fabric with markingsThe shape outline on fabricThe cut-out pieces
Insert the hanging loop
Insert the ribbon or cord for hanging the ornament ahead of time.
Insert the ribbon or cord into the piece
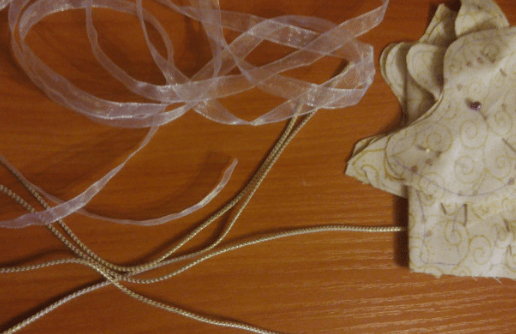
You can use either ribbon or cord for hanging the ornament. You'll need about 25-30 cm of ribbon or cord per ornament. Insert the future loop into the piece before you start sewing, positioned so that after stitching and turning it ends up on the outside.
Ribbons and the ornament pieceCut-out ornaments with ribbons
Stitch, clip, and turn the ornament
Turn the pieces right side out and shape them after stitching.
Clip the curves and turn the ornament
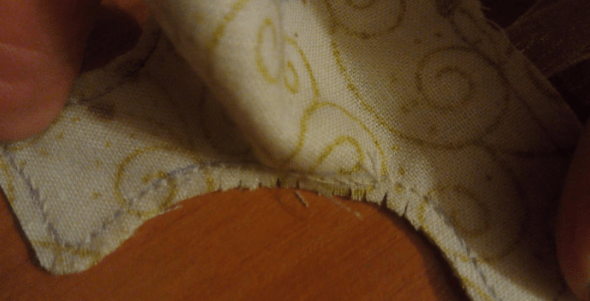
After stitching, make small clips at the curves so the ornament takes the right shape when turned right side out. Turn the ornament, and smooth out all the corners and folds. An orange stick makes this easier. Press the pieces with an iron for a neat finish.
Stitching the ornament's edgeA fabric star shapeA heart-shaped fabric ornament
Stuff the ornament and sew the opening closed
Fill the ornament with stuffing and close the opening.
Stuff the ornament with filling
Stuff the ornaments with soft filling. An orange stick makes this easier too.
Shaped fabric ornament piecesStuffing the ornament through the openingThe ribbons inside the ornament
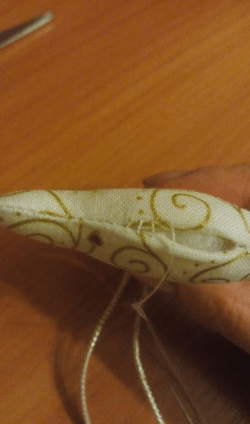
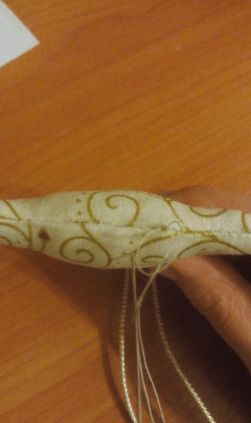
Sew the open edges closed
Neatly sew the open edges closed.
Sewing the opening closed
Admire the result
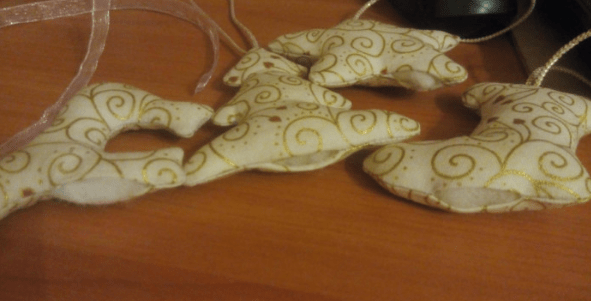
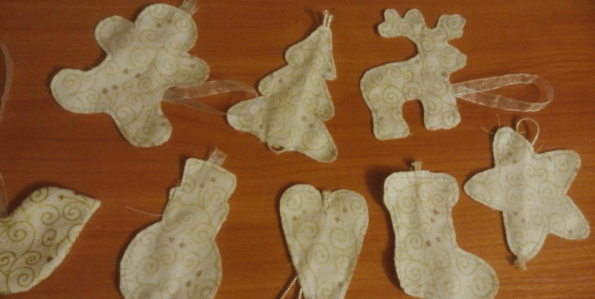
The finished ornaments in different shapes.
Admire the finished ornaments
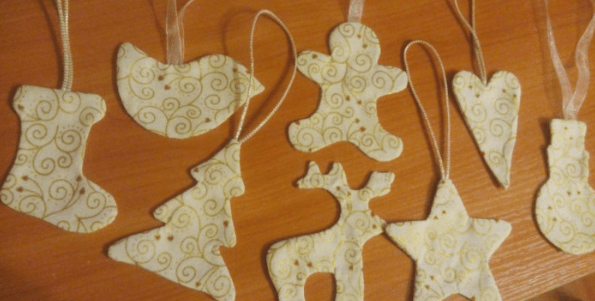
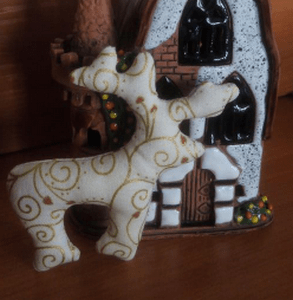
And here are the Christmas tree ornaments we ended up with!
A deer-shaped ornamentA heart-shaped ornamentA star-shaped ornamentA set of fabric ornaments
Finish and variations
Finish
Your soft Christmas ornaments are ready
And here are the Christmas tree ornaments we ended up with! An original alternative to classic baubles and snowflakes.
Variations
Use any template shapes you like
You don't have to draw the ornament templates yourself — trace any ready-made patterns by holding a sheet of paper up to your screen, and get ornaments in any shape: deer, hearts, stars, and more.
Choose ribbon or cord for the loop
You can use either ribbon or cord for hanging the ornament — pick whichever fits your tree's style better.

 Beginner1 hr 30 minFree