How to Make a Beautiful Removable Champagne Bottle Cover
How to Make a Beautiful Removable Champagne Bottle Cover
BeginnerFree
Translated
How to Make a Beautiful Removable Champagne Bottle Cover
What makes this cover especially great? It’s reusable! And with so many holidays to celebrate, such a beautiful piece will never sit around unused. What you'll need: ready-made bias tape in yellow and olive green, decorative...
How to Make a Beautiful Removable Champagne Bottle Cover
What makes this cover especially
What makes this cover especially great? It’s reusable! And with so many holidays to celebrate, such a beautiful piece will never sit around unused.
What you'll need: ready-made bias tape in yellow and olive green, decorative
What you'll need:
ready-made bias tape in yellow and olive green, decorative gold rhinestone trim;
flowers and leaves made using the kanzashi technique;
three decorative ladybugs.
How to make it
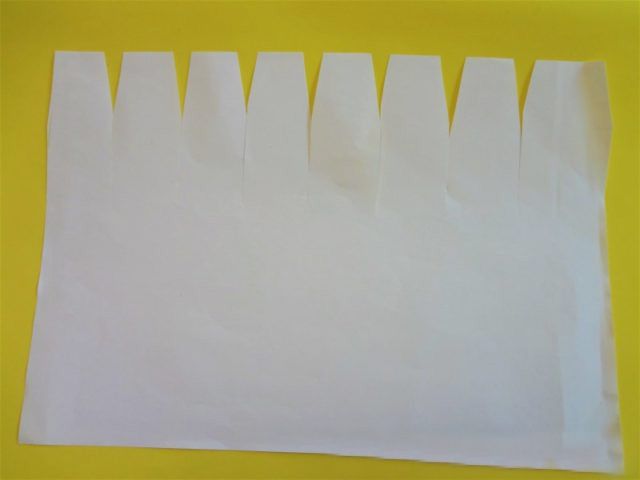
For the base, take a rectangular sheet of paper 20 cm by 30 cm. Divide the sheet lengthwise into eight equal sections and cut out triangular darts along the top, as shown in the photo.
Wrap the paper around the bottle, securing the edges with glue or
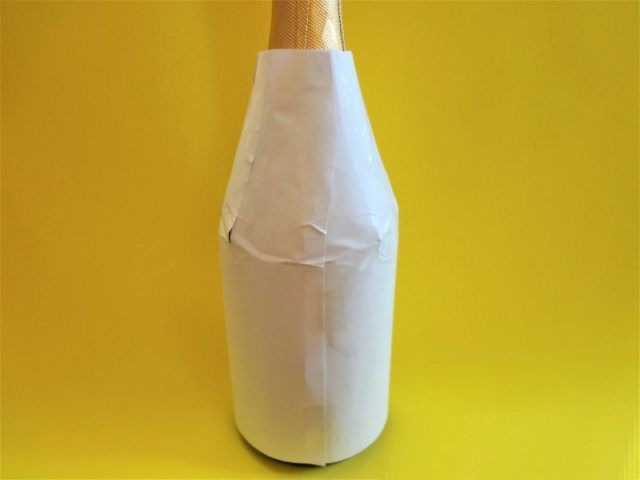
Wrap the paper around the bottle, securing the edges with glue or tape. As you wrap it, keep in mind that the cover must be removable! Glue the top sections together, shaping the cover to the contour of the bottle. Let the base dry thoroughly.
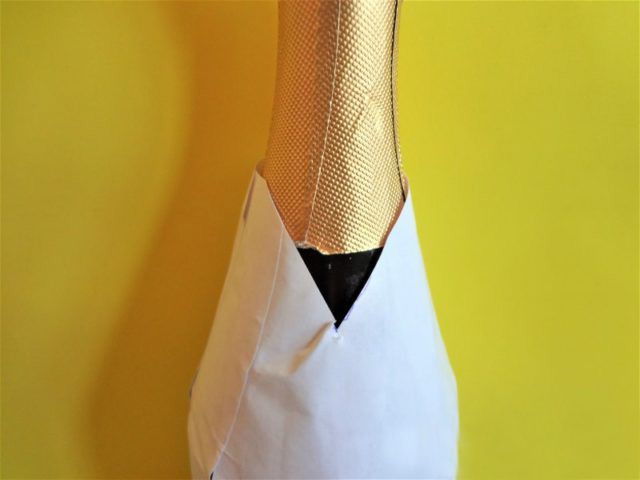
Cut a triangular neckline on one
Cut a triangular neckline on one side.
Now start gluing the bias
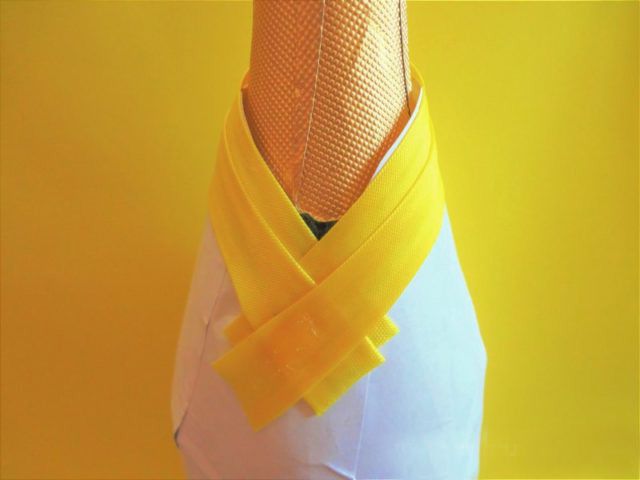
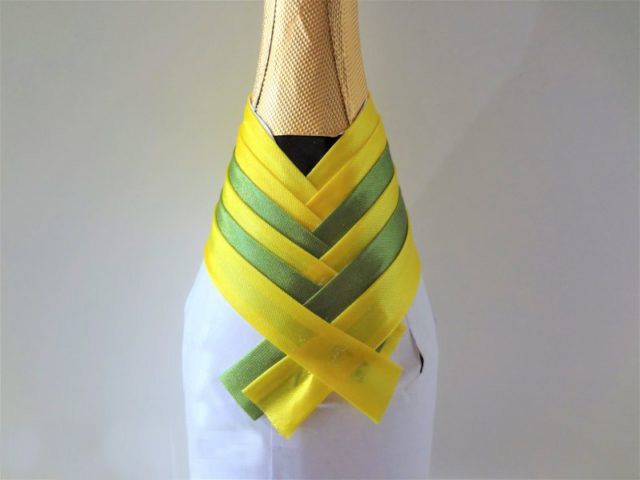
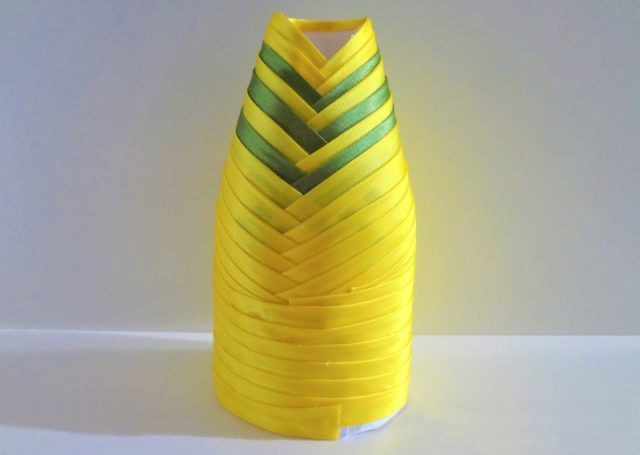
Now start gluing the bias tape. You don't need to cut the strips ahead of time. Just position the tape and trim it to size. Glue only the ends. Position each subsequent strip 6–7 mm lower. Glue on two yellow strips.
Then
Then an olive green one. Alternate colors after that as you like.
I have three olive green strips, and the rest are
I have three olive green strips, and the rest are yellow.
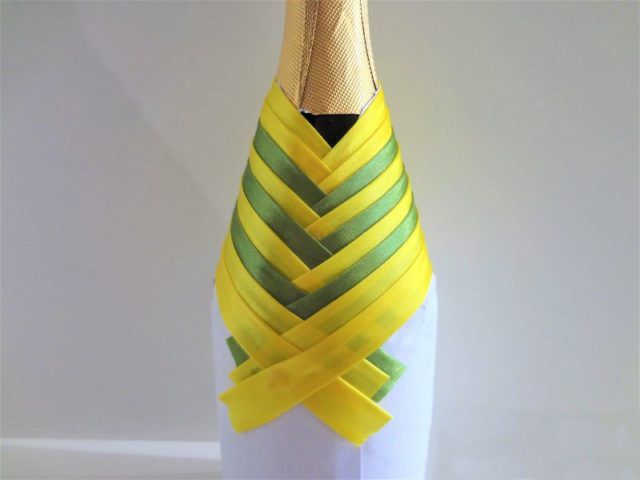
Here is the view from the back
Here is the view from the back.
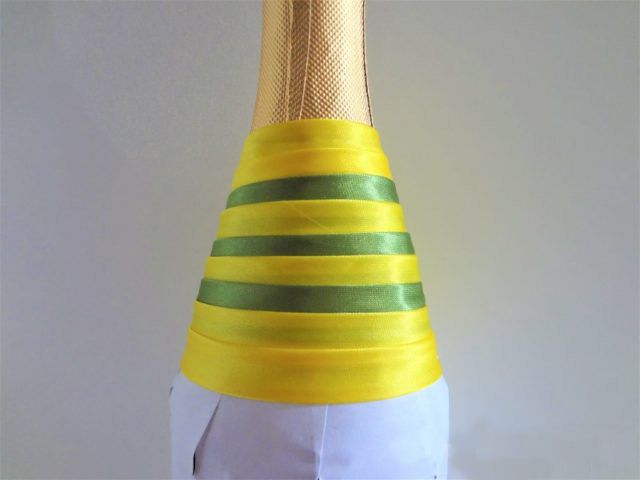
Cover more than half of the bottle with strips, making sure to reach the cylindrical
Cover more than half of the bottle with strips, making sure to reach its cylindrical part.
Then start wrapping around the bottle in the round without cutting
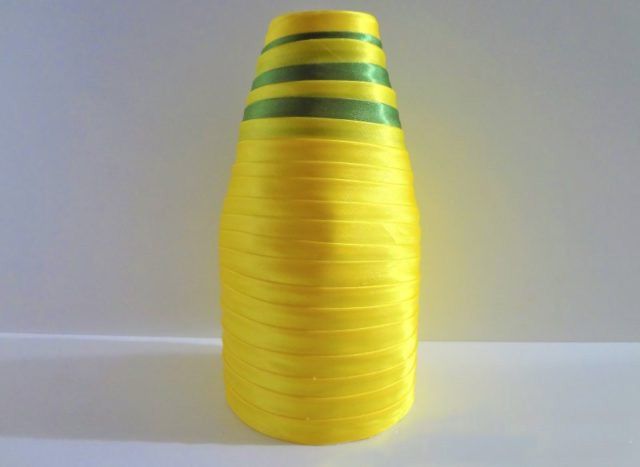
Then start wrapping the bottle in the round without cutting the tape. Leave about 3 cm of paper at the bottom, then trim it off.
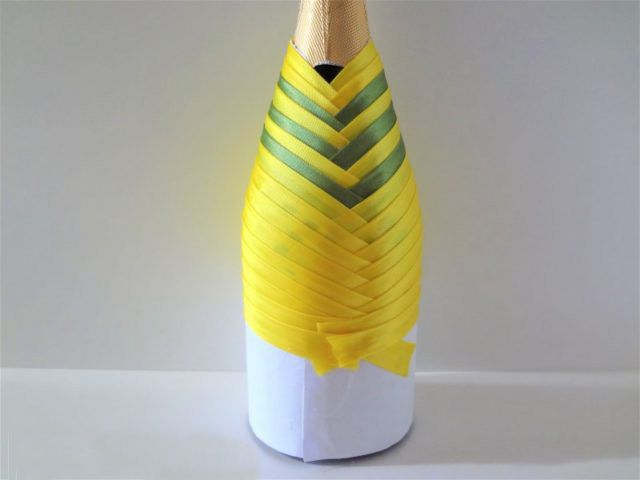
This is how it looks from the back
This is how it looks from the back.
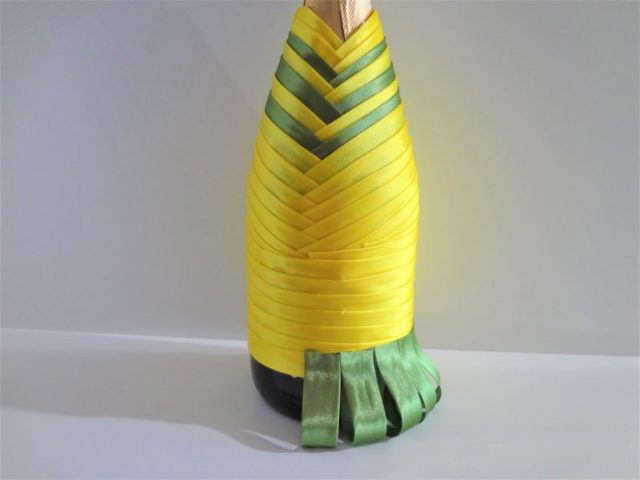
Cut 18 pieces measuring 8–9 cm from the olive green bias tape
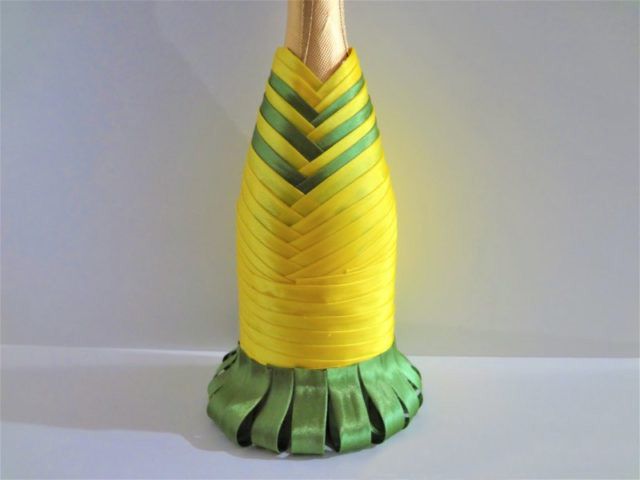
Cut 18 pieces measuring 8–9 cm from the olive green bias tape. Make a skirt out of them by folding each piece in half and gluing them along the bottom of the cover.
The overall design is already starting to take
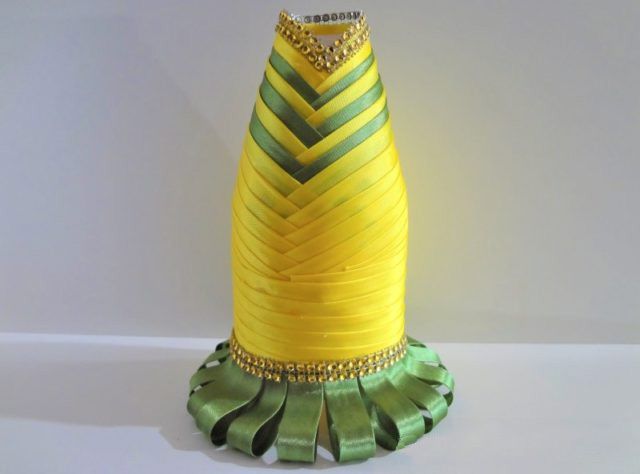
The overall design is already starting to take shape.
Glue rhinestone trim along the top and along the cut edge of the skirt
Glue rhinestone trim along the top and along the raw edges of the skirt. It will conceal the cut ends perfectly.
Remove the cover from the
Remove the cover from the bottle.
Make 9 little flowers and plenty of sprigs as described.
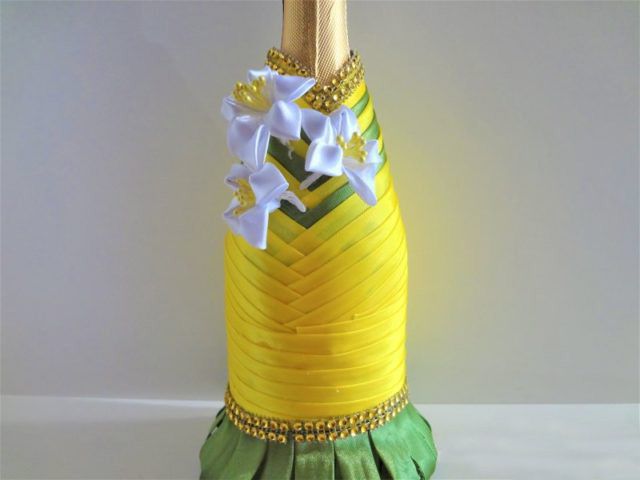
First, glue on three flowers, placing them slightly at an angle—that is, on their side.
Fill the gaps with sprigs, hiding the tails of the
Fill the gaps with sprigs, hiding the stamen tails beneath them. Then glue on three more flowers.
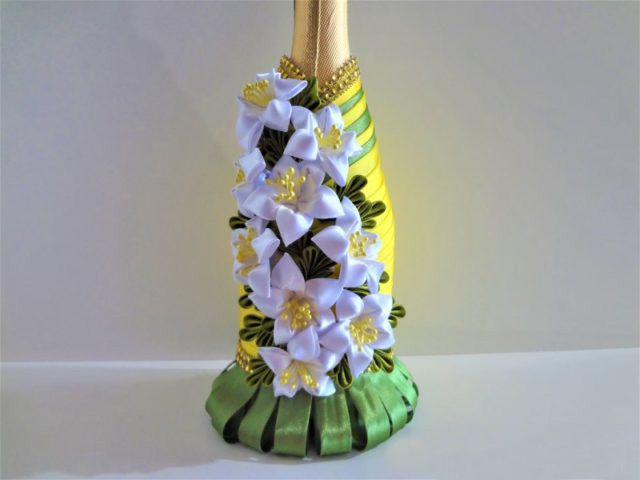
Next, glue on the last three flowers. Attach these straight on, after trimming the threads on the stamens. Fill any gaps with sprigs.
All that's left is to glue on the ladybugs, and the cover
All that's left is to glue on the ladybugs, and the cover is finished!

 BeginnerFree