Continuing the theme of floral arrangements, I'd like to share how to embroider a dimensional peony. The technique is beginner-friendly and requires no special skills; even a patient schoolgirl can manage it. I love that these flowers are small in size
BeginnerFree
Translated
How to Embroider a Dimensional Peony
Continuing the theme of floral arrangements, I'd like to share how to embroider a dimensional peony. The technique is beginner-friendly and requires no special skills; even a patient schoolgirl can manage it. I love that these flowers are small in size
Main Steps
Step 1
Continuing the theme of floral arrangements, I'd like to share how to embroider a dimensional peony. The technique is beginner-friendly and requires no special skills; even a patient schoolgirl can manage it. I love that these flowers are small in size, so you can use them to embellish clothing and various accessories, from a belt to a handbag and a wallet. Another plus is that there are no special thread requirements: you don't have to order expensive ones; whatever you have at home will work. The main thing is to choose a matching color palette, but even that isn't very difficult since peonies can be both snow-white and deep red.
Step 2
How to embroider peonies, a step-by-step tutorial with photos.
Step 1
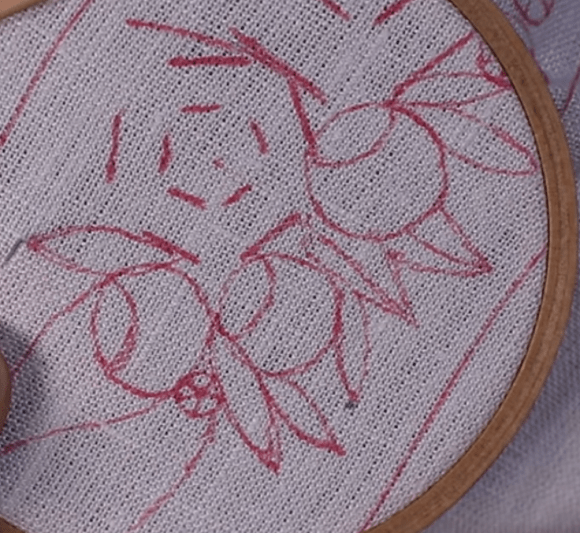
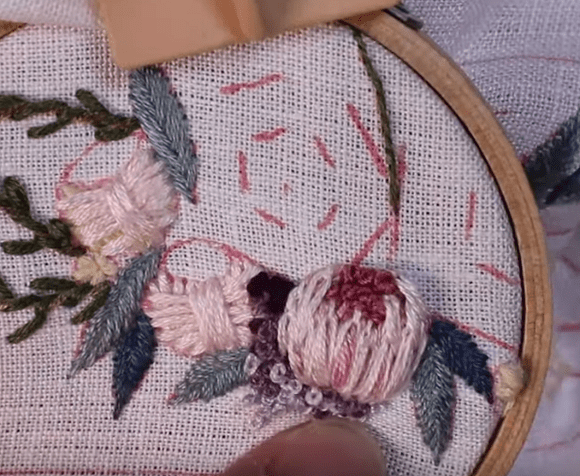
Draw the future bouquet on the fabric: outline the leaves, draw the buds in the shape of small barrels, and sketch the open flower in the shape of hexagons.
Step 3
Step 2
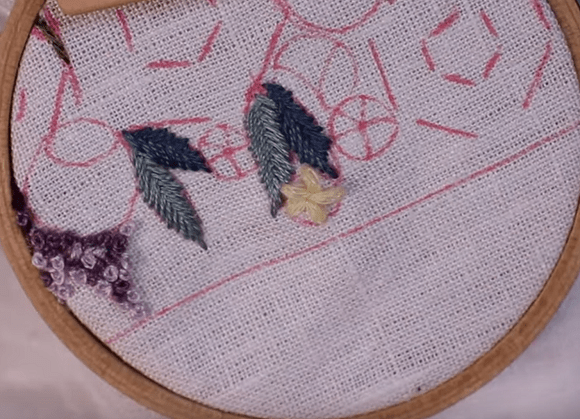
Embroider the leaves in satin stitch; peony leaves have no veins, so the work won't be difficult.
Step 4
Step 3
Begin embroidering the buds.
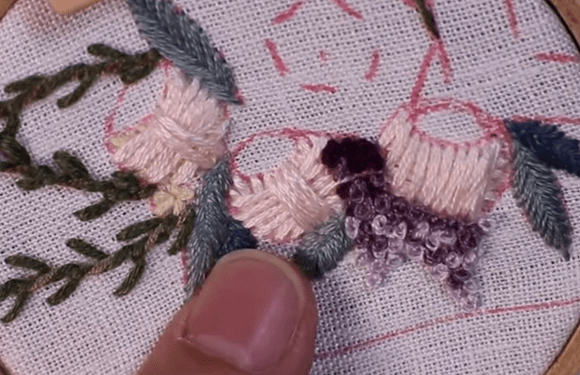
Select thread in the main color (pink in the sample) and lay down 3 rows of satin stitch: first along the bud, then across, and a third time down the center of the flower along the bud. This will create the necessary padding.
Step 5
Step 4
Fill the center with a darker thread color. We will make it using "French knots".
Step 6
Step 5
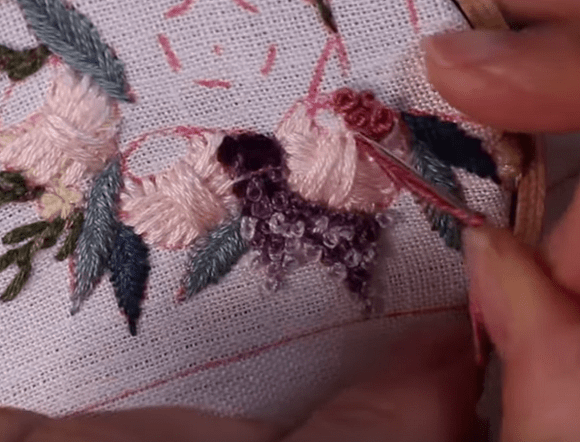
Finish embroidering the bud. Choose thread in the main color and a slightly lighter shade, then work chain stitches from the bottom up.
Step 7
How to embroider a blooming peony
Step 1
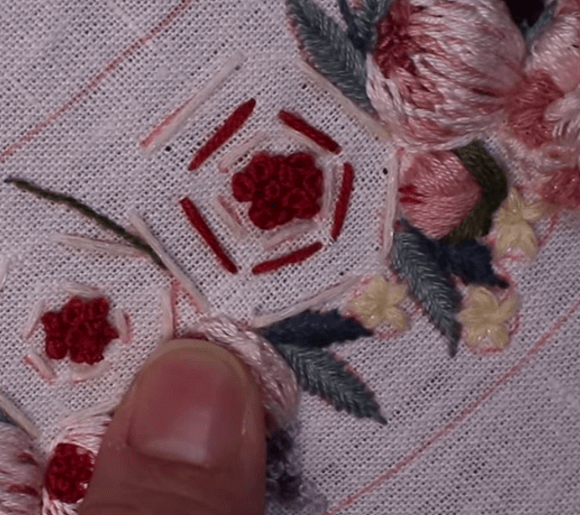
Using darker thread, work stitches along the marked lines. Fill the center with knots.
Step 8
Step 2
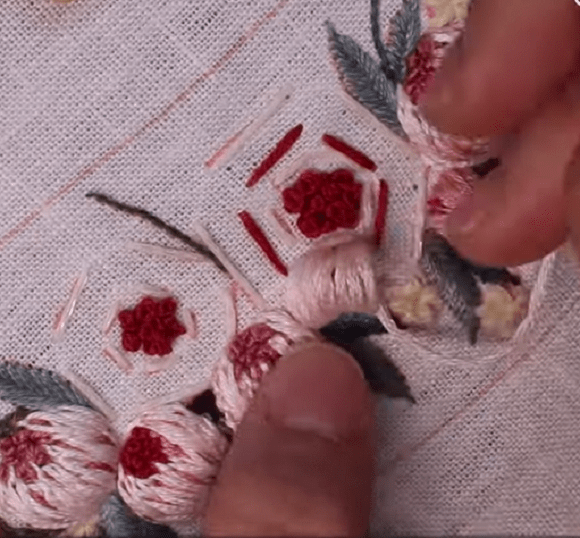
Wrap the pink thread around the space between the stitches located in the center and along the perimeter. Do not pull the thread tight—it should lie loosely!
Step 9
Step 3
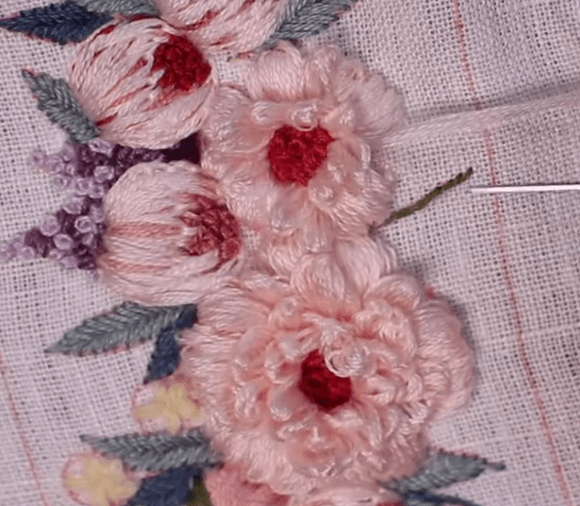
When all the large petals are embroidered, fill the remaining space with buttonhole stitch. The size of the loops should vary slightly so that the flower has a lively, natural look.
In your arrangement, you can combine plants embroidered using different techniques, which will make the bouquet even more vibrant and interesting.

 BeginnerFree