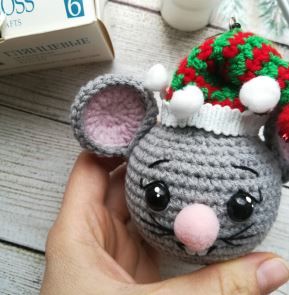
To crochet the ornament, you will need: main yarn—YarnArt Jeans, 55% cotton, 45% acrylic, 50 g per 160 m; a 6 cm foam ball; crochet hook No2; 8 mm half beads; decorative pom-poms for the nose or yarn to crochet it;...
BeginnerFree
Translated
How to Crochet a Mouse Ball Christmas Ornament
To crochet the ornament, you will need: main yarn—YarnArt Jeans, 55% cotton, 45% acrylic, 50 g per 160 m; a 6 cm foam ball; crochet hook No2; 8 mm half beads; decorative pom-poms for the nose or yarn to crochet it;...
Main Steps
Step 1
Step 2
To crochet the ornament, you will need: • main yarn—YarnArt Jeans, 55% cotton, 45% acrylic, 50 g per 160 m; • a 6 cm foam ball; • crochet hook No2; • 8 mm half beads; • decorative pom-poms for the nose or yarn to crochet it; • Moment Crystal glue; • white and black embroidery thread; • a piece of white felt for the teeth; • yarn for the hat; • white acrylic paint for eye highlights; • a hanging cord with a jump ring; • any decorative materials; • thread and sewing tools.
Important note To make a true circle rather than a hexagon, work one offset stitch at the beginning of rows with increases and decreases; this stitch is not included in the counts.
Instructions
Step 3
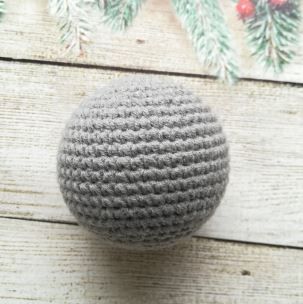
Row 1: 6 single crochets in a magic ring (= 6); Row 2: increase x6 (= 12); Row 3: (1 single crochet, 1 increase) x 6 (= 18); Row 4: (2 single crochets, 1 increase) x 6 (= 24); Row 5: (3 single crochets, 1 increase) x 6 (= 30); Row 6: (4 single crochets, 1 increase) x 6 (= 36); Row 7: (5 single crochets, 1 increase) x 6 (= 42); Rows 8 through 14: 42 single crochets (=42); put the piece over the foam ball; Row 15: (5 single crochets, 1 decrease) x 6 (= 36); Row 16: (4 single crochets, 1 decrease) x 6 (= 30); Row 17: (3 single crochets, 1 decrease) x 6 (= 24); Row 18: (2 single crochets, 1 decrease) x 6 (= 18); Row 19: (1 single crochet, 1 decrease) x 6 (= 12); Row 20: decrease x 6 (= 6). Pull the remaining stitches closed. **Ears
Step 4
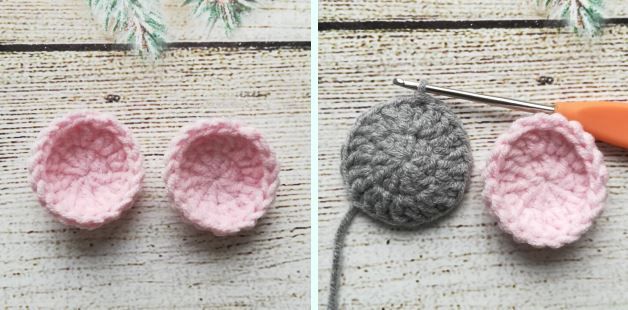
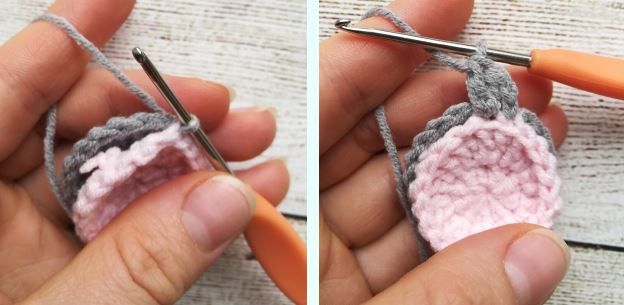
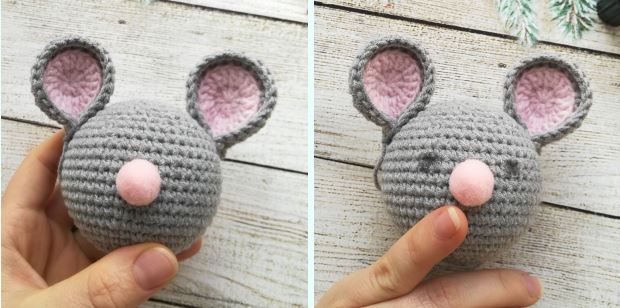
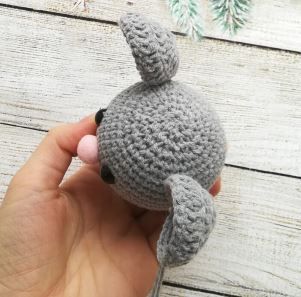
Work in the round, beginning each row with 2 turning chains and ending with a slip stitch. Count the turning chains as the first stitch of the row. Crochet the inner ear pieces (2 pieces) in pink yarn: Row 1: 10 double crochets in a magic ring (= 10); Row 2: (increase, double crochet) x 10 (= 20). Cut and fasten off the yarn. Crochet the outer ear pieces (2 pieces) the same way—work the first two rows. Place an inner and outer piece together, catch a stitch, and pull it through the back loop of the pink piece (see photo).
Step 5
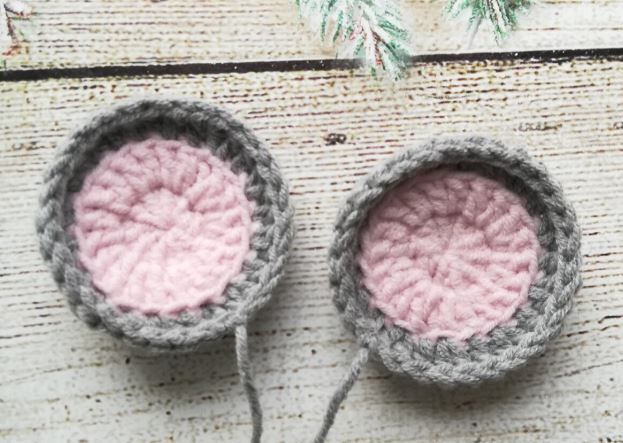
Continue crocheting through the stitches of both pieces, working through the back loops of the pink piece and through both loops of the gray piece. Cut the yarn, leaving a tail for sewing.
Step 6
**Nose
Step 7
For the nose, use Alize Bella yarn, 100% cotton, 50 g per 180 m, and crochet hook No2. Work in a spiral with no turning chains: Row 1: 6 single crochets in a magic ring (= 6); Row 2: increase x 6 (= 12); Rows 3 and 4: 12 single crochets (= 12); add a little stuffing; Row 5: decrease x 6 (=6). Cut the yarn, leaving a long tail for sewing. **Face details, part one
Step 8
Step 9
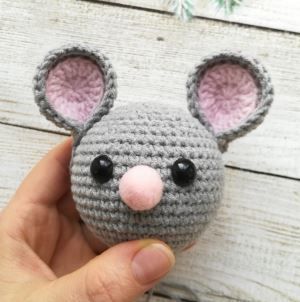
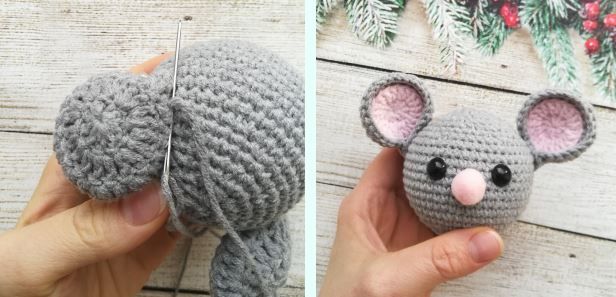
Choose the ear placement, pinning the ears in place. Do not sew them on yet. Sew on the nose. Glue on the half-bead eyes. Set the ornament aside so the glue can dry completely. **Hat
Step 10
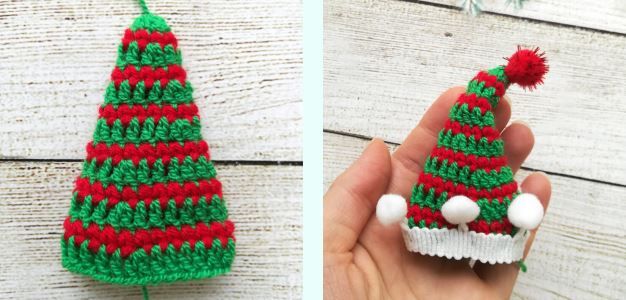
Any two-color yarn in green and red will work for this piece. Start with green yarn and use it for all odd rows. Work all even rows in red yarn. Work in the round, starting each row with turning chains (2 chains in double-crochet rows, 1 chain in the single-crochet row) and ending each row with 1 slip stitch. Count the turning chains as the first stitch of the row. Row 1: 9 double crochets in a magic ring (= 9); Row 2: 9 single crochets (= 9); Row 3: (2 double crochets, increase) x 3 (= 12); Row 4: 12 single crochets (= 12); Row 5: (3 double crochets, increase) x 3 (= 15); Row 6: 15 single crochets (= 15); Row 7: (4 double crochets, increase) x 3 (= 18); Row 8: 18 single crochets (= 18); Row 9: (5 double crochets, increase) x 3 (= 21); Row 10: 21 single crochets (= 21); Row 11: (6 double crochets, increase) x 3 (= 24); Row 12: 24 single crochets (= 24); Row 13: (7 double crochets, increase) x 3 (= 27). **Face details, part two
Step 11
Step 12
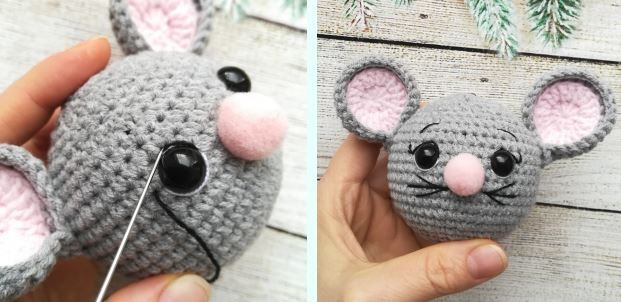
Embroider the eyelids, eyelashes, and whites of the eyes.
Step 13
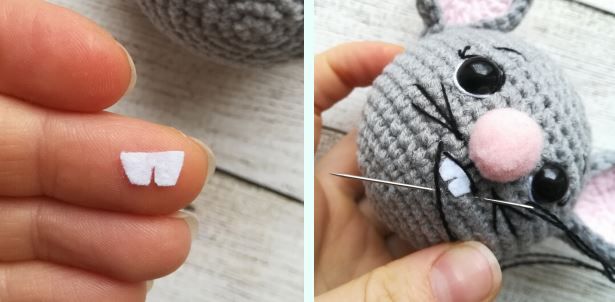
Embroider the whiskers and eyebrows. Cut teeth from felt and glue them below the nose.
Step 14
Embroider the mouth and smile. Check that the ears are oriented correctly, then sew them on. Sew the hat to the head.
Step 15
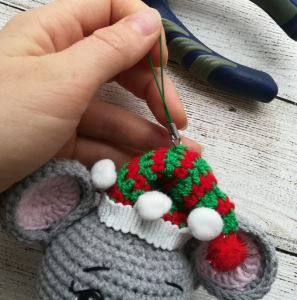
Use white acrylic paint to add a couple of highlights to the half beads for a more expressive look. Open the cord's jump ring and insert it under the hat stitches.
Check that the ball hangs straight; reposition the ring if necessary. Once you find the balance point, close the ring. The ornament is ready to hang on the tree!

 BeginnerFree