Learn how to sew an ironing board cover: choose ticking, heavy cotton, or calico, measure the cover for your board, add 5-6 cm seam allowances, cut the padding without allowances, and secure the cover with elastic, ties, or an upholstery stapler.
BeginnerFree
Translated
Things you will learn
Ticking, heavy cotton, and calico are suitable for the cover; the source does not recommend blends or synthetics because they sit against a hot iron.
For a standard board 120 cm or longer, the source uses fabric 140-150 cm wide and a 50 cm cut.
Trace the outline directly from the folded board turned upside down, then add 5-6 cm all around for allowances.
Cut the padding without allowances: use the old pad as a guide if you have one, or make a paper pattern first.
There are three attachment options: elastic, ties, or an upholstery stapler. Only the first two are easy to remove for washing.
What you will make
You will make a new ironing board cover. It can be removable with elastic or ties, or fixed with an upholstery stapler for the smoothest tension.
Materials and tools
Materials
Top fabric, 50 cm, For a standard board 120 cm or longer, the source uses fabric 140-150 cm wide and a 50 cm cut; suitable choices are ticking, heavy cotton, or calico.
Padding, You can keep the old padding if it is in good condition. For new padding, use light-colored batting or cotton padding.
Flat underwear elastic, 150 cm, For the elastic-cover version.
Firm tape or binding, 150 cm, For the tie-on version; you need 4-6 ties.
Staples for an upholstery stapler, Needed only for the fixed stapled version.
Tools
Sewing machine, For straight stitching around the folded edge and securing the ties.
Serger or zigzag stitch, For finishing the raw edge of the cover.
Scissors, For cutting the fabric and padding.
Tailor’s chalk, pencil, or marker, For tracing the upside-down board onto the fabric.
Pins or basting, For holding the folded edge before stitching.
Safety pin or elastic threader, For threading the elastic through the casing.
Upholstery stapler, Only for the non-removable attachment method.
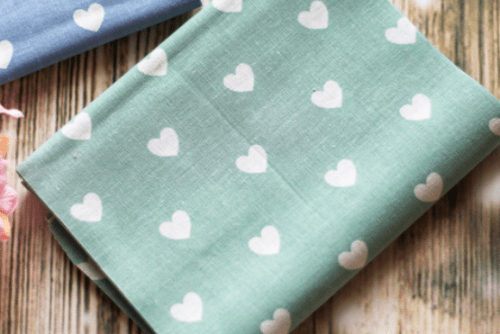
If the fabric has a small print, make sure it does not bleed or leave marks on clothing while ironing. The source does not recommend synthetic or blended fabrics.
Inspect the old padding
If the old padding still looks good, you can keep it. If it is worn, first use it to make a pattern, then replace it with light-colored batting or cotton padding.
Materials and fabric amount
Before cutting, choose the fabric, padding, and attachment method.
Choose a dense natural fabric
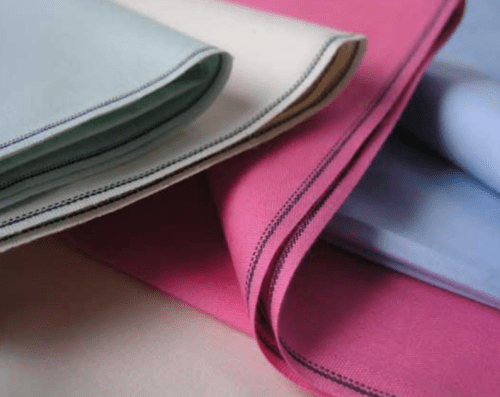
Ticking, heavy cotton, and calico work best for this cover. A plain light fabric is safest, but a small print is also possible if it does not bleed.
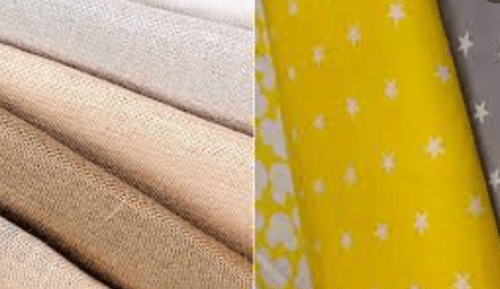
Ticking is one of the recommended fabric options.Heavy cotton is suitable for the cover.Calico is also listed as a suitable fabric.
Do not use synthetics
The source does not recommend blended or synthetic fabrics because they do not handle prolonged contact with a hot iron well.
Measure the board and calculate the fabric
First measure the ironing board. For a standard length of 120 cm or more, you will need fabric 140-150 cm wide; the source uses a 50 cm cut. For a small 80 cm board, calico or cotton 1 m wide will work.
Choose the attachment method
A removable cover can be made with elastic or with 4-6 ties. If the cover does not need to be removed for washing, it can be attached with an upholstery stapler.
Cut the cover and padding
The easiest way is to trace the shape directly from the board.
Trace the upside-down board
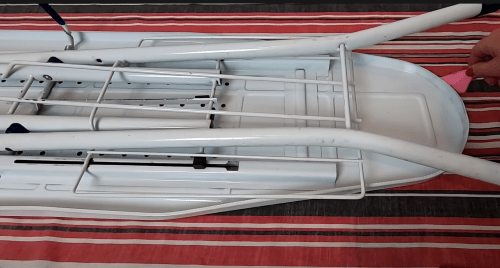
Lay the fabric wrong side up. Place the folded ironing board upside down on top and trace around it with chalk, a pencil, or a fabric marker.
Trace the outline directly from the folded board turned upside down.
Add 5-6 cm around the edge
Add 5-6 cm on all sides for allowances. Then cut out the cover piece.
Cut the padding without allowances
Cut the padding without allowances from a ready guide: trace the old pad onto batting, or make a paper pattern first.
Elastic ironing board cover
This version is convenient to use, but it needs a neat casing and final tightening on the board.
Finish the edge
Finish the cover edge with a serger or zigzag stitch.
Fold the edge and leave an opening
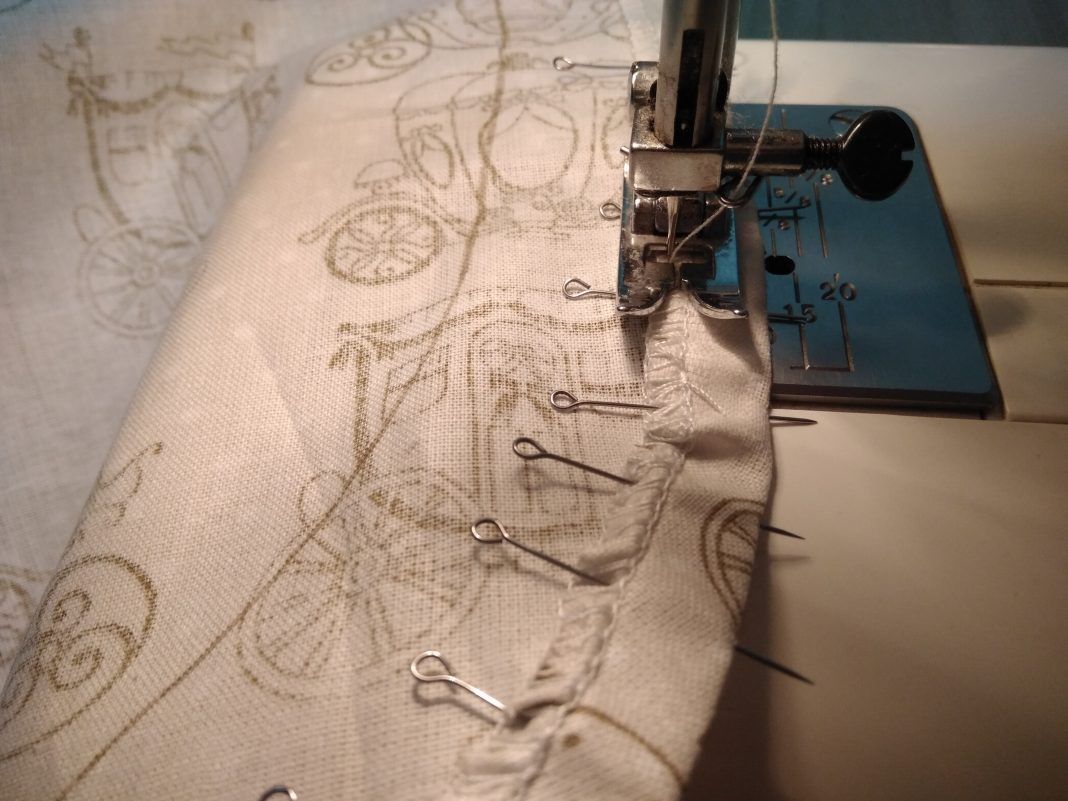
Fold the edge under, pin it or baste it, and leave an opening for threading the elastic.
Fold and pin the edge, leaving an opening for the elastic.
Sew a straight stitch
Sew a straight stitch along the basting or pins. If you sew over pinned fabric, remove the pins as you go so you do not damage or dull the needle.
Thread the elastic, but do not sew the ends yet
Thread the elastic through the casing with an elastic threader or a regular safety pin. Do not sew the elastic ends together yet: first you need to fit the cover on the board.
For experienced sewists
The source notes that experienced sewists can stitch the elastic directly around the edge; then fitting and tightening are not needed.
Fit the cover, tighten it, and secure the elastic
Lay the padding in place, put the finished cover on the board, and pull it tight. Only then sew the elastic ends together and trim the excess.
Cover with ties
The sewing is almost the same as the elastic version, but ties are added instead of an opening for elastic.
Prepare 4-6 ties
To secure the cover, prepare 4-6 ties from firm tape or binding.
Pin the ties under the folded edge
After finishing the raw edge, pin the future ties in the right places under the fold and stitch around the whole perimeter. Do not leave an elastic opening for this version.
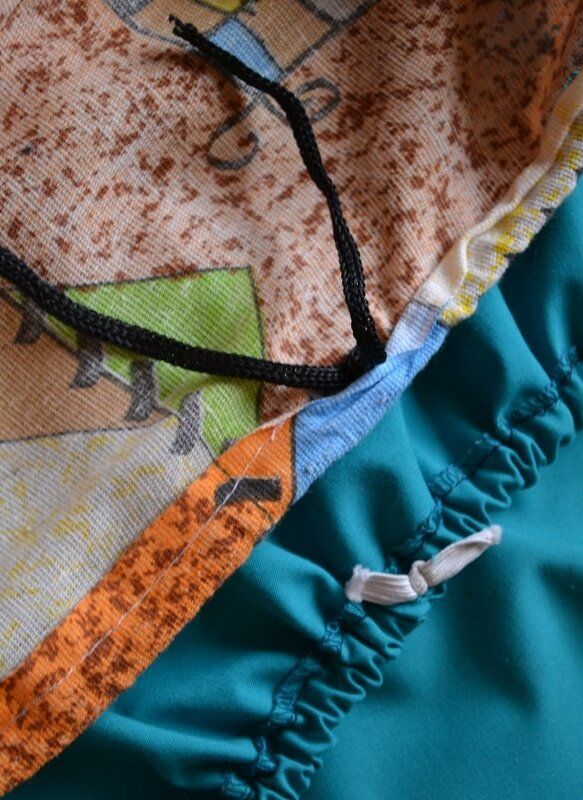
The ties secure the cover underneath the board.
Stretch the cover on and tie it underneath
After placing the padding, pull the top over the board and secure the ties underneath.
Attaching the cover with an upholstery stapler
This method gives even tension, but the cover can no longer be removed for washing.
Make a wider fold
For stapling, make a wider fold so the fabric holds securely on the underside of the board.
Place the staples in order
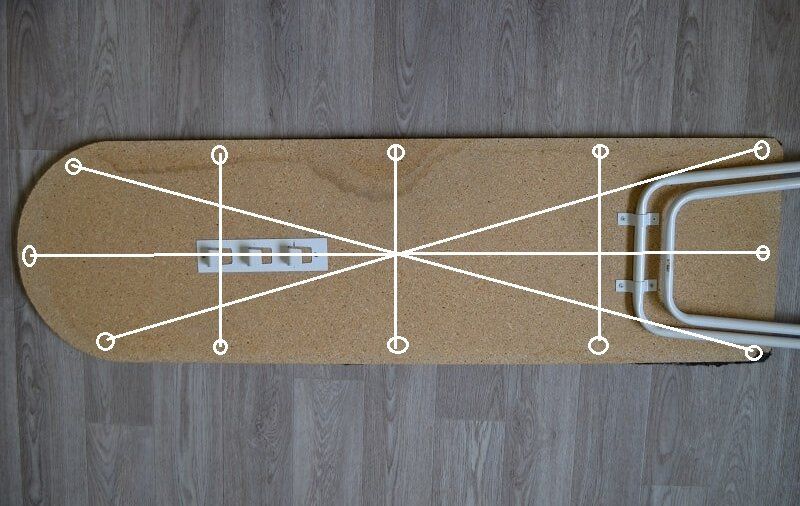
First place three staples at the back, then one staple at the front center, two beside the center staple, and three pairs along the board. Add folds on the inside if needed.
The staple order helps prevent the cover from skewing.
Check the tension
This fastening order helps prevent skewing and gives the cover even tension.
After installation, check that the working surface is evenly tensioned.
Finish and variations
Finish
Check the tension and padding
After installation, make sure the padding lies flat, the edge does not pull across the working surface, and the cover does not slip or form wrinkles around the edges.
Variations
Removable cover
Choose elastic or ties if you want to wash the cover regularly; both versions can be removed from the board.
Fixed cover
If perfectly even tension matters more than washing, attach the cover with an upholstery stapler.
The cover is not tight enough, or the attachment method is not suitable.
How to fix it
For a removable cover, tighten the elastic only after fitting it on the board. For smooth fixed tension, use the stapling order from the source.
The fabric cannot handle a hot iron
Problem
The cover may deform or leave marks.
Likely cause
A blended or synthetic fabric was chosen.
How to fix it
Use ticking, heavy cotton, or calico. The source specifically does not recommend blended or synthetic fabrics for long contact with a hot iron.
The print may stain clothing
Problem
There is a risk of marks on garments after ironing.
Likely cause
The printed fabric bleeds.
How to fix it
A plain white or light fabric is safest. If you choose a small print, test first to make sure it does not bleed.
The elastic is hard to tighten
Problem
The cover does not sit smoothly, or there is not enough elastic.
Likely cause
The elastic ends were sewn together before fitting.
How to fix it
Thread the elastic, but do not sew the ends right away. First place the cover on the board, pull it tight, then sew the elastic ends together and trim the excess.
The cover skewed while stapling
Problem
The tension is uneven.
Likely cause
The staples were placed without a sequence.
How to fix it
Follow the order from the source: three staples at the back, one at the front center, two next to the center, and three pairs along the board, adding inside folds if needed.
?FAQ
What fabric is best for an ironing board cover?
The source recommends ticking, heavy cotton, or calico. A white or light fabric is safest; a print is acceptable if it does not bleed.
Can I use synthetic fabric?
No. The source does not recommend blended or synthetic fabrics because they do not handle long contact with a hot iron well.
How much fabric do I need for a standard board?
For a board 120 cm or longer, the source uses fabric 140-150 cm wide and a 50 cm cut. For a small 80 cm board, calico or cotton 1 m wide will work.
How much allowance should I add when cutting?
After tracing the upside-down board, add 5-6 cm on all sides for allowances.
What should I use for padding?
You can keep the old padding if it is in good condition. For new padding, the source suggests light-colored batting or cotton padding.
Which is better: elastic, ties, or stapling?
Elastic and ties are better if the cover needs to be removed and washed. Stapling gives even tension, but the cover cannot be removed without replacing it.
Your project
Log in to track your project, attach photos, and publish your result into the shared feed.

 BeginnerFree