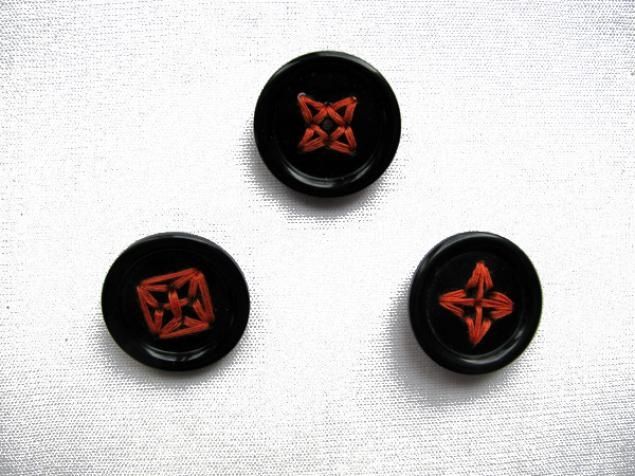
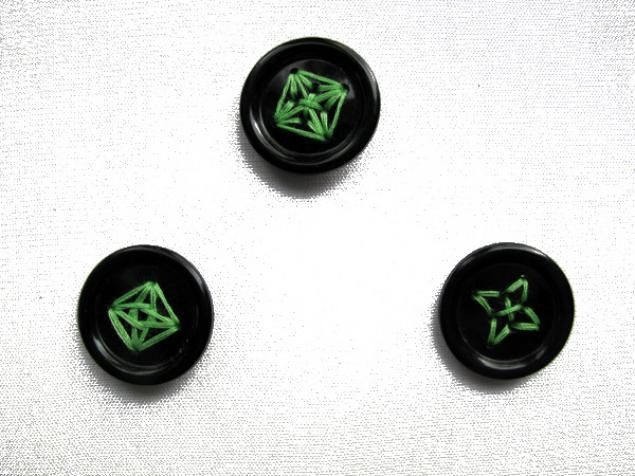
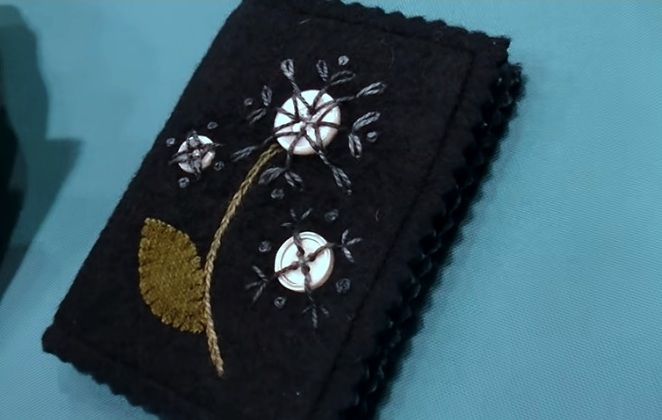
The source shows miniature embroidery worked through a button's holes: a green stem and leaves, a bud made with a French knot or bead, and pattern examples. It does not explain whether the button is secure as a functional fastening.
BeginnerFree
Translated
Things you will learn
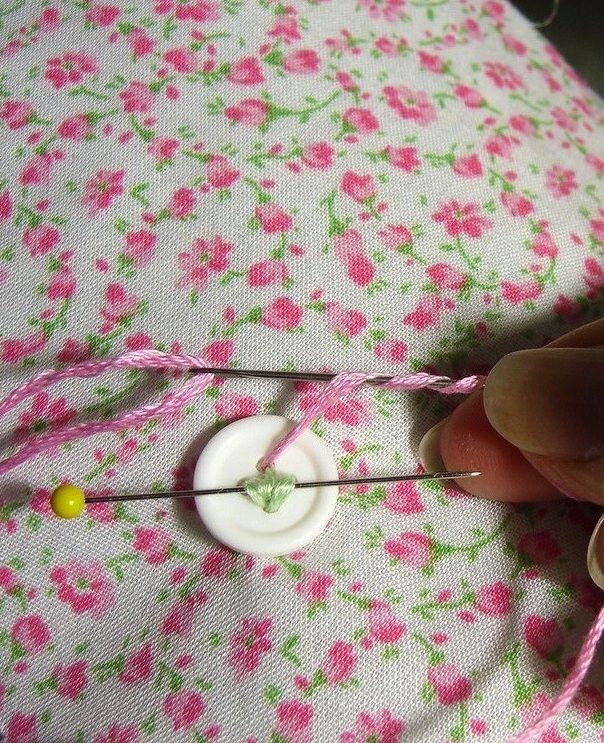
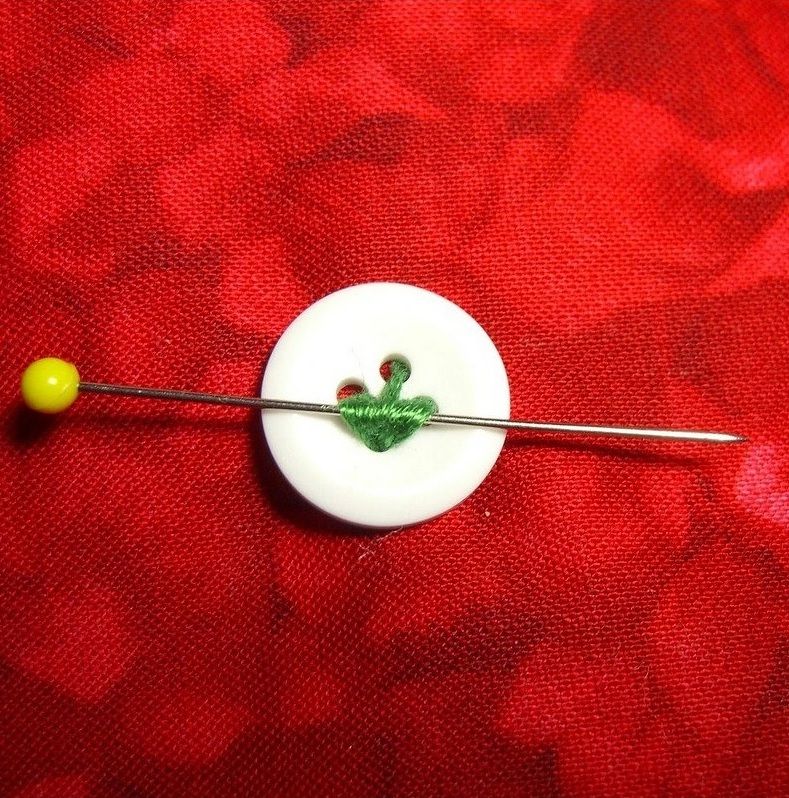
A pin placed crosswise over the stitch preserves its dimension.
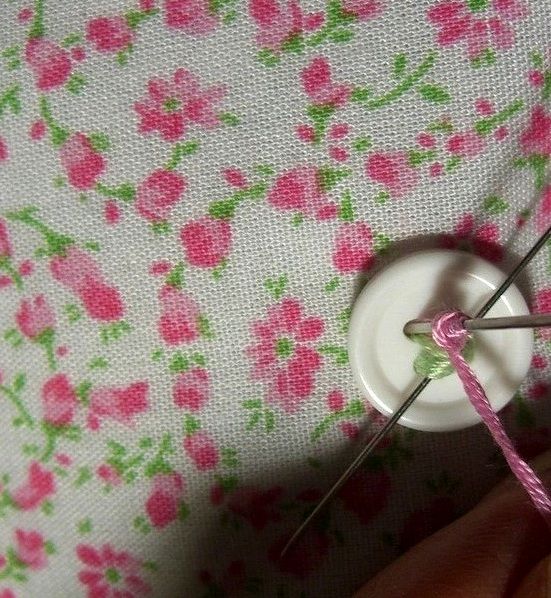
For a French knot, wrap the thread around the needle 2–4 times.
A pearl, seed bead, or decorative bead can replace the French knot.
Coordinate the colors of the fabric, button, and embroidery floss.
Button with Floral Miniature Embroidery
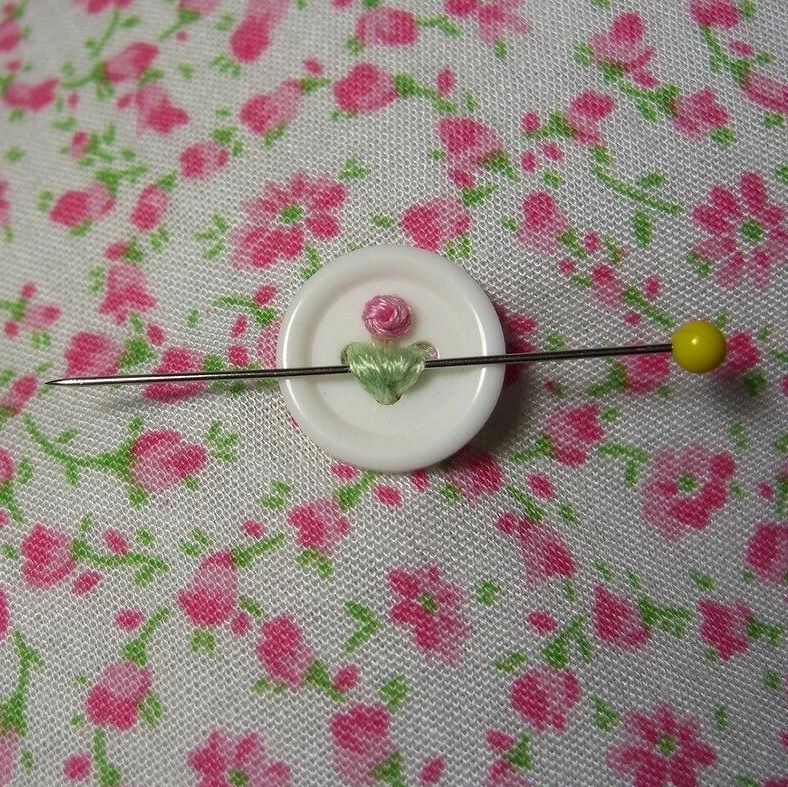
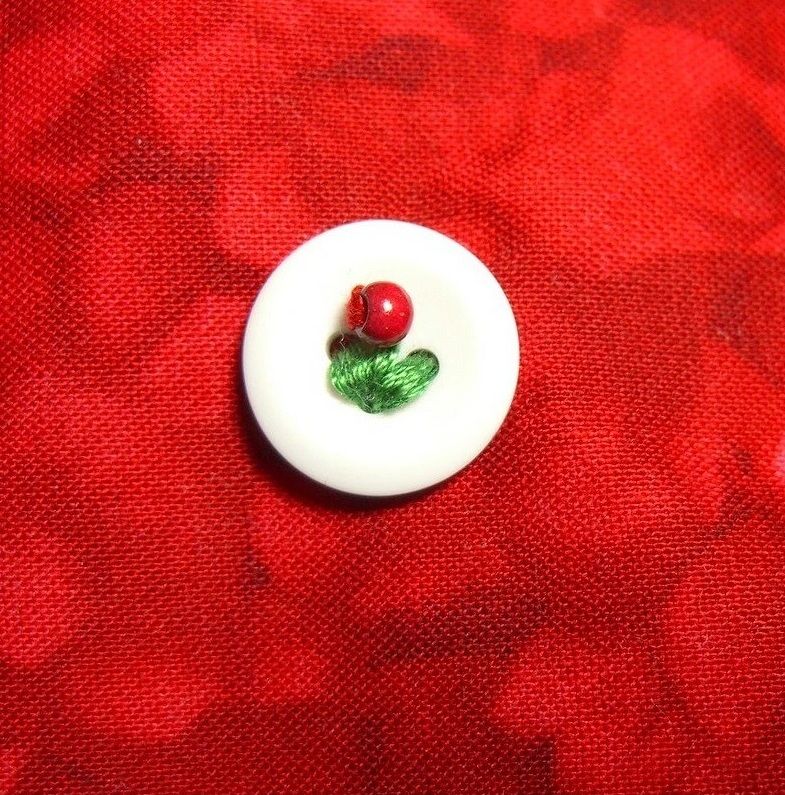
A decorative button with a stem, leaves, and a bud made with a French knot or a bead.
Materials and tools
Materials
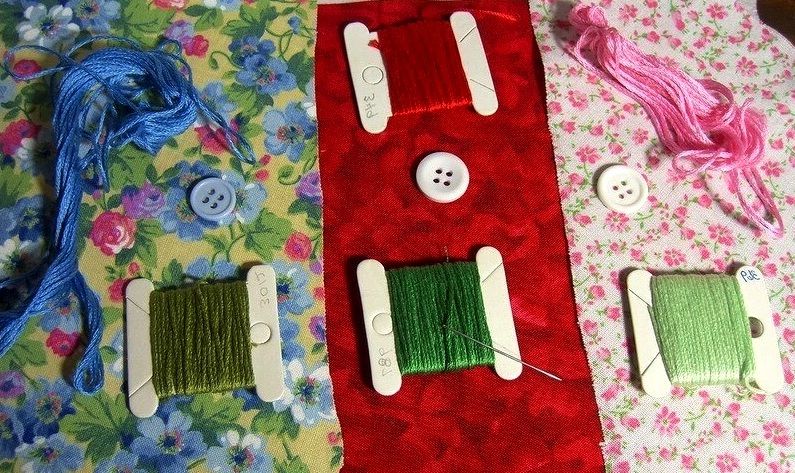
Fabric, Choose a color that coordinates with the button and embroidery floss.
Button, Six-hole buttons work well for additional patterns.
Green and pink embroidery floss, Green for the stem and leaves; pink for the bud.
Pearl, seed bead, or decorative bead, An optional replacement for the French knot.
Tools
Needle, For stitches and the French knot.
Pin, Preserves the stitch's dimension.
Scissors, For trimming the secured thread.
Preparation
Choose Your Colors
Coordinate the fabric, button, and embroidery floss colors for a cohesive look.
Keep Decoration Separate from Fastening
The source presents the embroidery as decoration worked through a button's holes and does not explain the security of a functional fastening.
Embroider the Stem and Leaves
Make a Dimensional Stem
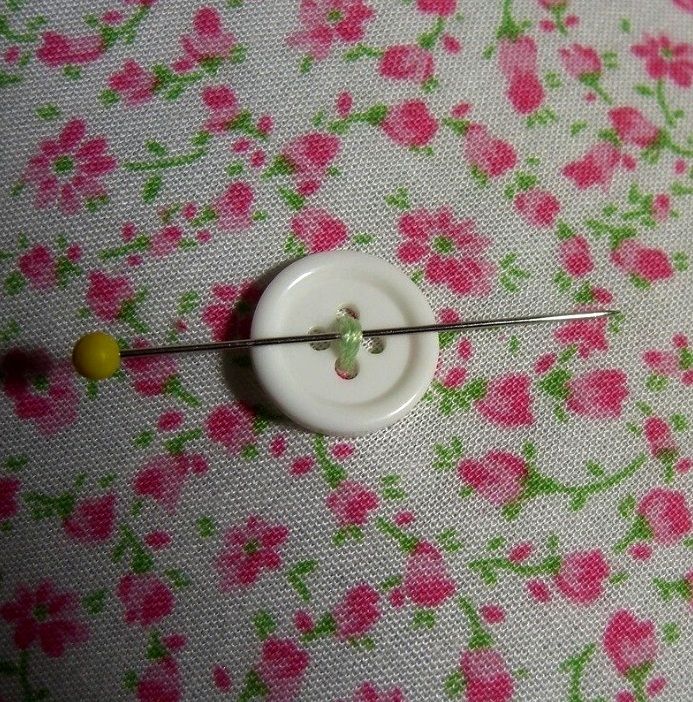
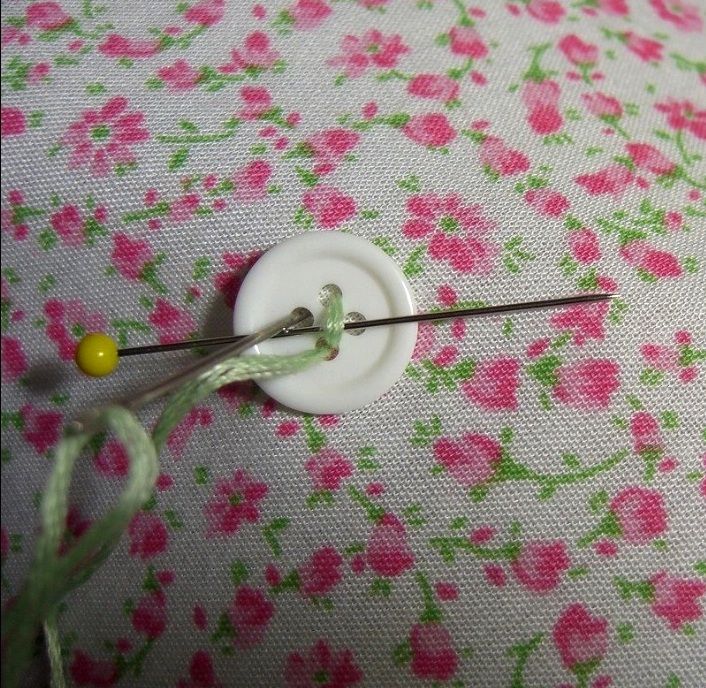
Work a straight stitch with green thread. Before stitching, place a pin crosswise over it so you do not pull the thread too tight and can preserve the dimensional effect.
The Pin Is Temporary
Remove it after completing the flower.
Add Leaves
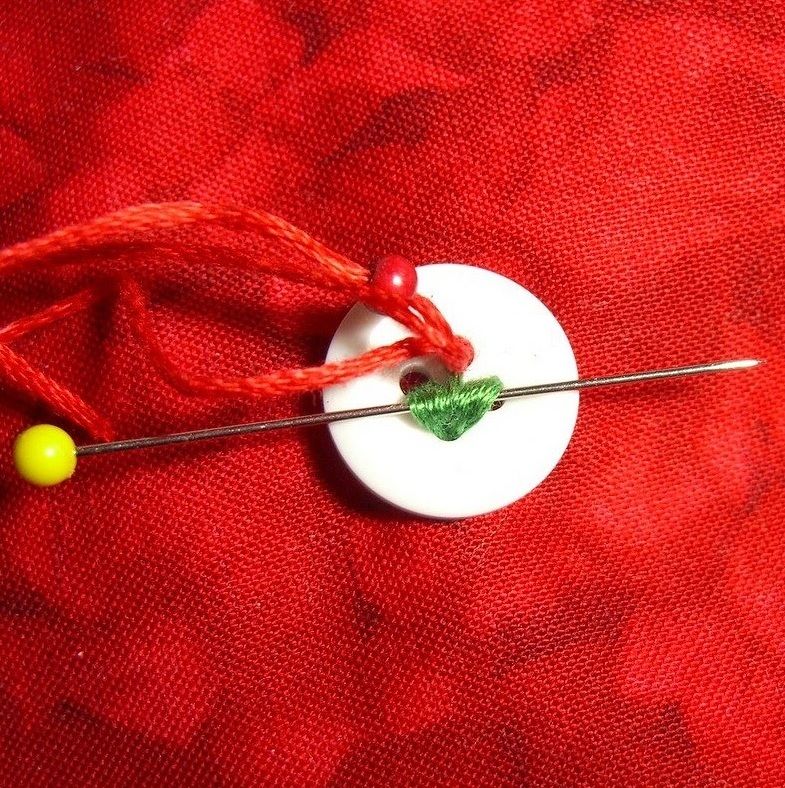
Make stitches to the left and right, secure the green thread on the wrong side, and trim it.
Make the Bud with a French Knot
Bring Up the Pink Thread
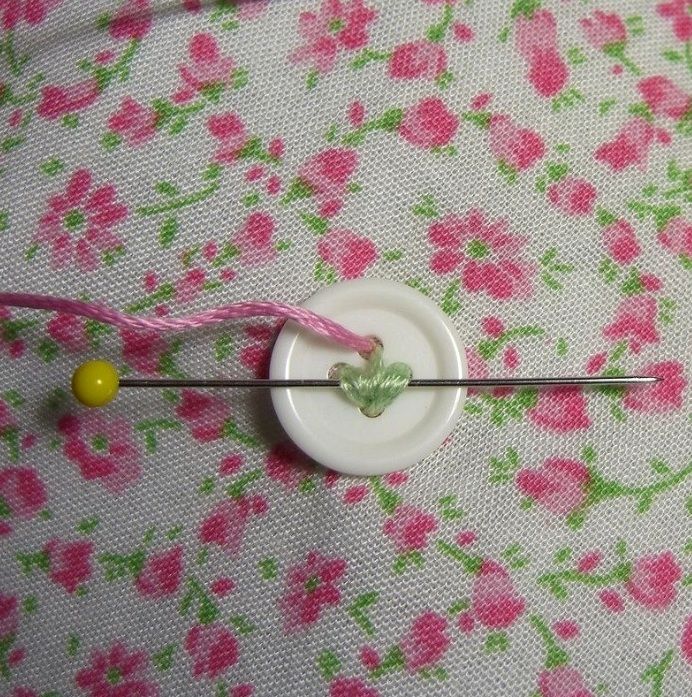
Bring the pink floss up through the top hole in the button and secure the thread on the wrong side with a knot or stitch.
Wrap the Thread
Wrap the thread around the needle 2–4 times, depending on the thread's thickness.
Tighten the Bud
Insert the needle into the hole and take it to the wrong side, tightening the knot slowly. Then remove the pin.
Replace the Knot with a Bead
Repeat the Stem and Leaves
For the bead version, begin the same way: with a green stem and leaves.
Bring Up the Thread with the Bead
At the top point, bring up the thread with a bead strung on it that coordinates with the fabric.
Use Other Patterns as Inspiration
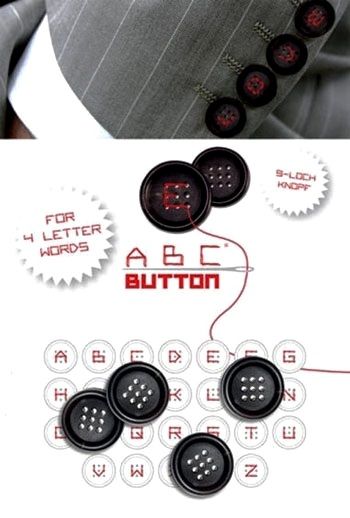
Consider Six-Hole Buttons
The author notes that you can embroider numbers, letters, and other patterns on them.
Choose a Decorative Motif
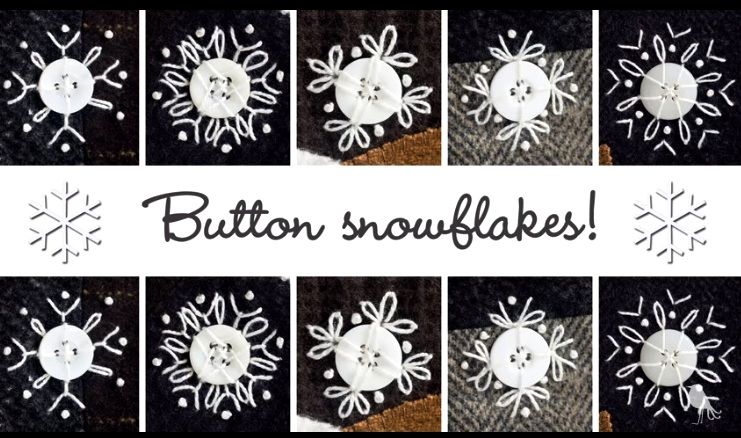
You can create a variety of geometric and floral patterns through the holes of standard and multi-hole buttons.
Use the Embroidery as Decoration
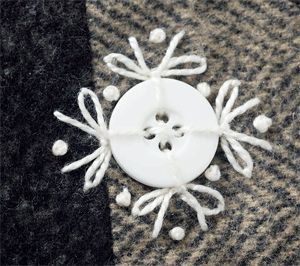
The source shows an example of this type of embroidery used to embellish clothing.
Finish and variations
Finish
Check the Decorative Result
Make sure the pin has been removed and that the stem, leaves, and bud are clearly visible in the button's holes.
Variations
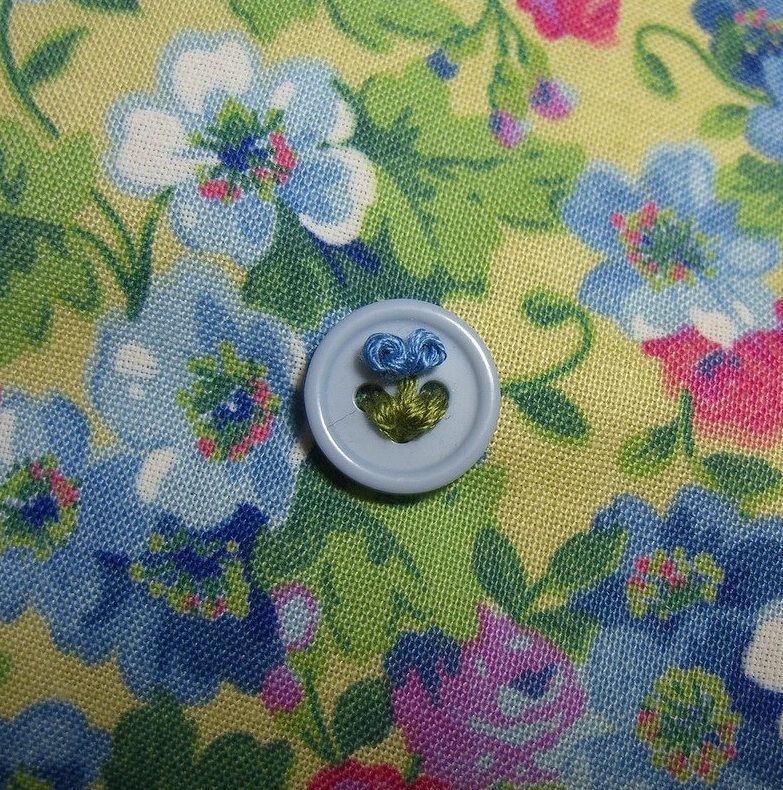
Several Buds
Using a finer strand, the author suggests making two or three knots above one stem.
A Bead Instead of a Knot
A pearl, seed bead, or decorative bead can replace the French knot.

 BeginnerFree