A guide to embroidering simple napkins in reversible satin stitch, transferring a design onto fabric, and finishing the edge with fringe, no special tools required.
BeginnerFree
Translated
Things you will learn
Natural fabric works best for napkins — cotton or linen — and the embroidery is worked in floss using reversible satin stitch, so the back looks just like the front.
Beginners should choose simple motifs and transfer the design onto the fabric ahead of time, marking the stitch direction on leaves and other details.
A smooth color transition comes from mixing short and long stitches, introducing a new shade gradually, row by row.
The fringe is made by pulling out 1-2 warp threads along each edge, after the edge has been stitched with a decorative seam to keep it from fraying.
What You'll Make
Small embroidered napkins for the tea table, finished with a fringed edge. You can adjust the difficulty just by choosing the design — anything from a simple flower motif to a richer composition.
Materials and tools
Materials
Napkin fabric, Natural fiber, ideally cotton or linen.
Embroidery floss, Chosen to match the colors of your design.
Tools
Embroidery needle, Suitable for reversible satin stitch on cotton or linen.
Scissors, For trimming thread and squaring up the fabric edge.
Tweezers, Handy for carefully pulling out the warp threads when forming the fringe.
Iron, Needed for pressing the fabric before finishing the edge, and for the finished napkin.
Preparation
Choose your fabric and design
Use a natural-fiber fabric — cotton or linen. If you're not an experienced embroiderer yet, choose a simple motif without overly fine details.
Prepare the Fabric and Transfer the Design
Before you start embroidering, cut out square pieces of fabric and transfer your chosen design onto them.
Cut the fabric squares
Cut square pieces of fabric for the napkins and choose an embroidery design. If you're not very experienced yet, avoid complicated patterns.
Transfer the design onto the fabric
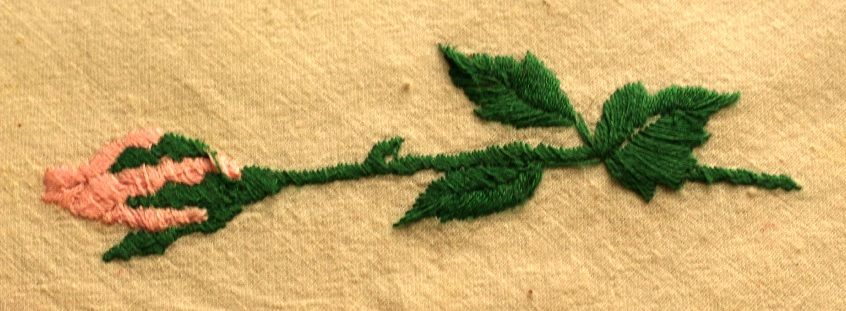
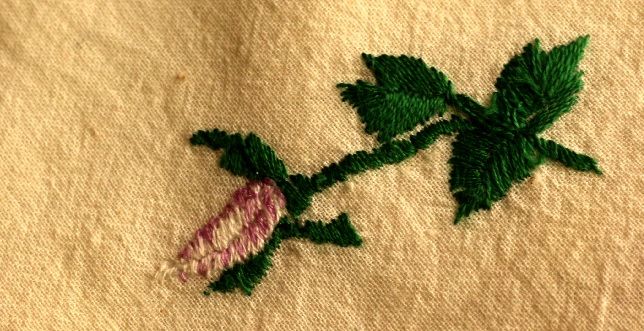
Transfer the design onto the fabric. If your design has leaves, as in this example, mark the stitch direction on them — that makes the embroidery much easier to work.
Embroider the Design in Reversible Satin Stitch
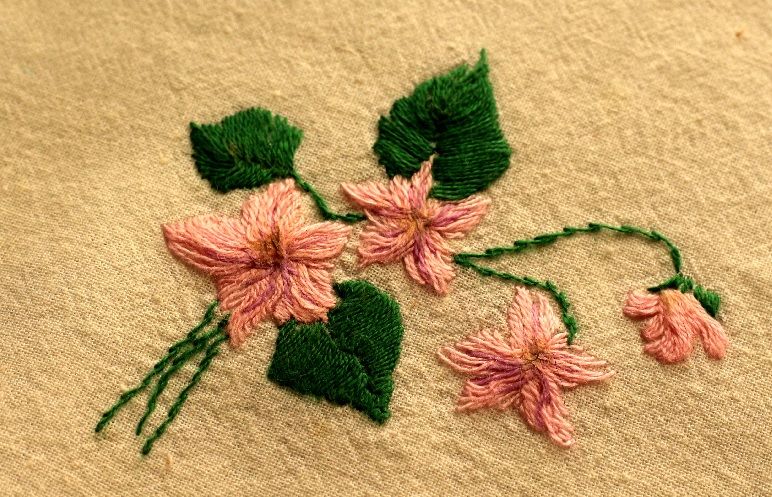
The main embroidery technique here is reversible satin stitch, where the back of the napkin looks just like the front.
Keep your stitches close together
Embroider with the stitches placed close together, with no gaps, using the simplest and most common technique — reversible satin stitch. This way the back of the napkin will look exactly like the front.
Blend smooth color transitions
For smooth color transitions, use a mix of short and long stitches. Introduce a new color gradually, with each new row.
Outline is optional
You can outline the details with a running stitch to make them crisper. Without the outline, the flowers come out softer and more delicate.
Finish the Edge and Make the Fringe
After embroidering, the edge of the napkin needs to be trimmed even, secured with a decorative seam, and turned into fringe.
Trim the edge
Once the embroidery is done, trim the napkin's edges evenly, leaving allowance for the fringe you'll make later.
Pull out the warp threads along each side
Measure the width you want from the edge, then pull out 1-2 warp threads along that side. Tweezers make this easier. Pull gently — if the thread breaks, catch the end and keep pulling it out. Repeat on all four sides, then square up the edge afterward if needed.
Check every side
The pulled thread should run along all four sides equally, or the fringe will come out uneven.
Press the fabric and stitch the edge
Press the fabric, then stitch the napkin's edge with a decorative seam, securing the threads to the main part of the fabric. You can gather the threads into small bundled tufts, or simply whipstitch the edge so it doesn't fray.
Remove the warp threads along the edge
The last step is removing the warp threads along the edge: take them out one at a time, carefully, so you don't spoil the fringe. This gives you a neat fringe all around the napkin.
Take your time
Remove the threads one at a time, not in a bunch — that way you're less likely to damage the fringe you've already finished.
Finish and variations
Finish
Press the finished napkin
Press the finished napkin and sit down for tea — a small detail like this instantly changes the mood at the table.
Variations
With or Without an Outline
You can outline the embroidered details with a running stitch for a crisper look, or leave them without an outline for a softer effect — it's entirely up to you.
Different Ways to Secure the Edge
You can gather the edge threads into decorative tufts, or simply whipstitch the edge so it doesn't fray — both options work before you start pulling threads for the fringe.

 BeginnerFree