
Clothing Labels – DIY
Many crafters make toys, jewelry, or handmade soap, and every item made with love deserves a tag proudly displaying the author's name. Don't you agree? I think this applies even more to handmade clothing: it should definitely be complemented by a stylish label with a brand logo, initials, or just the well-known "Handmade" inscription 😉
But how can you design DIY labels to look as original as possible? Let's get creative ✌
1. Stamps.
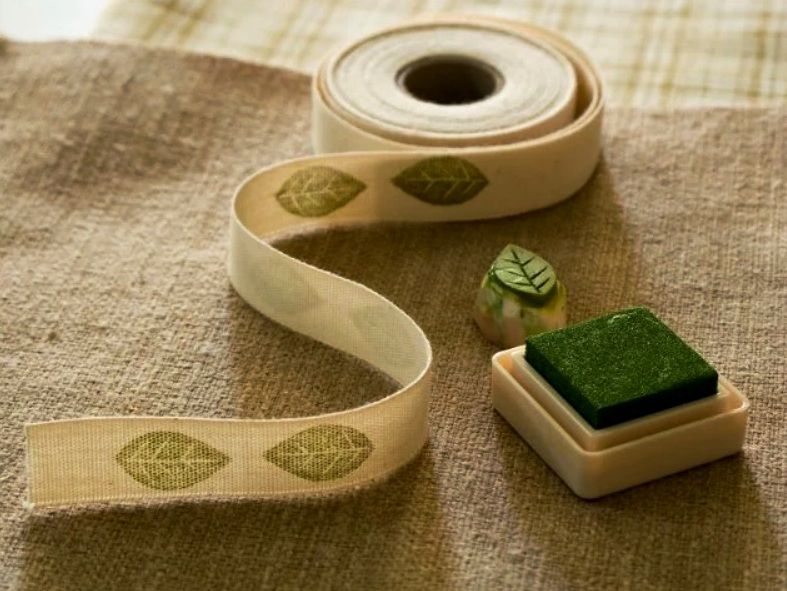
A versatile way to turn a plain piece of fabric into a designer-like tag. You can buy ready-made stamps, choosing symbols that suit you: a little house, a smiley face, or sewing-themed icons.
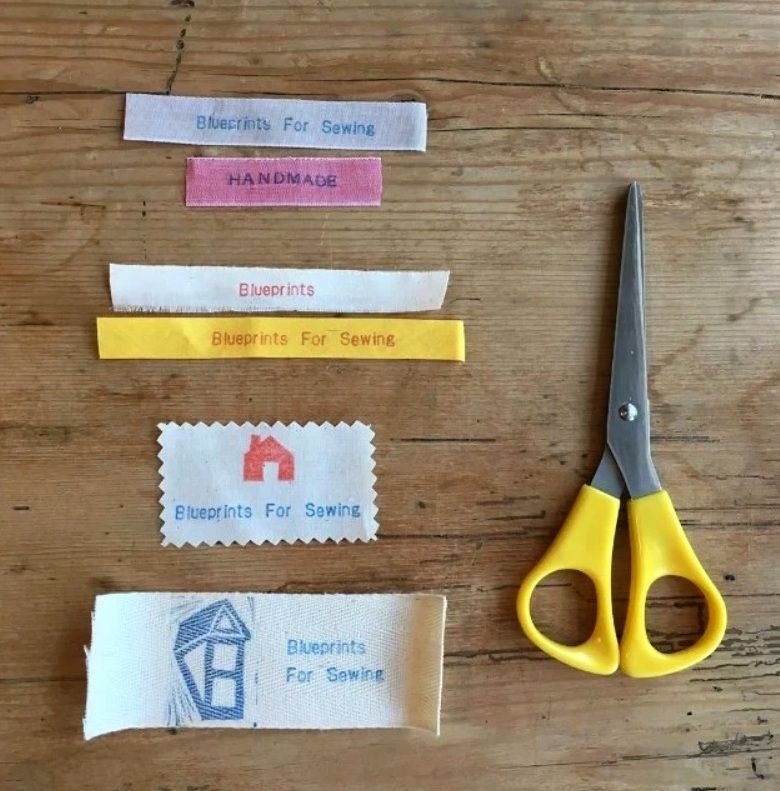
You can spend a little time mastering the art of creating your own stamps by carving shapes or letters out of an eraser or wood. In any case, don't forget that the imprint will be mirrored.
2. Fabric markers.
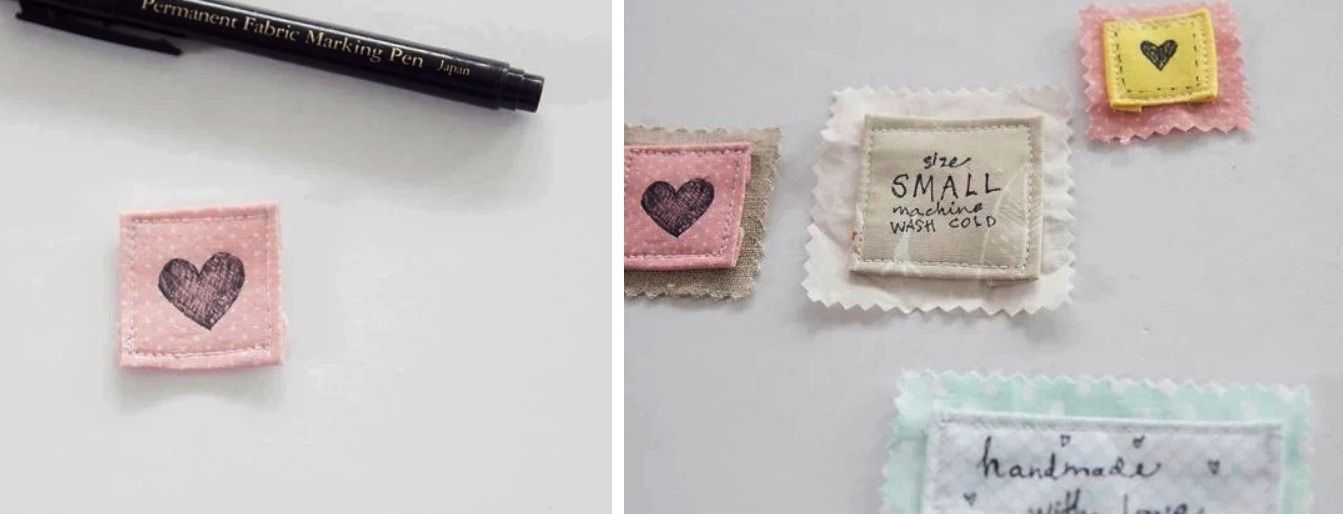
Pigment ink holds up perfectly in the wash, so once you find such a marker, you can hand-decorate each tag—with words of gratitude, for example, sign it with your own name, or simply draw a heart.
3. Hand or machine embroidery.
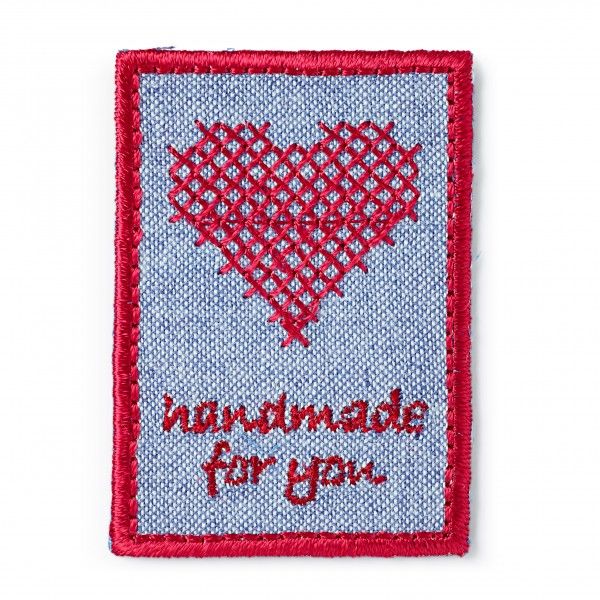
Many modern sewing machines support the function of embroidering letters, symbols, or numbers. Also, free-motion embroidery is always an option. As for hand embroidery, it goes without saying: small decorative stitches and standard satin stitch are perfect for creating a tag.
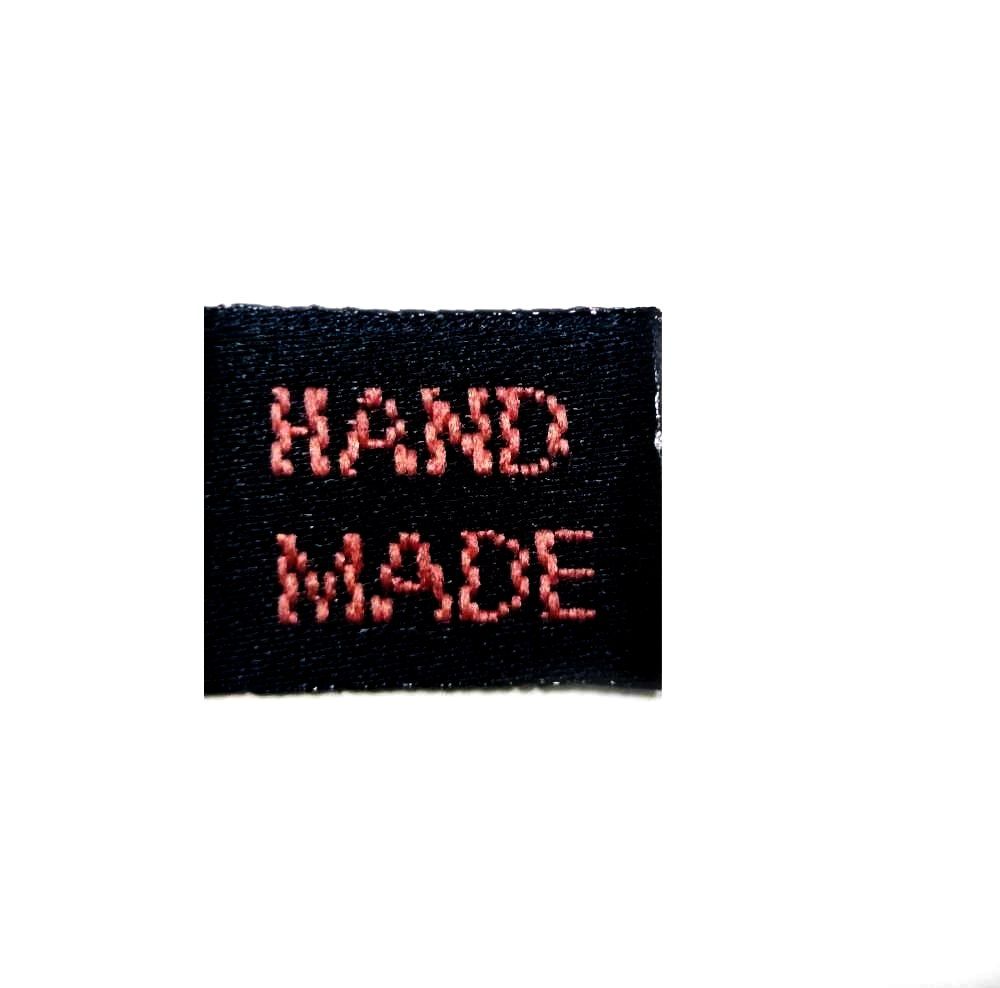
And finally, a bit of humor: people write all sorts of things on tags, so when you buy a new item, be sure to check what kind of tag is sewn into it—a standard one or a creative one 😄



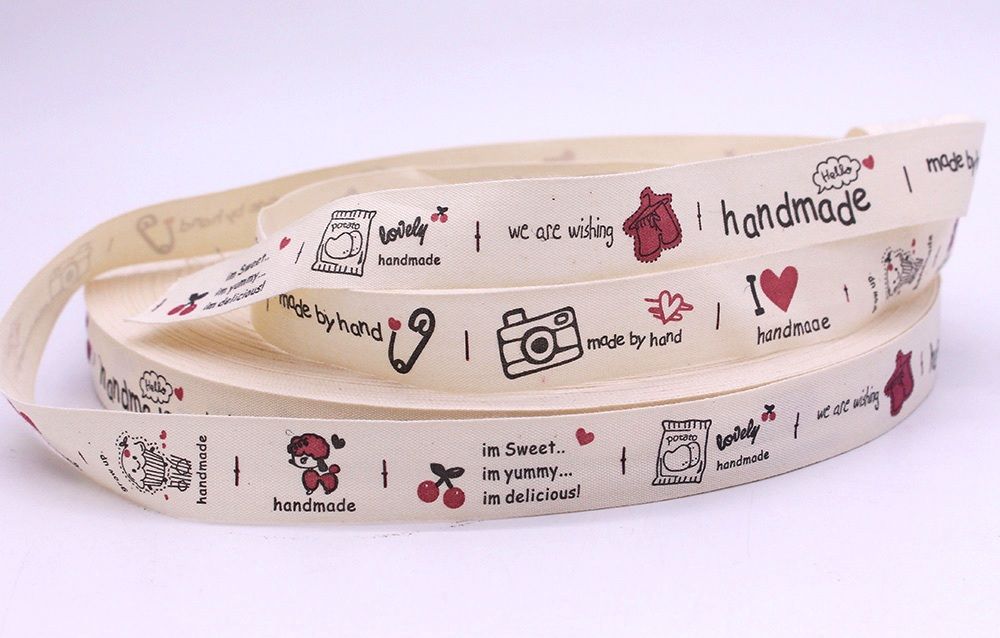


I really liked the stamps: a great idea for labels and tags – easy, fast, beautiful 👍 Regarding humorous labels, I came across this one 🙃