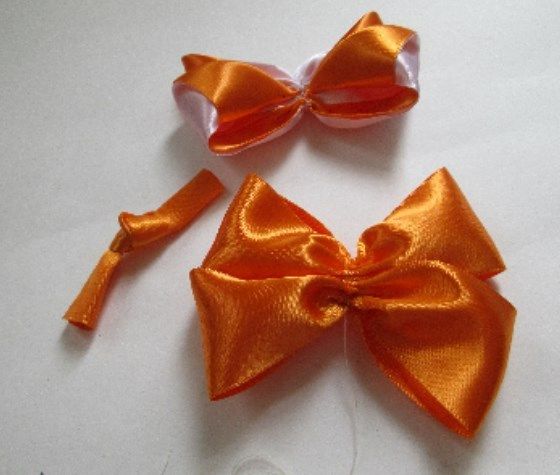
This bow looks much prettier in person than it does in the photos. I highly recommend making one—the only condition is that you need to be attentive! 😉 To make it, prepare: 4 cm orange and pink satin ribbon; scissors; glue; straight pins; a ruler
BeginnerFree
Translated
Instructions
Step 1
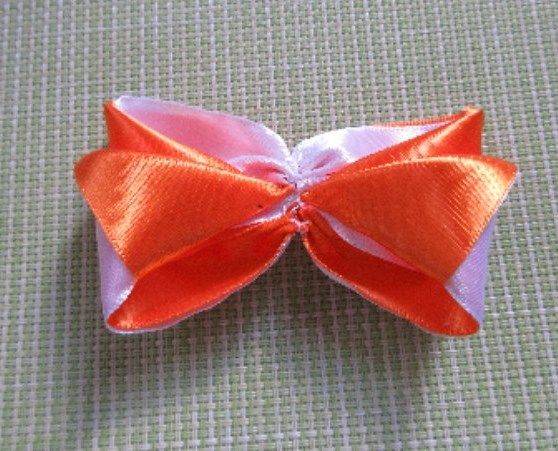
This bow looks much prettier in person than it does in the photos. I highly recommend making one—the only condition is that you need to be attentive! 😉
Illustration 2
Step 3
Prepare the following: • 4 cm orange and pink satin ribbon; • scissors; • glue; • straight pins; • a ruler; • a needle; • thread.
Tutorial
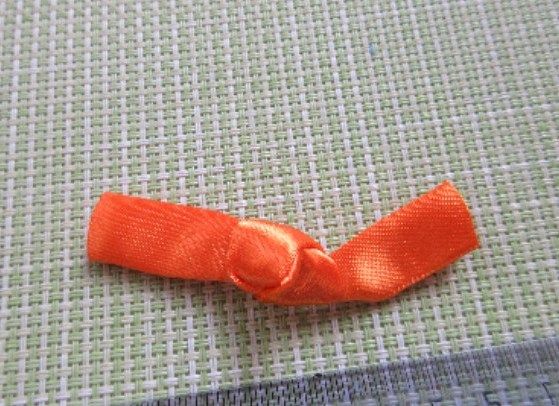
Cut pieces 24 cm and 22 cm long. Also cut another 13 cm piece of orange ribbon for the center wrap. Fold it into a tube and tie it in a knot.
Illustration 4
Step 5
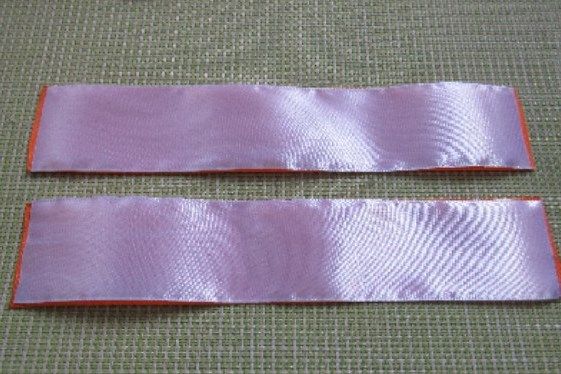
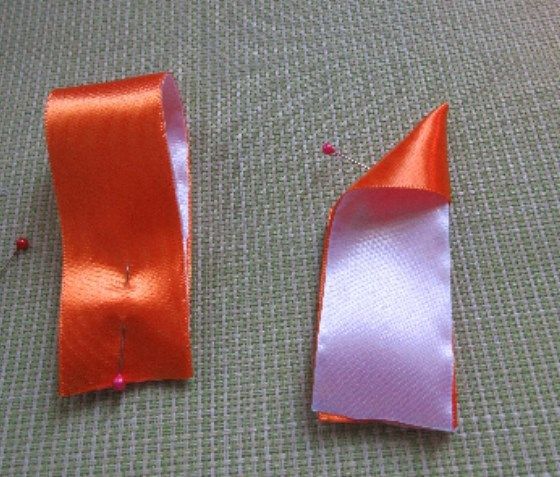
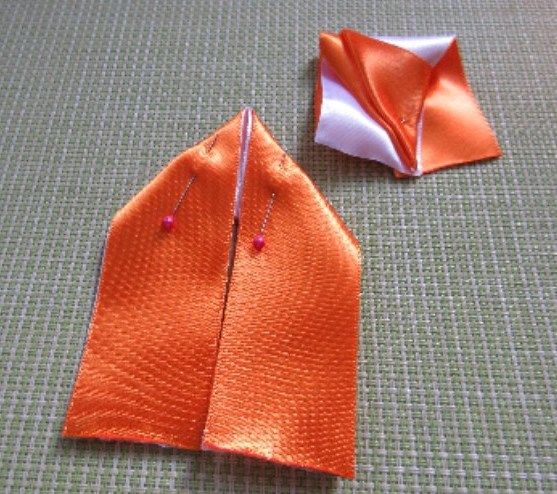
Place the 22 cm pieces wrong sides together (pink and orange), like this:
Illustration 6
Step 7
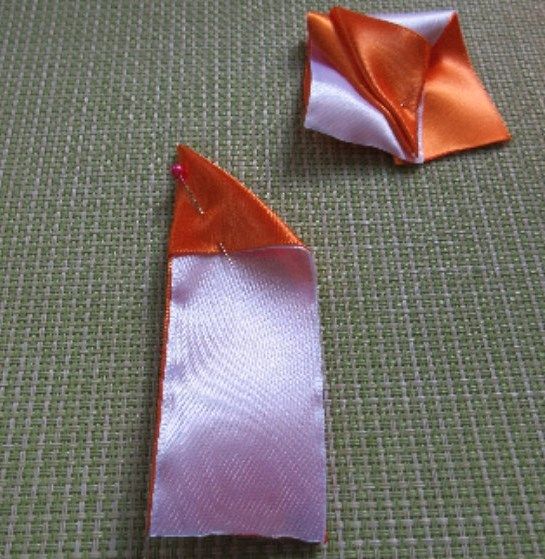
Fold in half and mark the lengthwise center with a crease.
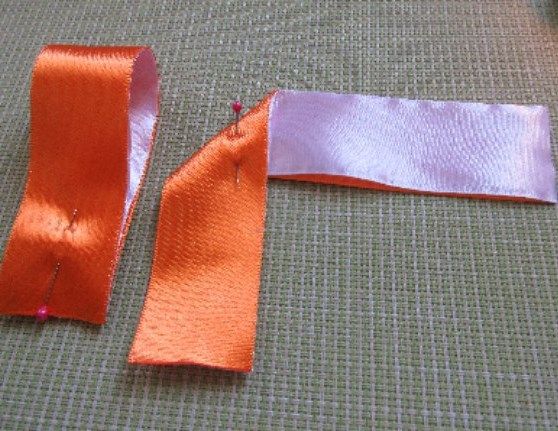
Unfold the strip and fold it from the center into an angle, making sure the loose ends are the same length. That may not be very clear, but you can see everything in the photo:
Illustration 8
Illustration 9
Step 10
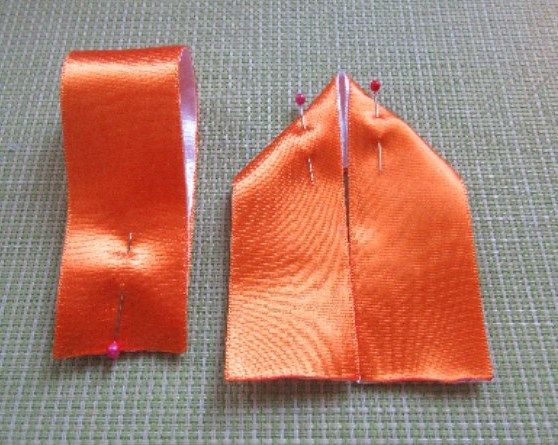
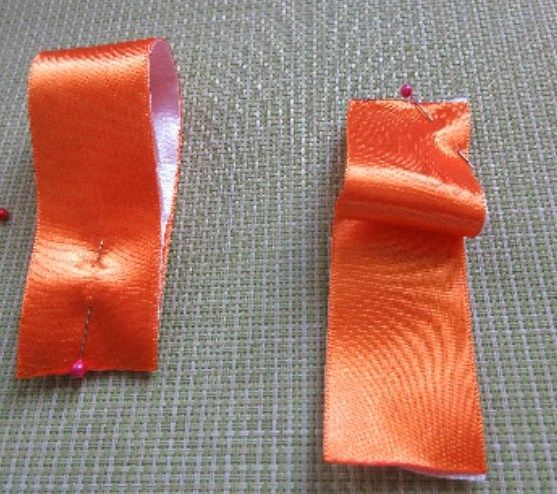
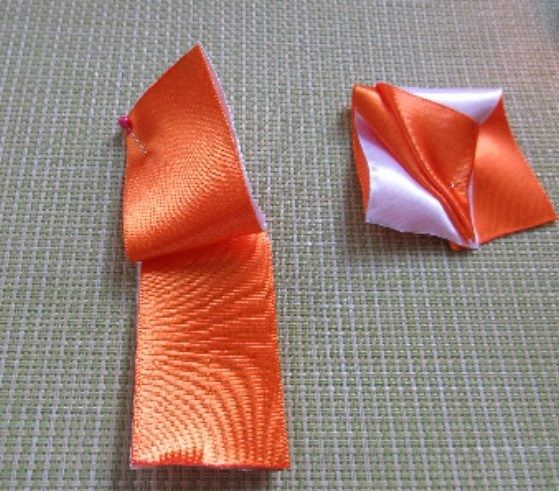
Fold the piece in half lengthwise.
Illustration 11
Step 12
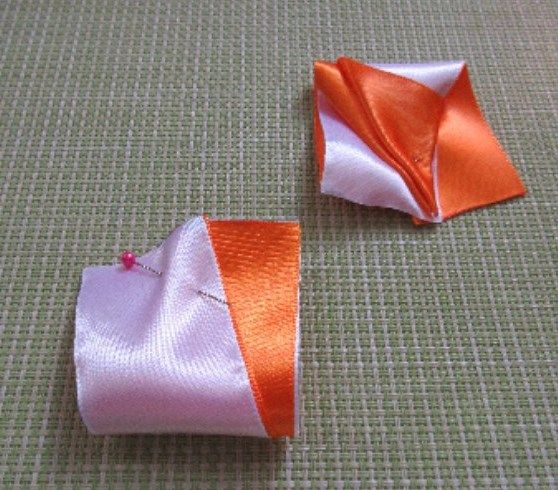
Lift one loose end of the ribbon and bring it to the top point of the angle.
Illustration 13
Step 14
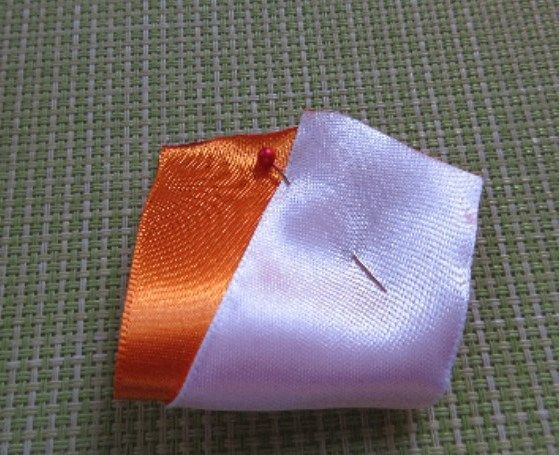
Fold the other loose end upward as well and overlap it slightly. Turn the piece over, and this is what you get:
Illustration 15
Illustration 16
Step 17
Next, fold the second bow piece. Again, fold the ribbon into an angle at the center.
Illustration 18
Step 19
Fold it in half lengthwise, but in the opposite direction (pay attention to the photo!):
Illustration 20
Step 21
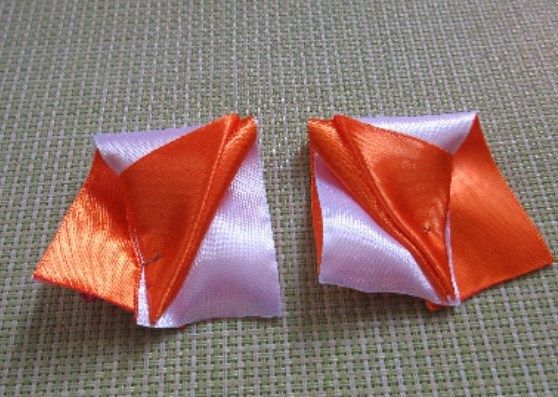
Bring one end up to the point of the angle, then bring up the other end with an offset in the opposite direction. In other words, make the first and second pieces as mirror images.
Illustration 22
Illustration 23
Step 24
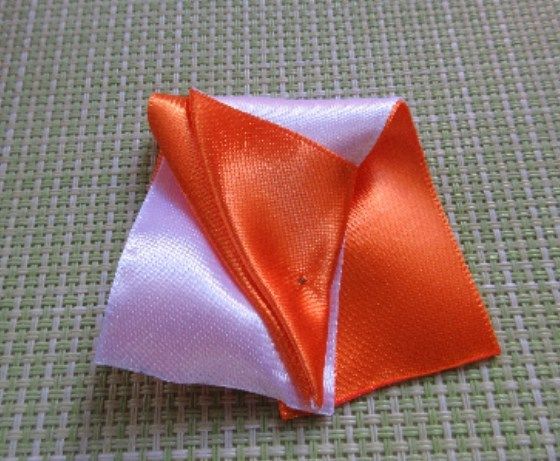
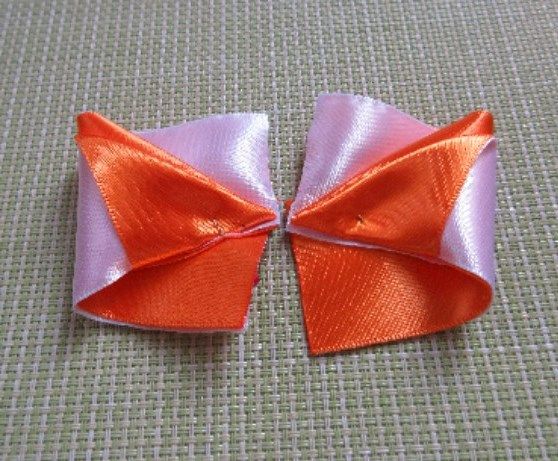
This is what you get in the end:
Illustration 25
Step 26
Sew a running stitch along the inner edge of each piece, pull the thread tight, and secure it.
Illustration 27
Illustration 28
Step 29
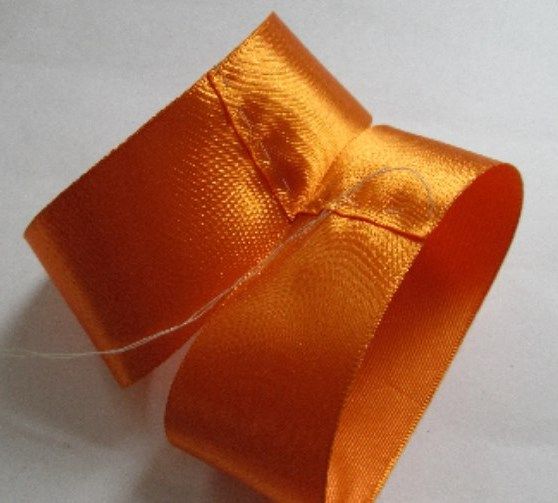
Join the remaining two 24 cm pieces into a ring and stitch the short sides together.
Illustration 30
Step 31
Sew them together, pull the thread tight, and shape another bow (the bottom layer).
Illustration 32
Step 33
Glue the bottom and top layers together.
At the narrowest point, wrap the piece with the knotted center ribbon, securing the ends on the wrong side with glue.
The bow is ready! If you want to attach it to an elastic band, sew it on before gluing the center wrap so all the seams are hidden. 😉

 BeginnerFree