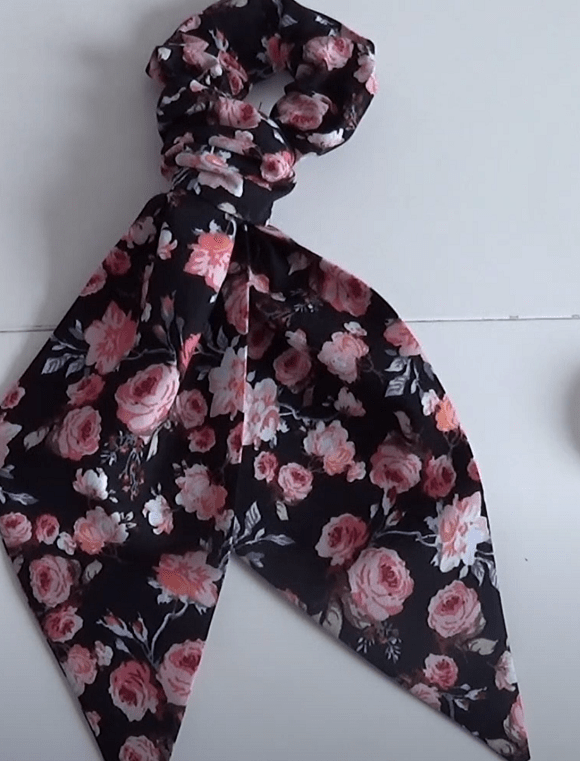
Original hair ties not only keep hair neat, but also help create a unique look. To help your daughter stand out from her friends and enjoy styling her hair in different ways, I suggest sewing a "Solokha" hair tie from fabric scraps.
BeginnerFree
Translated
Directions
Original hair ties not only keep hair neat, but also help create a unique look. To help your daughter stand out from her friends and enjoy trying different hairstyles, let's sew a "Solokha" hair tie from fabric scraps you can find at home. The two versions of this accessory differ in the size and fullness of the scarf tie—it can be neat and small, or voluminous and eye-catching.
Illustration 1
Step 2
What else is great about handmade hair accessories? They don't pull ponytails too tight or damage children's fine hair, and you can adjust the size of the hair tie depending on the thickness of the hair. Follow the entire sewing process in this step-by-step master class with photos and helpful tips.
Cutting and Dimensions
For a hair tie with a scarf tie, you will need:
1. Fabric 33 by 10 cm for the accessory base (37 by 5 cm for the smaller version). 2. Fabric 65 by 22 cm for the voluminous scarf tie and 45 by 14 cm for the smaller "Solokha". 3. Flat elastic 16 (13) cm long.
When cutting the "tails," you will need to shape the corners; on the sample, the fabric was cut at a 45-degree angle, measuring 9 and 6 cm from the edge for the larger and smaller versions, respectively. You can choose different measurements at your discretion.
How to Sew the "Solokha" Hair Tie
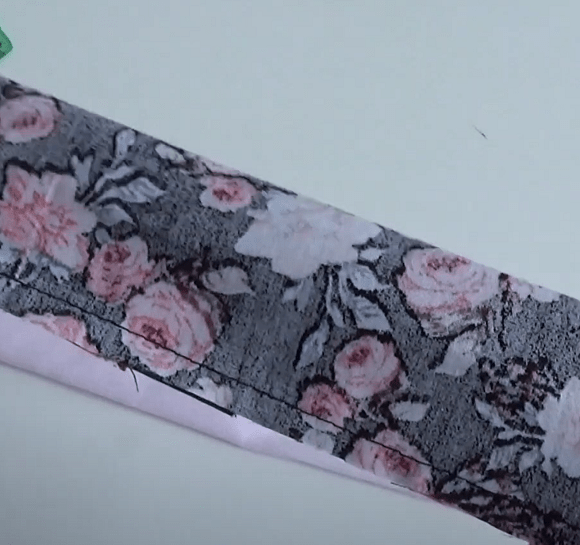
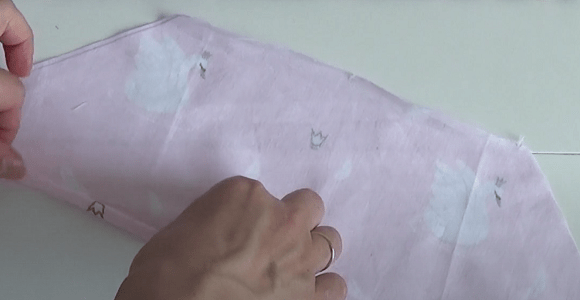
Fold the main fabric strip in half with right sides together and stitch a straight seam along the edge.
Illustration 3
Step 4
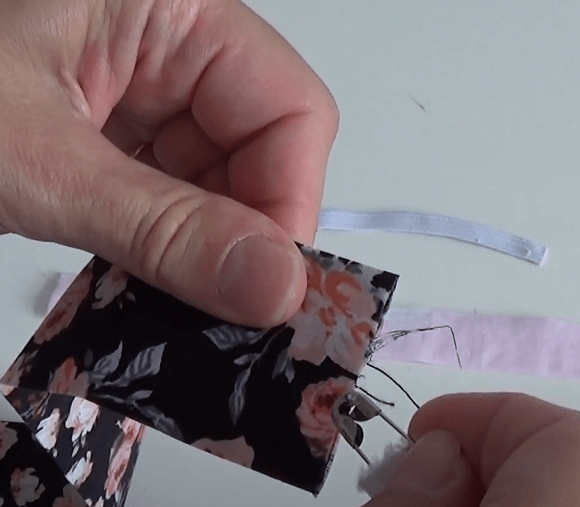
Turn right side out. Thread the elastic through while gathering the fabric. To make this easier, you can use a special bodkin or elastic threader Questions - Tools - Elastic Threaders: What Types Are There? - Fabrics and Materials - Forum ✂ KomoK.
Illustration 5
Step 6
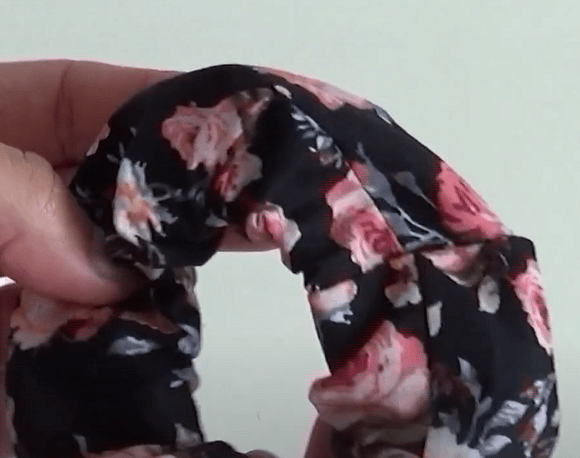
Secure the ends of the elastic, fold the fabric edges inward, and join the piece into a circle. Sew closed by hand with an invisible stitch.
Illustration 7
Step 8
The hair tie is ready; now let's move on to sewing the scarf tie.
The Scarf Tie: 2 Ways
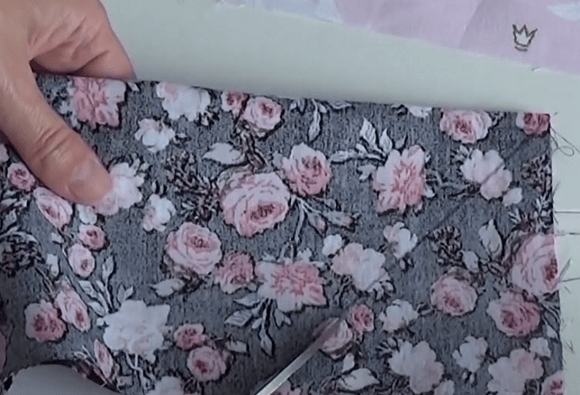
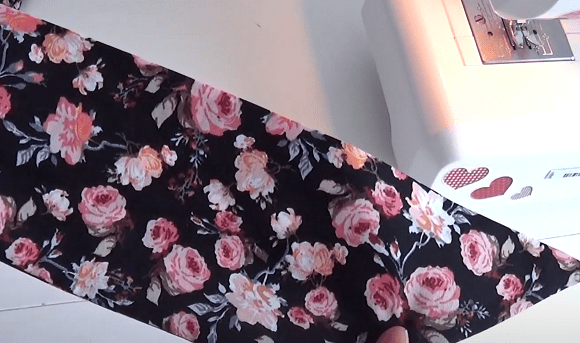
Fold the larger 65 by 22 cm fabric piece in half with right sides together, mark the corner with a pencil, and cut it off.
Illustration 9
Step 10
Stitch the seam, leaving an opening unstitched for turning right side out. Sew the opening closed by hand with an invisible stitch and press the piece. This is the larger scarf tie.
Illustration 11
Step 12
For the smaller version:
Cut out a rectangle, fold it in half crosswise, and shape the corner. Turn the edges under and stitch around the entire perimeter, then press. This scarf tie turns out thinner and lighter.
Illustration 13
Step 14
Tie the finished bow onto the hair tie.
Illustration 15
Step 16
Our "Solokha" can now adorn hairstyles for both mom and daughter!

 BeginnerFree