Repurposing Leather Scraps: 3 Simple Ways to Make a Bracelet
Each of these bracelets can be made in record time, and even a beginner can manage the process, so take note 😉 Option 1: leather cord + beads. The cord can be either premade or cut from
BeginnerFree
Translated
Directions
Step 1
Each of these bracelets can be made in record time, and even a beginner can manage the process, so take note 😉
Illustration 2
Step 3
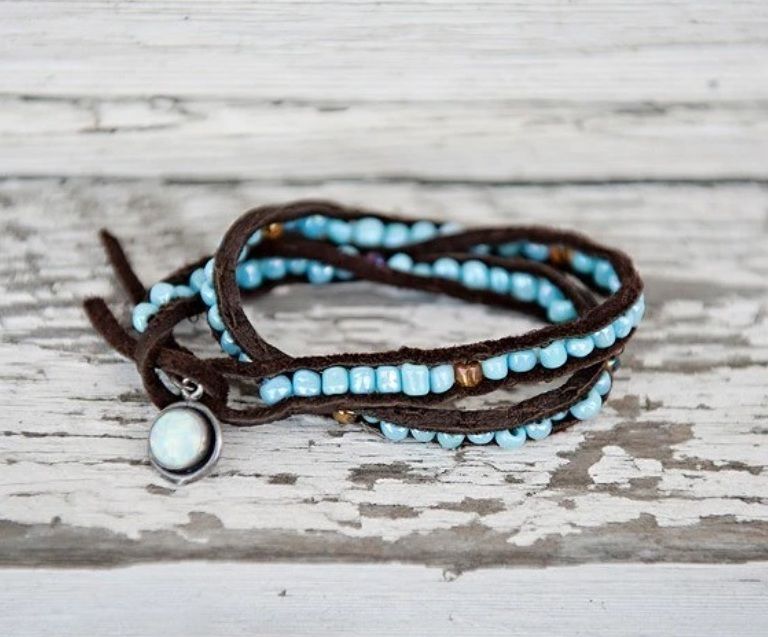
Option 1: leather cord + beads.
The cord can be either premade or cut from an old item you no longer need. It is best to choose beads that match the width of the cord: they should be the same width or slightly wider. Fold the cord in half, measure 1-1.5 cm from the edge (this loop will later serve as the clasp), and stitch in the first bead.
Illustration 4
Step 5
Keep going, selecting beads by size.
Illustration 6
Step 7
Once you reach the desired length, slide any charm that fits the size of the loop onto the open end of the bracelet and sew the cord closed. You can trim the ends flush or leave them—both options work wonderfully with a boho style.
Illustration 8
Step 9
If the beads aren't too bulky, it's better to plan for a double-length bracelet: a cord wrapped twice around the wrist looks much more striking.
Illustration 10
Step 11
Option 2: leather + metal.
Illustration 12
Step 13
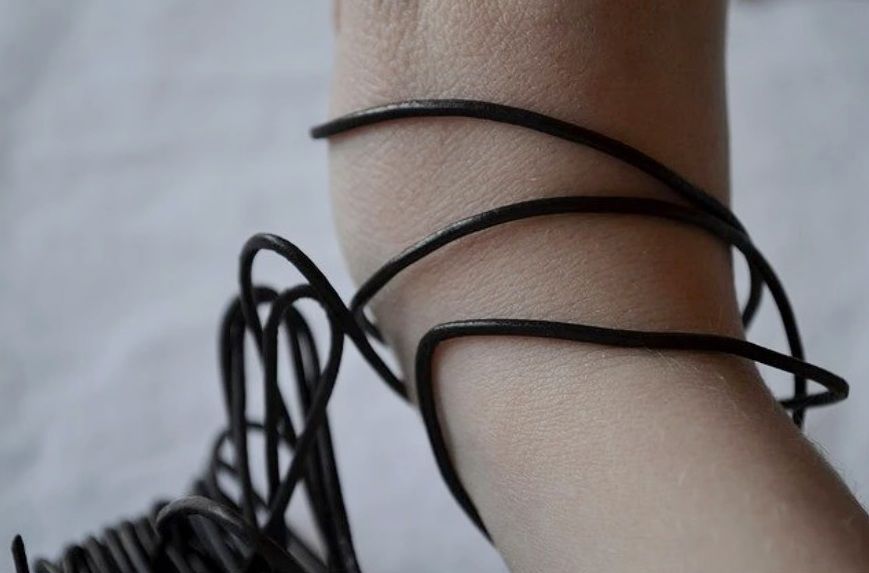
In this case, the bracelet wraps around the wrist at least three times: thanks to its delicate structure, it definitely won't look bulky.
You will need 3-4 metal tubes and waxed leather cord—all of which can be found at craft stores specializing in handmade jewelry. Similar leather cords can sometimes be found on shoes, too 😉
To start, wrap the cord around your wrist to determine the required length.
Illustration 14
Step 15
Thread the cut length of cord through the metal tubes one after another.
Illustration 16
Step 17
Attach a crimp end with a chain to the ends of the bracelet cord.
Illustration 18
Step 19
You need to crimp the metal end securely—be sure to test the hold with gentle tugs on the cord.
Illustration 20
Step 21
Snip off the excess chain.
Illustration 22
Step 23
On the opposite end, attach another crimp end with a small lobster clasp.
Illustration 24
Step 25
Optionally, leave a loose tail of chain (you can loop it onto the lobster clasp) and accent the bracelet with any charm (a heart, a lock, an initial, etc.).
Illustration 26
Step 27
Option 3: Lacy cutwork 😍
You will need a design template sized to fit the width and length of the bracelet, wire cutters, tape, and a very sharp craft knife (precision hobby knife).
Illustration 28
Step 29
Using double-sided tape, stick the paper template of the bracelet onto a piece of leather and carefully cut out all the delicate filigree curls along the outline. Beginners can easily practice on simple geometric shapes: they also look pretty great )
Illustration 30
Step 31
Move on to the outer contours and cut out the bracelet completely.
Illustration 32
Step 33
Punch a hole at the end of the bracelet and assemble the closure using a jump ring, a chain, and a magnetic clasp.
Illustration 34
Step 35
Repeat the same process on the other end
Illustration 36
Step 37
Variations of the cutwork bracelet in different configurations 👍
Illustration 38
Step 39
The style pairs perfectly with everyday urban casual outfits 👌
Illustration 40
Step 41
I haven't picked my favorite bracelet yet: each one is lovely in its own way 😍 If anyone knows other ideas for similar bracelets that are quick and easy, feel free to add to the collection 👍

 BeginnerFree