
How to Remove Clothing Tags Quickly and Neatly
Manufacturers often add labels that are rough and unpleasant against the skin. To remove a tag from clothing quickly without damaging the fabric, consider these three useful tips.
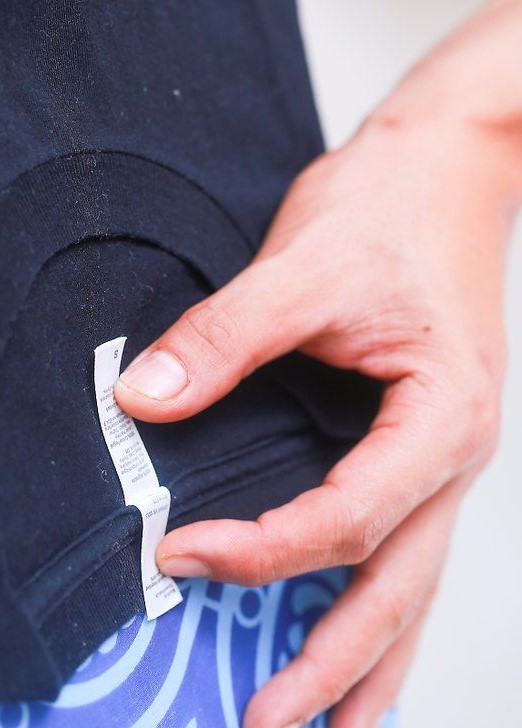
How NOT to remove labels
First, check whether the label is sewn into the neckline finish. If the end disappears under an overlock seam, do not cut that seam: it will almost certainly damage the garment, and you will not be able to recreate that stitching neatly by hand. Also do not simply cut off the “tail”: the remaining piece will not come out completely and will cause even more discomfort. In this case, cut the label with an allowance, fold it toward the seam, and stitch it down neatly by hand.
If the label is sewn with a chain stitch, choose the correct direction for undoing it. Otherwise you will spend a long time cutting threads with small scissors and removing them with tweezers. How do you do it?
1. Place the garment in front of you. The end of one thread is usually passed through a loop of the second thread; free that end.
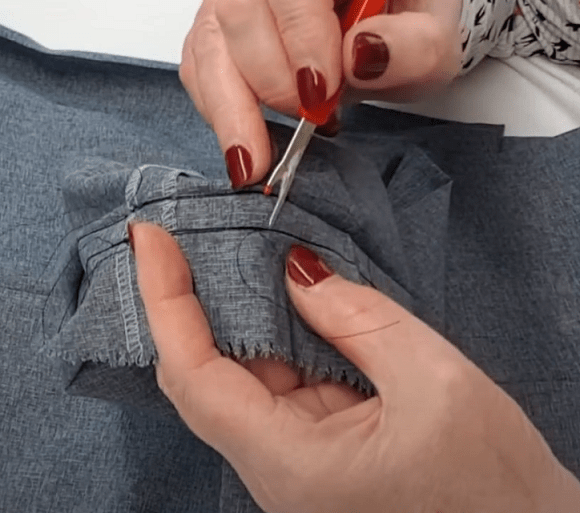
2. Then check the direction: machine stitching is sewn toward you, so turn the garment over and pull the free end away from you.
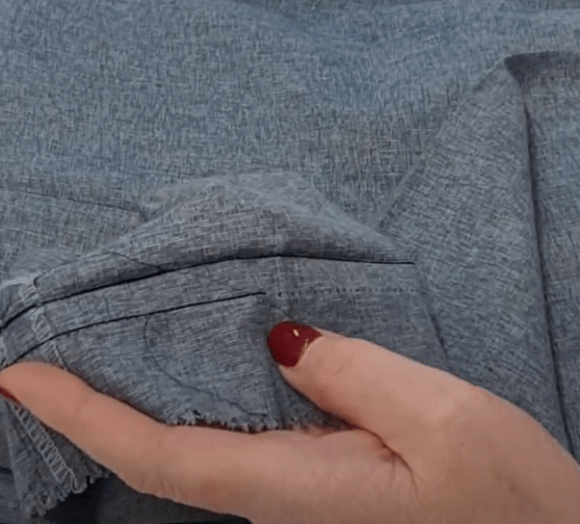
3. Turn the garment over again and free the thread that continues on the wrong side.
If the label is stitched on both sides like a loop, the stitches are usually very small and made with strong fine thread.
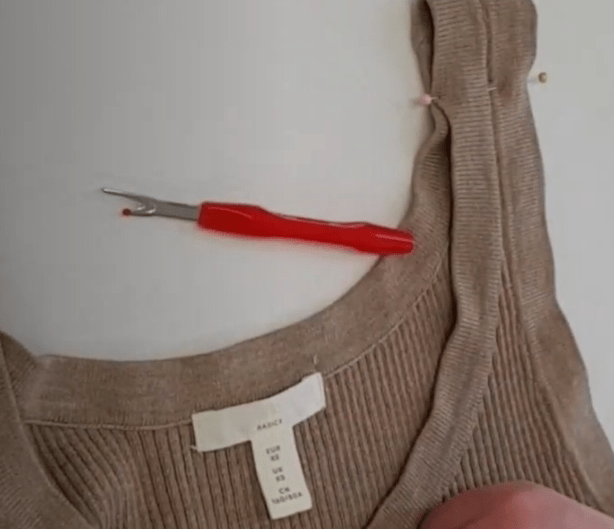
DO NOT cut them with scissors: the risk of damaging the fabric is high. Use ONLY a seam ripper, holding the edge of the label with your fingernail.
First, carefully cut the stitches from the wrong side at one edge.
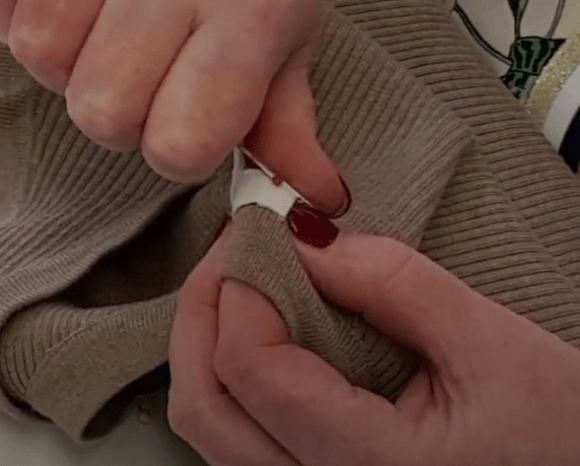
Turn the garment over and remove the cut thread ends from the right side.
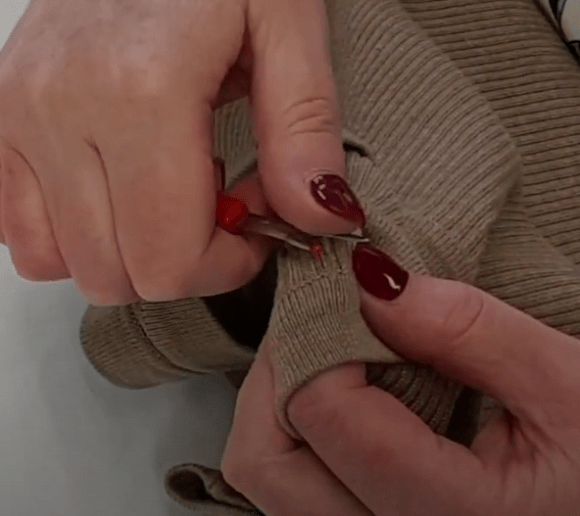
Do the same with the second half of the label, then lightly steam the place where the label was sewn in with an iron.
These three methods help remove annoying tags, which is especially useful for underwear, T-shirts, swimsuits, and children’s clothing.

