Knitted Hat on Needles: Yarn, Calculations, and a Simple Pattern
A guide to knitted hats: a table of approximate yarn amounts for a simple hat, a lace hat, a beanie, a hat with an intricate pattern, and a simple cuffed hat; choosing winter and transitional-season yarn; picking needles from the yarn label and swatches; a sample calculation for a 54 cm head circumference and a gauge of 1.8 stitches per cm with a 92-stitch cast-on; a crown-decrease pattern; and a roundup of trendy styles for the 2021-2022 season.
BeginnerFree
Translated
Things you will learn
First choose your style: a hat with or without a cuff, close-fitting, a beanie, lace, or one with an intricate pattern.
Yarn use depends not just on thickness but also on the meterage per skein and the fiber content: natural wool shrinks by about 10%, so it's best to buy extra.
For an exact calculation, knit a 10 x 10 cm swatch in your chosen pattern, wash it, lay it flat to dry (not on a radiator), then count the stitches, rows, and meterage.
Cables and aran patterns pull the fabric in, so bulky patterns need their own separate calculation.
Example for a simple hat: with a 54 cm head circumference and a gauge of 1.8 sts/cm, the calculation gives 97 stitches, rounded down to 92 stitches so it divides evenly by 4.
What you'll get
This material helps you choose yarn and needles for a hat, calculate how much you'll need, and knit a basic seamless hat in stockinette stitch. It also keeps the source's other style ideas on record: youth beanies, bulky cuffed hats, pompom styles, ushanka-style earflap hats, and hats with ears.
Materials and tools
Materials
Yarn for your chosen hat style, the amount depends on the style, fiber content, thickness, and meterage per skein; buy natural wool with extra allowance for about 10% shrinkage
Extra yarn for a pompom, 10-30 g, only needed if the hat will have a pompom
Decoration for the simple style, the source mentions rhinestones, beads, and eye-catching trim
Tools
Needles in a size that suits your yarn, use the size from the label as a starting point and fine-tune it with a swatch
Smaller needles for the ribbing, for a cuffed, patterned hat, it's common to use a smaller size for the ribbing and half a size larger for the main body
Stitch markers, for splitting 92 stitches into 4 sections for the crown decreases
4 needles for the decreases, the source suggests moving the stitches onto 4 needles to make the decreases easier
A needle threaded with yarn, to gather the last 8 stitches and secure them on the wrong side
Video: a simple cuffed beanieA YouTube tutorial from the source for the cuffed style; the source doesn't give the video's date or length.Video: a simple cuffed beanie
Preparation
Choose your style before buying yarn
The source lists hats with and without a cuff, close-fitting styles, beanies, bulky patterns, and simple knits. Your choice of style determines how much yarn you need and which tools to use.
Check for sensitivity to wool
Before buying, the author suggests holding the skein against the inside of your elbow or your neck to check your own reaction to the wool.
Knit a swatch
For an exact calculation, knit a swatch in your chosen pattern, wash it, and lay it flat to dry — not on a radiator. Then count the stitches and rows in a 10 x 10 cm square.
Yarn Use and an Exact Calculation
The source's table gives you a starting point, but the final calculation depends on your style, meterage, and swatch.
Check the yarn-use table
For acrylic or polyester, the source gives these figures: a simple hat — 150 g, a lace hat — 120 g, a beanie — 200 g, a hat with an intricate pattern — 200-250 g, a simple cuffed hat — 170 g.
For wool blends: a simple hat — 170 g, a lace hat — 150 g, a beanie — 220-250 g, a hat with an intricate pattern — about 300 g, a simple cuffed hat — 200 g.
For pure wool, angora, or alpaca: a simple hat — 120 g, a lace hat — 100 g, a beanie — 150 g, a hat with an intricate pattern — 200 g, a simple cuffed hat — 150 g.
Factor in meterage and shrinkage
The higher the meterage per skein, the less yarn you generally need for a project. Fiber content matters too: synthetics barely shrink, while natural wool shrinks by about 10%, so you'll need to buy more of it.
Calculate exactly, using a swatch
Knit a 10 x 10 cm swatch in the pattern you plan to use. After washing and laying it flat to dry, count the stitches and rows, unravel the swatch, and measure its length. Then work out how many 10 x 10 cm squares fit into the hat's shape, and multiply that by the length of one swatch.
Cables and arans pull the fabric in
Don't carry over a simple hat's yarn amount directly for a bulky pattern. The source specifically warns that cables and arans often pull the fabric in significantly.
Add yarn for a pompom
If you're planning a pompom, set aside an extra 10 to 30 g of yarn.
Yarn for Winter and In-Between Seasons
The source names separate options for hard winter cold and for fall-spring weather.
Choose a natural winter yarn
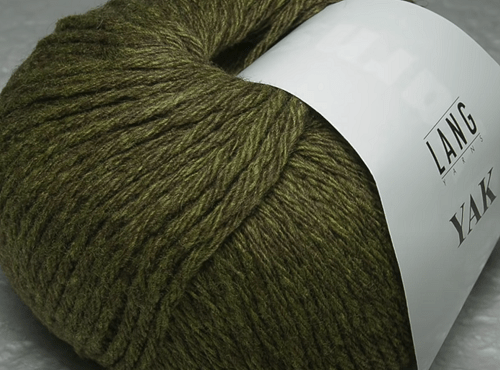
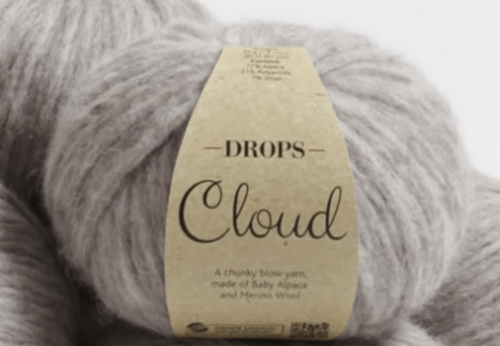
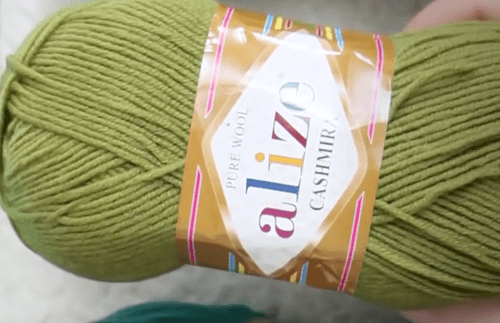
For cold weather and hard frosts, the source recommends yarn with a natural fiber content. Land Yak: merino wool and yak, soft, hypoallergenic, keeps you warm, breathes, and doesn't pill with long-term wear and washing. Drops cloud: alpaca, wool, and polyamide, natural shades and a loose twist for soft, warm hats. Alise cashmira: 100% wool, a soft medium-weight yarn with a generous meterage and a rich color range, including heathered shades.
Land Yak: merino wool and yak, from the source's winter lineup.Drops Cloud: alpaca, wool, and polyamide.Alise cashmira, from the source's original list of yarns.
For fall and spring, choose a soft yarn blend
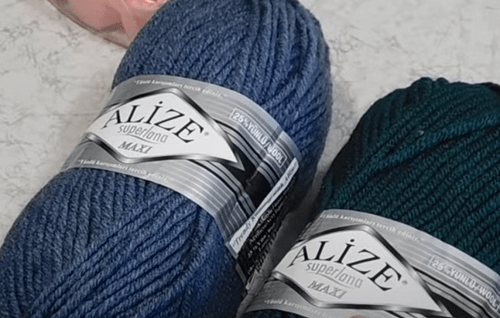
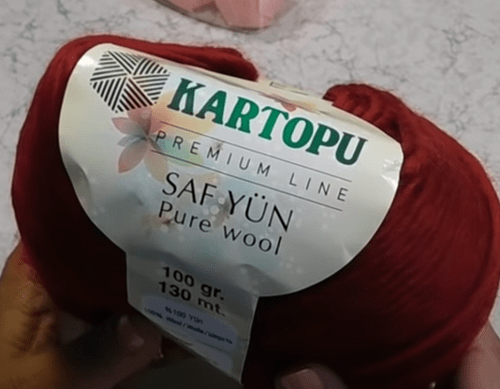
For fall-spring, the source lists Alise superlana MAXI: acrylic blended with alpaca, angora, and natural wool; thick and warm, suited to beanies and youth styles with a large cuff. Kartopu: polyamide, acrylic, and wool; a medium twist, soft, doesn't irritate the skin, suited to both medium-weight and thin hats.
A thick blended yarn for beanies and youth styles.Kartopu, from the source's transitional-season lineup.
Needles, the Label, and Swatches
The label gives you starting figures, but gauge varies between knitters, so the source suggests checking a few swatches.
Read the yarn label
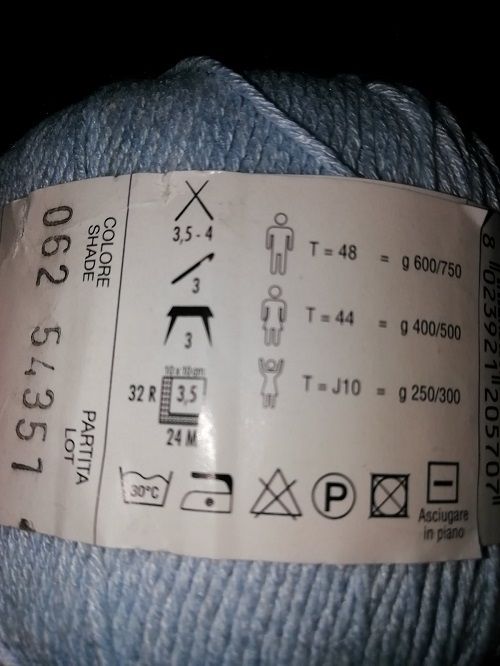
On the label, look for the fiber content and meterage, the gauge, and the recommended knitting needle and crochet hook sizes. Treat these figures as a starting point, not a final calculation.
The label tells you the fiber content, meterage, gauge, and needle size.
Knit 2-3 swatches
The source suggests knitting 2-3 swatches — for example, on size 2, 2.5, and 3 needles — since knitting style and gauge vary even with the same yarn.
Use a smaller size for the ribbing
For a cuffed, patterned hat, you often need two needle sizes: a smaller one for the ribbing and one half a size larger for the body of the hat. The inside of the cuff is always knit on a size smaller, for a better fit.
A Simple Hat in Stockinette Stitch, No Cuff
This is the only complete step-by-step example in the source: a seamless women's hat, knit in the round in stockinette stitch.
Take your measurement and calculate the cast-on
Measure your head circumference and knit a 10 x 10 cm swatch in stockinette stitch. In the source's example, a 54 cm head circumference and a gauge of 1.8 stitches per cm give 54 x 1.8 = 97. The stitch count needs to divide by 4, so the author rounds the cast-on down to 92 stitches.
Cast on 92 stitches and join in the round
Cast on 92 stitches, join the work into a round, and knit every round in knit stitch. This is what makes the hat seamless.
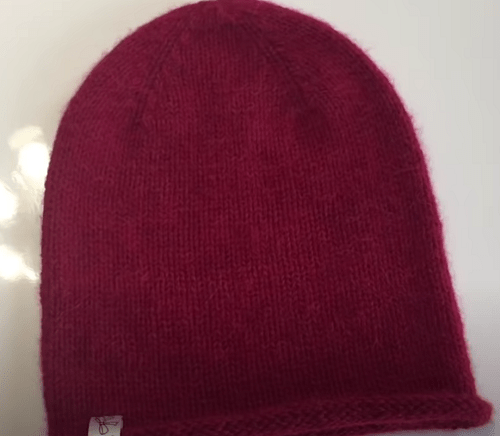
An example of the simple seamless style from the source.
Knit 20 cm, then place markers
Once the fabric reaches 20 cm tall, split all the stitches into 4 sections and place markers. In the example, 92 / 4 = 23 stitches.
Start the crown decreases
In each section, leave one center stitch: out of 23 stitches, that leaves 22 stitches around the center one. Round 1: knit 20, knit 2 together with a left lean (slip the first stitch, knit the next one, and pass the slipped stitch over), knit 1 center stitch, knit 2 together through the front loops with a right lean.
Continue decreasing every other round
Knit round 2 plain. Round 3 repeats round 1, except you knit 19 stitches instead of 20 before the decrease. From there, on each decrease round, the number of plain stitches before the decrease drops by 1. For convenience, the source suggests moving the stitches onto 4 needles.
Gather the last 8 stitches
When 8 stitches remain, slip them onto a length of yarn threaded on a needle, pull tight, and secure it on the wrong side.
Add ribbing at the bottom for a snugger fit
This same style can also be finished with ribbing along the bottom edge. Then the edge won't roll, and the hat will fit your head more closely.
Trendy Styles From the Source
This section isn't a set of separate patterns — it's a roundup of style directions for the 2021-2022 season from the source material.
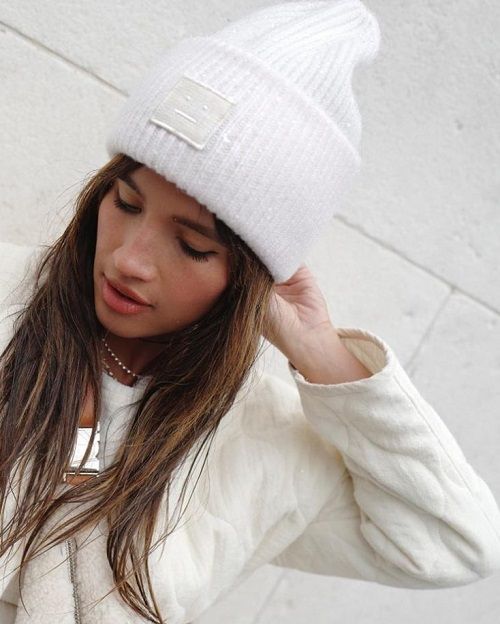
Youth beanies
Beanies are named in the source as the first trendy option.
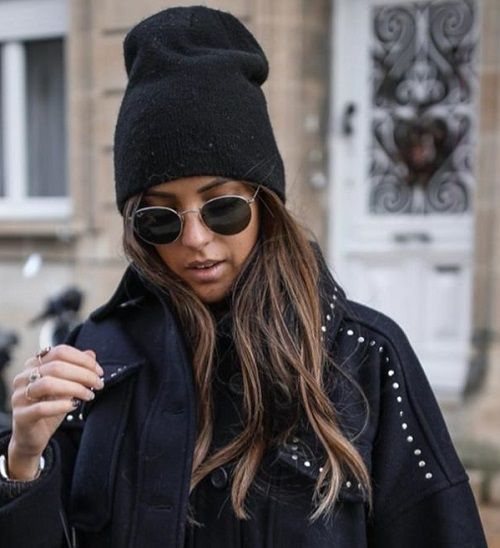
A youth beanie from the roundup of trendy styles.
Bulky cuffed hats
The second option is bulky cuffed hats, knit in ribbing or with cables.
A bulky style with a cuff.
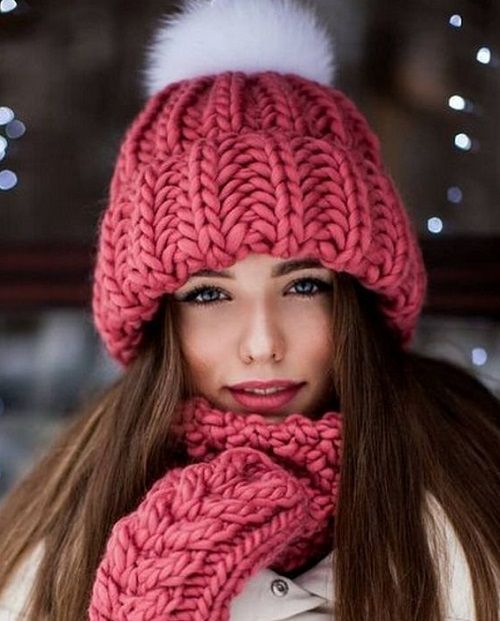
Hats with pompoms
The third option is hats with pompoms, including fur ones. Don't forget to add 10-30 g of yarn if the pompom itself is knit.
A hat with a pompom from the source's roundup.
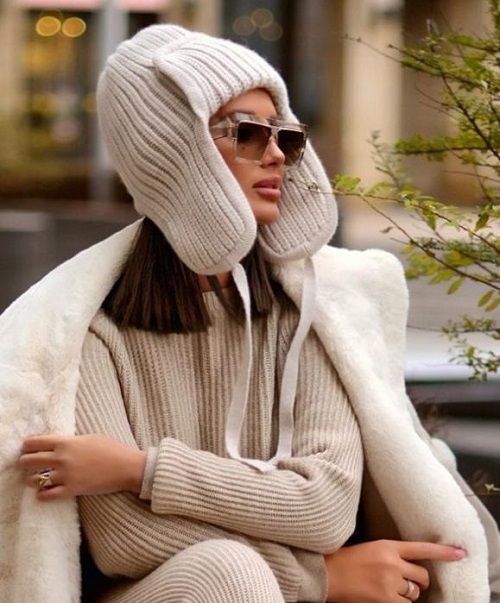
Knitted ushanka-style earflap hats
The fourth option in the roundup is knitted ushanka-style earflap hats.
An ushanka-style earflap hat option.
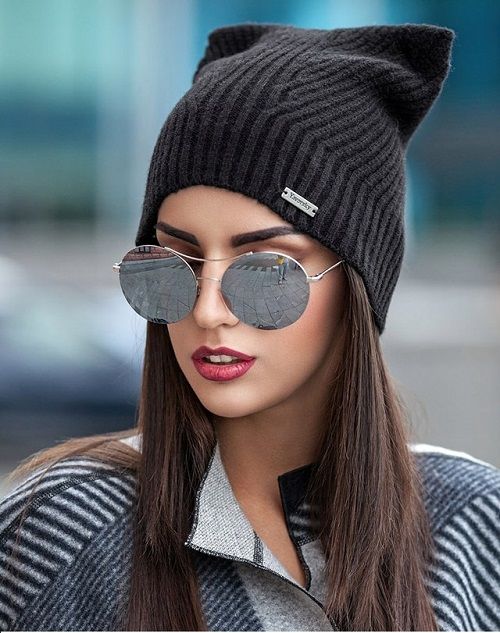
Hats with ears and decoration
The fifth option is hats with "ears." The source also suggests not overlooking simple styles, which can be decorated with rhinestones, beads, or other eye-catching trim.
A hat style with ears.
Finish and variations
Finish
Finishing the simple hat
When 8 stitches remain at the crown, slip them onto a length of yarn threaded on a needle, pull tight, and secure it on the wrong side. That completes the simple seamless hat.
Variations
The simple style with ribbing at the bottom
The same hat can get ribbing along the bottom edge: the edge won't roll, and the fit becomes snugger.
A cuffed beanie by video
For the simple cuffed beanie style, the source provides a separate YouTube tutorial with step-by-step guidance.
A decorated simple hat
The simple style can be decorated with rhinestones, beads, or bolder trim, as suggested at the end of the source material.
I ended up with fewer skeins than I needed for the style I chose.
Likely cause
The yarn amount was estimated without accounting for the style, meterage, fiber content, or a pompom.
How to fix it
Check your style against the source's table, check the meterage on the skein, and add 10-30 g if you want a pompom. For natural wool, allow extra for about 10% shrinkage.
The hat's size didn't match the calculation
Problem
The hat comes out wider or narrower than expected.
Likely cause
The swatch wasn't washed and dried before the calculation, or was knit in a different pattern.
How to fix it
Knit the swatch in the exact pattern you're using, wash it, lay it flat to dry — not on a radiator — and only then count the stitches and rows.
Cables pulled the fabric in a lot
Problem
A hat with arans or cables comes out smaller than a simple style.
Likely cause
A bulky pattern pulls the fabric in, but the calculation was done as if for plain knitting.
How to fix it
For cables and arans, use a separate swatch and the source's additional guidance on calculating stitches for these patterns.
The yarn irritates my skin
Problem
The hat is uncomfortable to wear on the forehead, neck, or around the ears.
Likely cause
Individual sensitivity to wool wasn't checked before buying.
How to fix it
Before buying, hold the skein against the inside of your elbow or your neck, as the source suggests.
The bottom edge of the simple hat rolls up
Problem
The edge of the stockinette stitch doesn't lie the way you want.
Likely cause
The simple style was knit without ribbing at the bottom.
How to fix it
Finish the bottom edge with ribbing: the source notes that this keeps the edge from rolling and gives the hat a closer fit.
The crown decreases went off
Problem
The decreases don't come together evenly across the four sections.
Likely cause
The stitches weren't split into 4 sections, or the markers got lost.
How to fix it
After 20 cm of fabric, split the 92 stitches into 4 sections of 23 stitches and place markers. In each section, leave the center stitch and work the decreases on either side of it.
?FAQ
How much yarn do I need for a hat?
It depends on the style and fiber content. For example, per the source's table, a simple hat in acrylic or polyester needs about 150 g, a lace hat 120 g, a beanie 200 g, a hat with an intricate pattern 200-250 g, and a simple cuffed hat 170 g. Add another 10-30 g for a pompom.
Why do I need to buy more wool?
The source notes that synthetics barely shrink, while natural wool shrinks by about 10%. That's why it's better to buy wool yarn with some extra allowance.
How do I calculate yarn use more precisely?
Knit a swatch in your chosen pattern, wash it, and lay it flat to dry. Count the stitches and rows in a 10 x 10 cm square, then unravel the swatch and measure its length. After that, multiply the length of one swatch by the number of 10 x 10 cm squares that fit in the hat's shape.
How do I choose my needle size?
First check the yarn label — it lists recommended sizes. It's best to also knit 2-3 swatches, since gauge varies between knitters. For the ribbing and the inside of the cuff, use a smaller needle size.
How many stitches do I cast on for the simple hat in the example?
In the example, a 54 cm head circumference and a gauge of 1.8 stitches per cm give 97 stitches. So the count divides evenly by 4, the author rounds the cast-on down to 92 stitches.
How do I close the crown of the simple hat?
After 20 cm of fabric, the 92 stitches are split into 4 sections, markers are placed, and decreases are worked around the center stitch of each section. When 8 stitches remain, they're gathered onto a length of yarn threaded on a needle, pulled tight, and secured on the wrong side.
Is there a video for the cuffed hat?
Yes. The source includes a YouTube link to a detailed tutorial for the simple cuffed beanie style: 1ZDz8LrT-C4.
Your project
Log in to track your project, attach photos, and publish your result into the shared feed.

 BeginnerFree