How to stretch watercolor paper on a board without buckling
This guide shows when watercolor paper should be stretched on a board, how to wet the sheet, secure the edges with flat-head thumbtacks, let it dry or re-wet it for wet-on-wet work, and remove the finished piece cleanly.
BeginnerFree
Translated
Things you will learn
Stretching is especially useful for thin paper, wet watercolor techniques, and work that needs to be scanned flat afterward.
The sheet must be larger than the board: for example, an A3 sheet works well with an A4 board because it leaves enough margin to fold over.
Wet the paper thoroughly with water: using a sponge, a wide brush, or the shower.
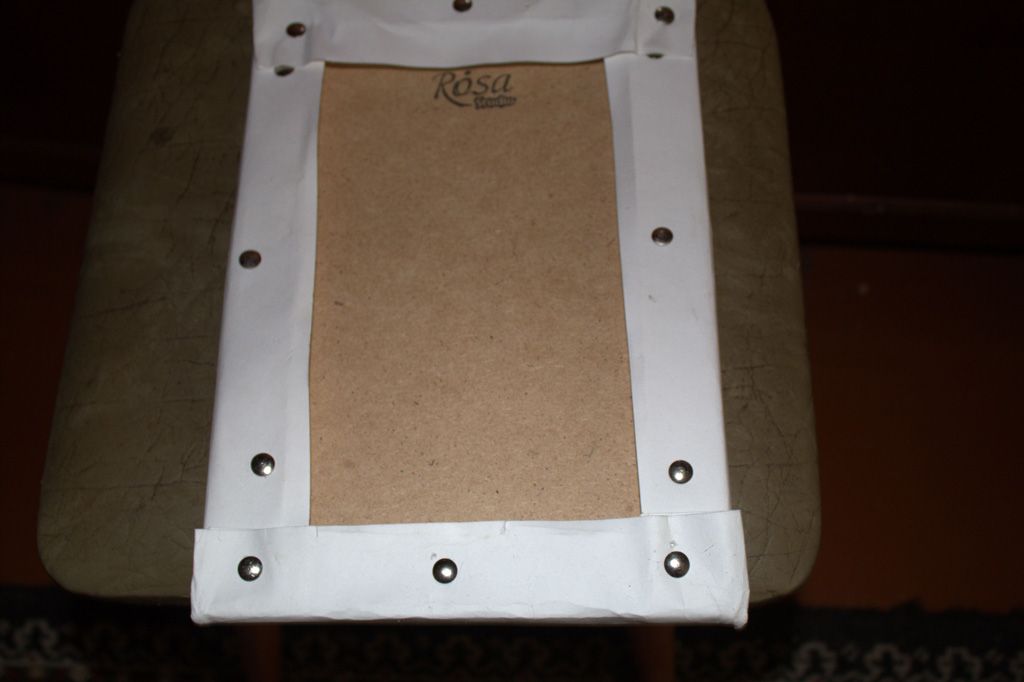
Fold the sheet edges around the board and secure them with flat-head thumbtacks so they do not interfere with painting.
For dry techniques, let the sheet dry completely first; for wet-on-wet work, you can re-wet the working surface after stretching.
What you will get
After stretching, the sheet lies flat on the board, the edges are secured, and the working surface is ready for dry watercolor or re-wetting for wet-on-wet work. Once the painting is finished and completely dry, cut it off with a utility knife.
Materials and tools
Materials
Watercolor paper, The sheet should be larger than the board so the edges can be folded over and secured.
Board for stretching paper, Example: an A4 board and an A3 sheet.
Clean water, For wetting the sheet evenly.
Flat-head thumbtacks, Flat ones work better, especially if you paint without an easel.
Tools
Sponge or wide flat brush, For wetting the paper and re-wetting it for wet-on-wet work.
Water container or shower, You can wet the sheet with a sponge from a container or directly in the shower.
Utility knife, Used only at the end to cut off the completely dry work.
Towel or cloth, Helps remove excess water from the workspace and the board.
Preparation
Choose a sheet with extra margin
The sheet should be noticeably larger than the board. The margins are not decorative: they fold around the board edges and are secured with thumbtacks.
Prepare a wet workspace
Wetting the sheet creates a lot of water. It is convenient to work near a bathtub or on a surface that is easy to wipe dry.
Use flat-head thumbtacks
Tall tacks can get in the way of your hand, brush, or paper, especially when the board lies flat and you paint without an easel.
When the paper should be stretched
Stretching is not always necessary, but it helps a lot when the paper will get very wet or when the finished sheet needs to stay flat.
Check the paper weight and technique
The author considers stretching necessary for paper under 200 g/m² and for wet-on-wet techniques. If the sheet is thin or you plan to use a lot of water, stretch it in advance.
About paper-weight units
The old text uses an imprecise unit notation. Watercolor paper is usually judged by its weight in g/m².
Stretch the sheet for work that will be scanned
If you are making an illustration for stock sites or other digital use, a flat dried sheet is easier to scan and edit.
Wet the sheet and secure it on the board
The main task is to wet the paper evenly, lay it on the board quickly, and secure the edges while the sheet is still flexible.
Wet the paper thoroughly
Wet the sheet on both sides or very evenly across the whole surface. You can use a sponge and a container of water, a wide brush, or simply rinse the sheet in the shower.
Wet it evenly
If part of the sheet stays dry, the paper will stretch unevenly and may warp after drying.
Place the sheet on the board and fold the edges
Place the wet sheet on the board with margins around it. Fold the paper edges over the sides of the board without yanking or pulling sharply.
Do not tear the wet sheet
Wet paper becomes softer. Fold the edges carefully, especially at the corners.
Secure the edges with flat-head thumbtacks
Secure the folded edges with thumbtacks around the perimeter. Place the tacks close enough together so the sheet stays even and does not lift while drying.
Why flat-head thumbtacks are easier to use
A flat head gets in the way of your hand and brush less when the board is lying on the table.
Check the whole perimeter
Inspect the board from every side: the edges should be folded, secured, and not pulling away from the board. If the paper feels loose anywhere, add another tack before it dries.
Overall view of the sheet secured on the board with flat-head thumbtacks.
Let it dry or work wet-on-wet
After the paper is fixed in place, the next steps depend on the technique: dry work needs complete drying, while wet-on-wet work needs the surface to be wetted again.
For dry techniques, wait until it is fully dry
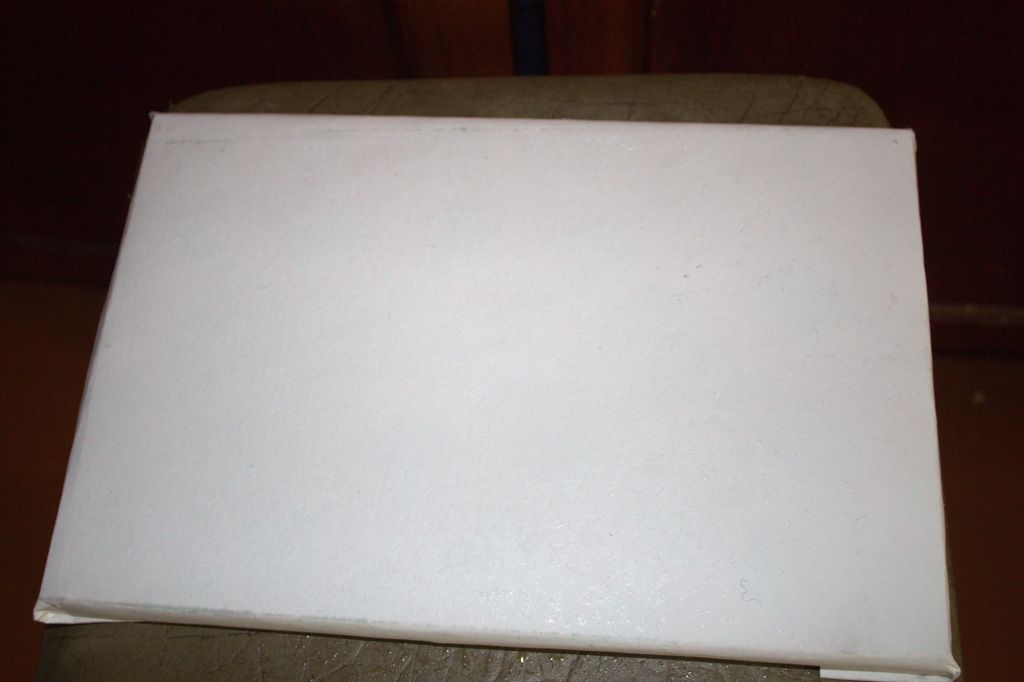
If you will paint on dry paper, leave the sheet on the board until it is completely dry. Once dry, the surface should be flat and taut.
After drying, the sheet stays flat and ready for painting.
Do not rush
If you start painting before the paper is fully dry, the sheet can deform again or create unwanted blooms.
For wet-on-wet work, wet the sheet again
If you plan to paint wet-on-wet, you can re-wet the working surface with a sponge or wide flat brush after stretching and start painting right away.
Cut off the finished work only after it is fully dry
When the painting is finished and completely dry, carefully cut the sheet off with a utility knife and remove the remaining paper strips from the board.
Cut only a dry sheet
Wet paper tears easily and can pull fibers along the edge of the painting.
Finish and variations
Finish
Check the flatness before scanning
If the work is meant for digital processing, remove it from the board only after it is fully dry. A flat sheet is easier to scan without shadows or ripples.
Clean the board after removing the paper
Remove the leftover folded strips and check that no moisture or paper fibers remain on the board surface.
Variations
Wetting with a sponge
Convenient if you work at a table and want to control the amount of water.
Wetting in the shower
A quick way to wet the sheet evenly, especially in a larger format.
For wet-on-wet technique
Stretch the sheet, secure the edges, then re-wet the working surface before painting.
After drying, the paper is uneven or has lifted in some areas.
Likely cause
The sheet was wetted unevenly or the edges were secured too far apart.
How to fix it
Next time, wet the sheet completely and secure the edges more closely. Make sure the folded edges do not pull away from the board before drying.
The corners tear while folding
Problem
Wet paper tears at the corners or near the thumbtacks.
Likely cause
The margins are too narrow, the sheet is being pulled too hard, or the tacks are placed too close to the edge.
How to fix it
Use a larger sheet, fold without tugging, and place the thumbtacks slightly in from the folded edge.
The thumbtacks get in the way while painting
Problem
The brush or your hand catches on the fasteners around the board edges.
Likely cause
The tacks are too tall or too close to the working area.
How to fix it
Use flat-head thumbtacks and leave wide enough margins. These tacks get in the way of your hand and brush less while you work.
The sheet dries too quickly for wet-on-wet work
Problem
After stretching, the working surface has become dry, but you need it wet.
Likely cause
The sheet has already dried after the initial stretching.
How to fix it
Before you begin painting, re-wet the surface with a sponge or a wide flat brush.
The painting edge looks uneven after removal
Problem
After cutting the sheet off the board, the paper edge looks ragged.
Likely cause
The work was removed before it was fully dry, or the knife was dull.
How to fix it
Wait until the paper is fully dry and use a sharp utility knife. Cut slowly while holding the sheet flat.
?FAQ
When is stretching the paper necessary?
If the paper is thin, if you are working wet-on-wet, or if you need a perfectly flat sheet for scanning. Stretching is especially useful for paper under 200 g/m².
Can I wet the sheet in the shower?
Yes. It is one way to wet the sheet evenly. After rinsing it in the shower, quickly move the paper to the board and secure the edges.
Why does the sheet need to be larger than the board?
You need extra margins so the paper can wrap around the board and be pinned in place. If the sheet is the same size as the board, you will not be able to secure the edges without losing working area.
Why use flat-head thumbtacks?
Flat-head thumbtacks get in the way of your hand and brush much less. This matters especially when you paint without an easel and the board lies flat on the table.
When should I cut off the finished work?
Only after the painting is completely finished and dry. A damp sheet is easy to damage with a knife or pull along the edge.
Your project
Log in to track your project, attach photos, and publish your result into the shared feed.

 BeginnerFree