How to Make an Unusual Scarf Using the Crazy Wool Technique
How to Make an Unusual Scarf Using the Crazy Wool Technique
BeginnerFree
Translated
How to Make an Unusual Scarf Using the Crazy Wool Technique
I only recently learned about the unusual Crazy Wool technique, which doesn't use the knitting needles or crochet hooks we're accustomed to. After browsing around the internet a bit, I was really disappointed that I hadn't discovered such a wonderful method...
How to Make an Unusual Scarf Using the Crazy Wool Technique
I only recently learned about the unusual Crazy Wool technique, which doesn't use
I only recently learned about the unusual Crazy Wool technique, which doesn't use the knitting needles or crochet hooks we're accustomed to. After browsing around the internet a bit, I was really disappointed that I hadn't discovered such a wonderful method sooner. In just a few hours, I ended up with this stylish scarf that can complement any look on dreary autumn days.
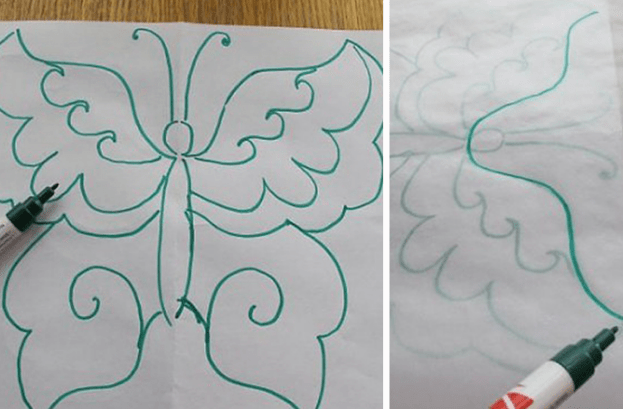
For the basis of this accessory, I decided to use a butterfly motif that I had to draw
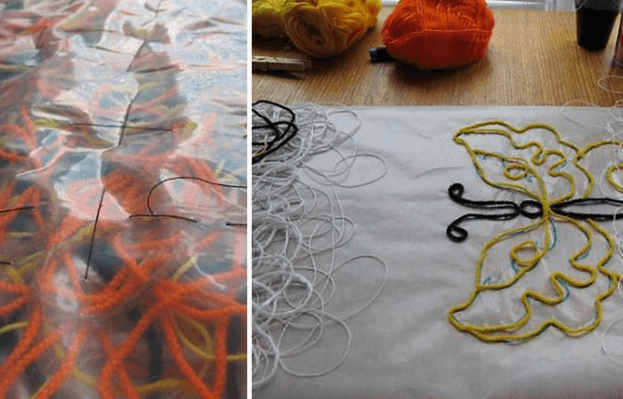
For the basis of this accessory, I decided to use a butterfly motif that I had to draw on a sheet of paper. The resulting design needs to be transferred onto a sheet of water-soluble paper, which will serve as a stabilizer. Please forgive me, but for this master class, regular tracing paper was used (I didn't have the right size stabilizer on hand 😢). I want to point out that the design needs to be transferred onto both sides of the tracing paper or water-soluble paper!
To make the scarf, we will need regular knitting yarn, and it can be
To make the scarf, we will need regular knitting yarn, and it can be yarn of absolutely any thickness and color. If you don't want to waste good yarn on such a project, or if you have a lot of yarn scraps or leftover skeins that were previously used, these handy materials will also work great for the project. You can also use unwanted scraps of felting wool, fabric remnants, and plain sewing thread.
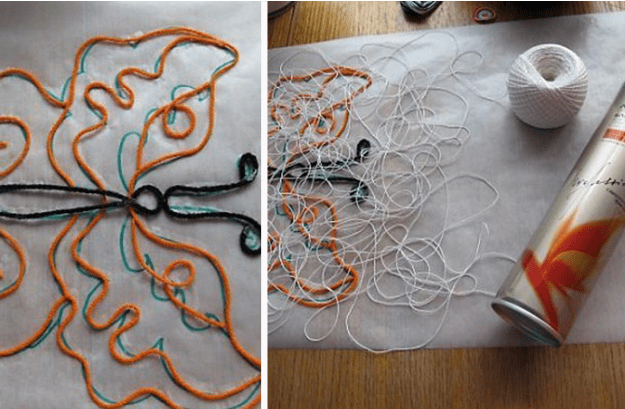
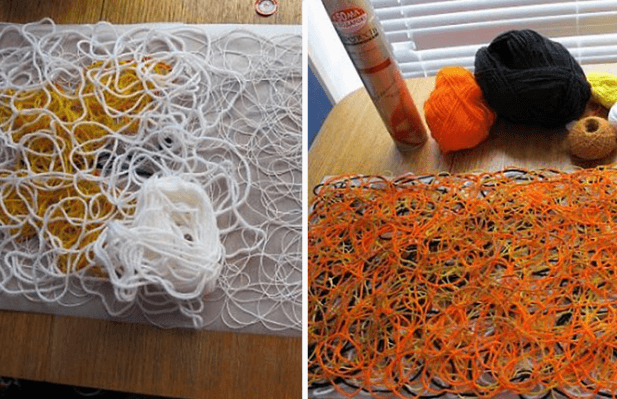
Lay the yarn out along the outline of our design and secure it to the paper base and together with regular PVA glue. Next, "tangle" the main design with a thinner yarn in a different color (in my case, white). It's best to do this in layers, securing each layer with whatever hairspray you have on hand 🙃.
Specifically for this piece, white cotton threads and
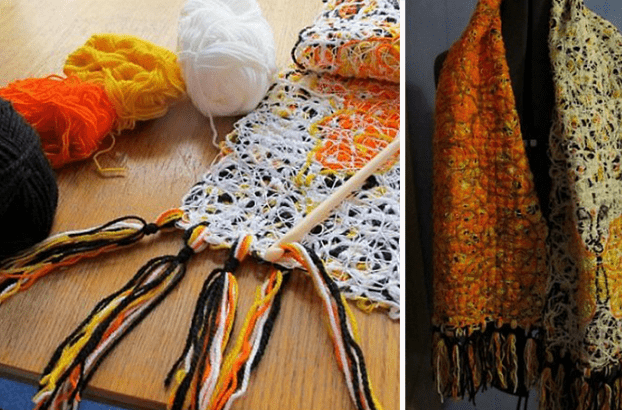
Specifically for this piece, white cotton and wool threads were used. Along with orange, black, beige, and yellow.
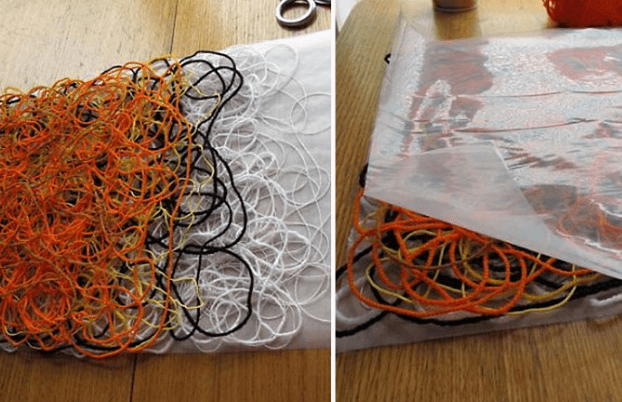
Cover our secured threads with a layer of water-soluble
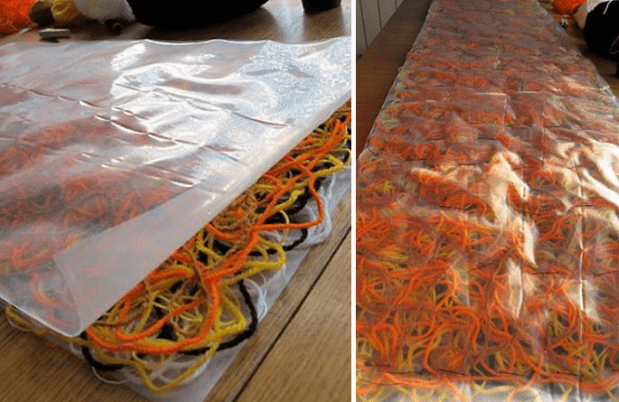
Cover our secured threads with a layer of water-soluble paper.
We begin basting the nearly finished
We begin basting the nearly finished piece. I want to point out that there's no need to tie knots at the ends of the working threads! We fold in the finished edges and continue basting along the entire length of the piece.
Now we will need a sewing machine (yes, yes, you're not
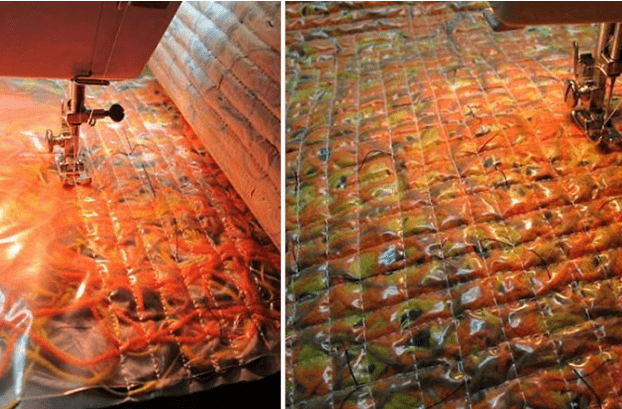
Now we will need a sewing machine (yes, yes, you're not imagining things). Stitch across the piece lengthwise and crosswise in small squares no larger than 10 × 10 mm. I recommend taking more time, but under no circumstances making the squares any larger. Any neutral-colored sewing thread will work for the stitching.
Now for the easiest and
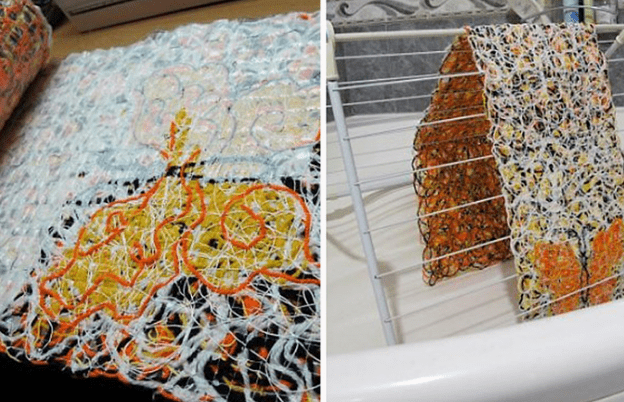
Now for the easiest and most enjoyable part! We remove the stabilizer layers. If you used tracing paper on one side (as I did), you will have to remove it by hand. To remove the water-soluble paper, rinse the finished scarf in warm water no hotter than 30°C until the stabilizer dissolves. Now let our piece air-dry.
If desired, you can decorate the scarf
If desired, you can decorate the scarf with tassels!
Despite the simplicity of the concept and execution, the scarf turned out quite
Despite the simplicity of the concept and execution, the scarf turned out quite warm. To sum up: a few hours of time and a couple of skeins of yarn, and we got a stylish scarf 1.7 m long (including the tassels) and 30 cm wide.

 BeginnerFree