Floral-themed jewelry never goes out of style. Delicate brooches made from materials that are pleasant to the touch perfectly complement a long, beautifully tied scarf, a handbag, a cardigan, and even a winter coat. If you want to make a brooch in the form
BeginnerFree
Translated
How to Make a Wet-Felted Peony Brooch
Floral-themed jewelry never goes out of style. Delicate brooches made from materials that are pleasant to the touch perfectly complement a long, beautifully tied scarf, a handbag, a cardigan, and even a winter coat. If you want to make a brooch in the form
Main Steps
Step 1
Floral-themed jewelry never goes out of style. Delicate brooches made from materials that are pleasant to the touch perfectly complement a long, beautifully tied scarf, a handbag, a cardigan, and even a winter coat. If you want to make a peony-shaped brooch, I suggest trying the technique of nuno felting or wool felting. It allows you to create a realistic flower with delicate petals and a smooth transition of shades.
Step 2
See the detailed master class on how to make a brooch using the wet felting method
What you need for the project
1. Three small balls of wool in white, light pink, and pink. 2. Bubble wrap. 3. A template 30 cm in diameter made of heavy-duty plastic sheeting, and a cardboard template 15 cm in diameter. 4. A cut of mosquito netting or similar material. 5. Liquid soap solution. 6. A needle and thread. 7. Hardware (brooch pin back).
Step-by-step guide for making a peony
Step 1
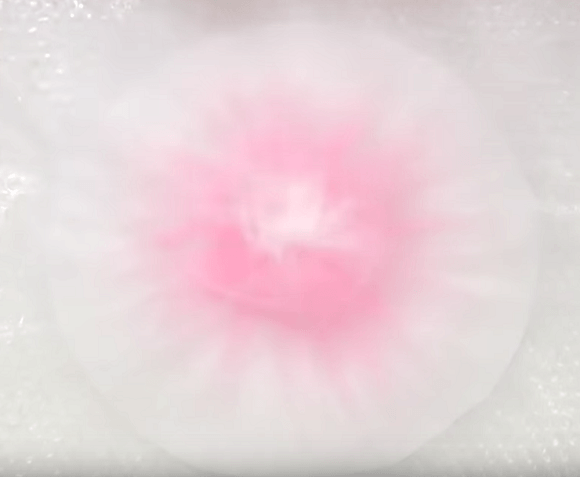
Place the 30 cm circular template on the bubble wrap. Arrange small tufts of white wool around the perimeter, and fill the center with light pink material.
Step 3
Step 2
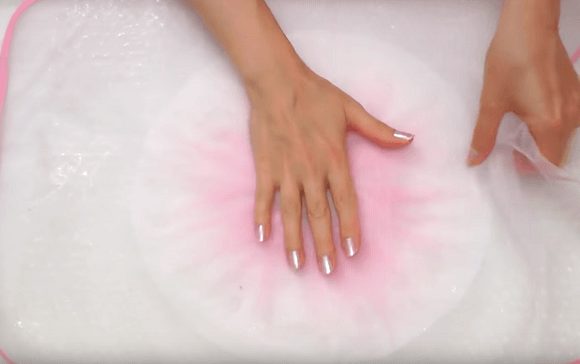
Generously wet the wool with the soapy solution from a spray bottle. Cover with the mosquito netting. Vigorously rub the solution in with your palm in various directions. Under the action of the soap, the wool begins to felt, its fibers binding into a single mass.
Step 4
Step 3
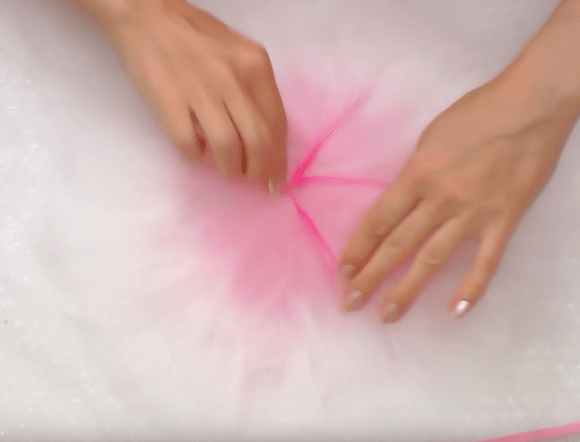
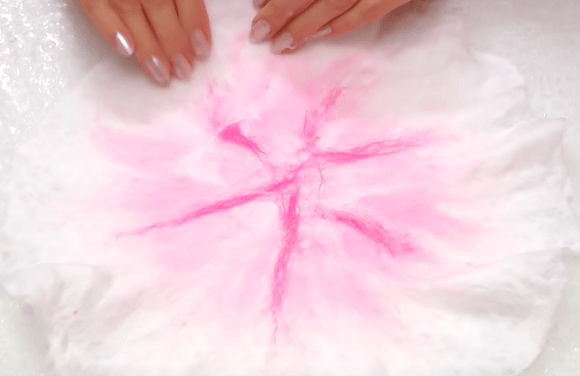
Carefully remove the netting and repeat the wool layout, but adding bright pink strands. Cover the piece with the netting again, wet it several times with the soapy solution, and felt by hand.
Step 5
Step 4
Remove the netting and shape the circle by stretching the edges.
Step 6
Step 5
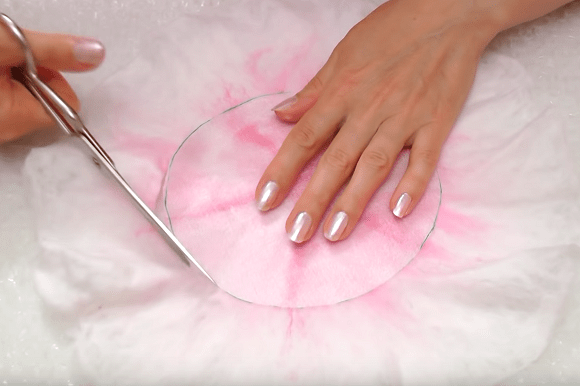
Place the 15 cm template on top and cut out the center.
Step 7
Step 6
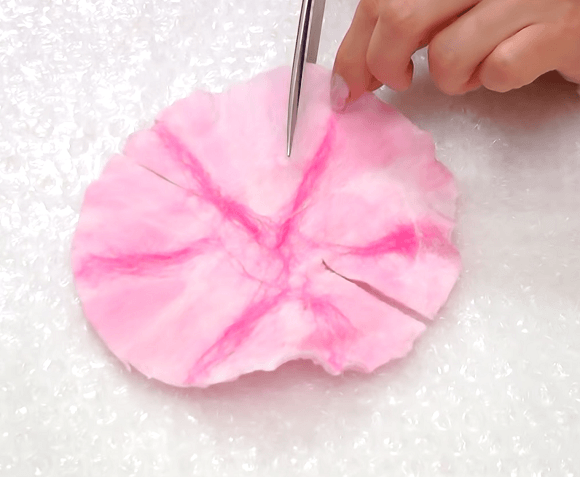
Make 6 cuts on the central part of the brooch, lift them, and shape the petals with scissors.
Step 8
Step 7
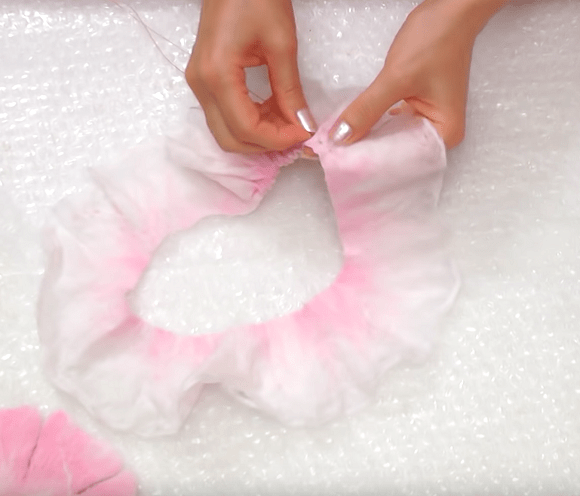
Gather the larger circle using a needle and thread.
Step 9
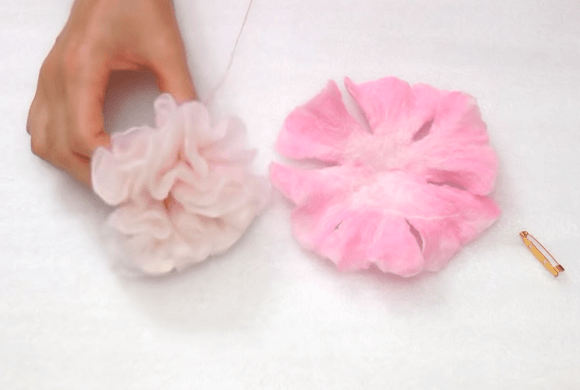
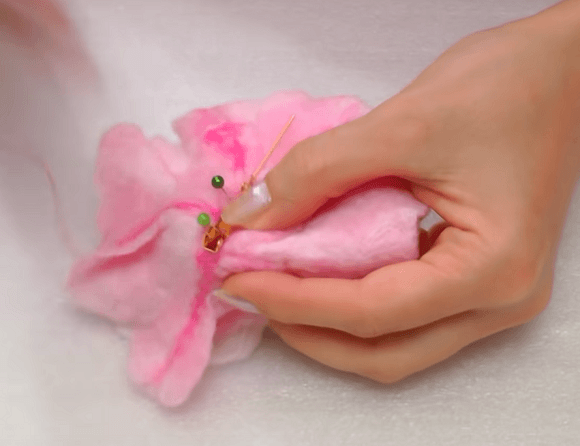
We have 2 parts of the brooch ready; all that is left is to assemble them into a flower.
Step 10
Sew the bottom slashed part and the top gathered half together, pin the clasp to the back, and sew it on.
The finished brooch needs to be dried thoroughly. During the felting and drying process, it will shrink significantly compared to the original piece; the flower turns out small and fits in the palm of your hand.

 BeginnerFree