I love leather jewelry, but I was always afraid to try making something myself. After I saw my friend at work (and she is, to put it mildly, not exactly a devoted crafter), I decided to try...
BeginnerFree
Translated
How to Make a Leather Jewelry Set
I love leather jewelry, but I was always afraid to try making something myself. After I saw my friend at work (and she is, to put it mildly, not exactly a devoted crafter), I decided to try...
Main Steps
Step 1
I love leather jewelry but was always afraid to try making something myself. After watching my friend work, who is not really a devoted crafter, I decided to try making leather jewelry. I will not show off my first attempts, but after long, persistent practice, I am ready to present this work for your judgment. Perhaps only I found making this set difficult; experienced crafters may find the process much easier.
Step 2
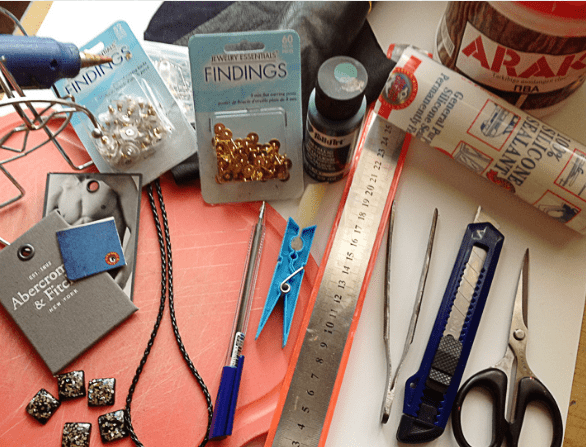
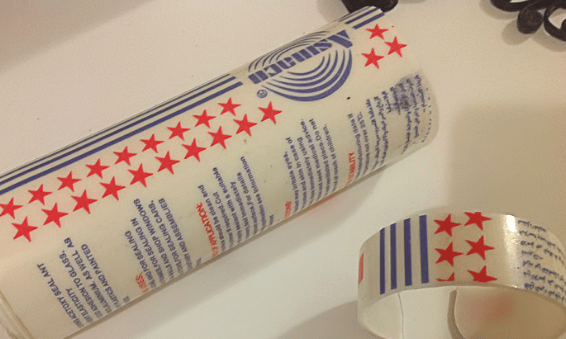
To make this set, I needed: • leather scraps; • scissors, ruler, and craft knife; • Moment glue and a hot-glue gun; • acrylic paint; • flat stones; • an empty construction-silicone tube; • pendant cord and earring posts with backs; • small extras: cardboard, tweezers, and a cutting board.
Step 3
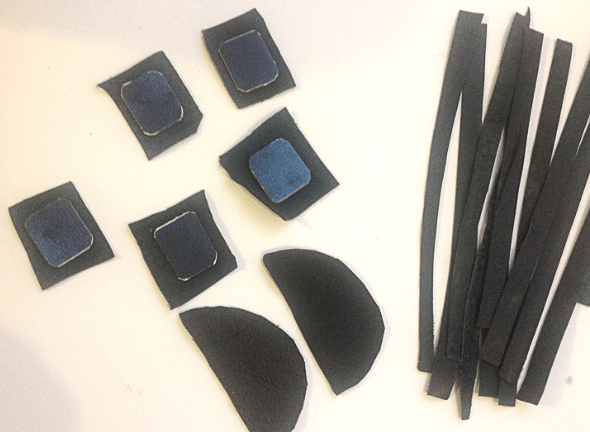
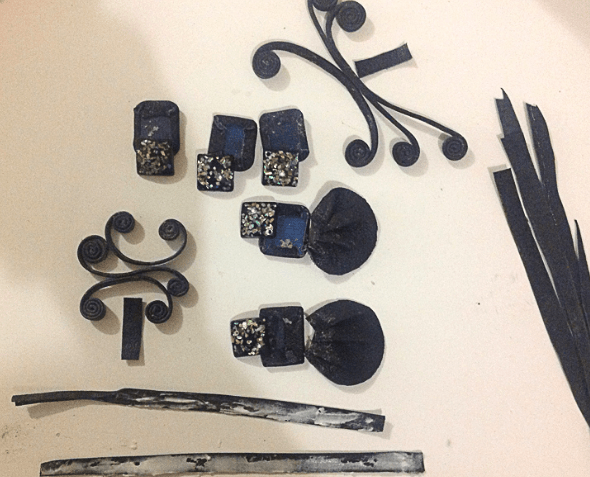
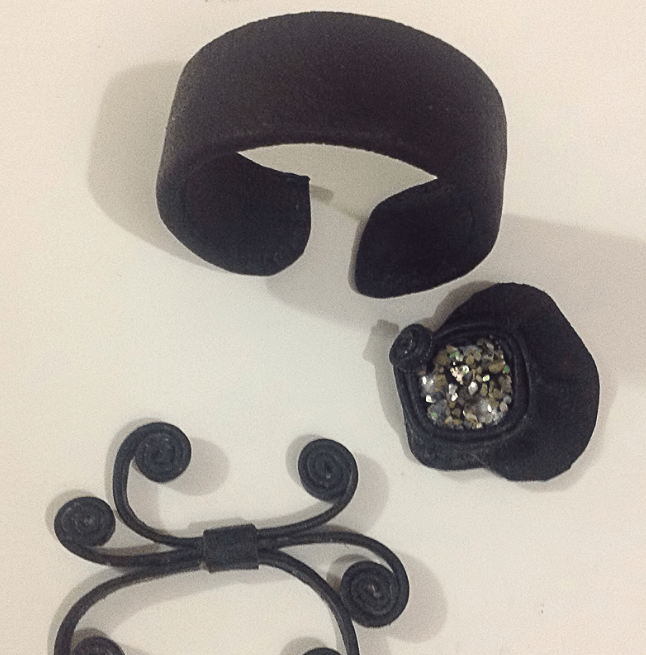
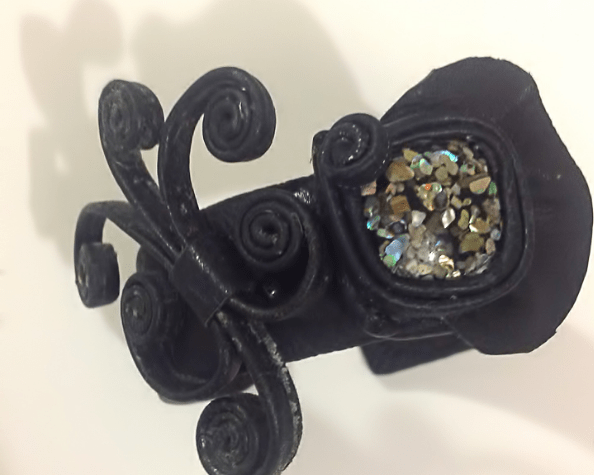
Cut cardboard patterns for the jewelry—clip-on earrings, bracelet, pendant, and ring—where decorative stones, or cabochons, will sit. Each pattern should be slightly larger than its cabochon. Cover the blanks with leather. Make additional cabochon elements from bias-cut semicircular pieces. Drape the pieces into folds and fix them with hot glue. Glue these semicircular pieces to the cabochon bases for the bracelet and pendant. The other jewelry pieces do not need these blanks.
Step 4
Step 5
On a cutting board, cut 11 strips measuring 1 × 13 cm. Coat them with Moment glue and fold them in half. Leave the strips to dry; you can also place them under a press. Wrap each cabochon with strips, then use the remaining strips to make additional details for two cabochons as shown in the photo.
Step 6
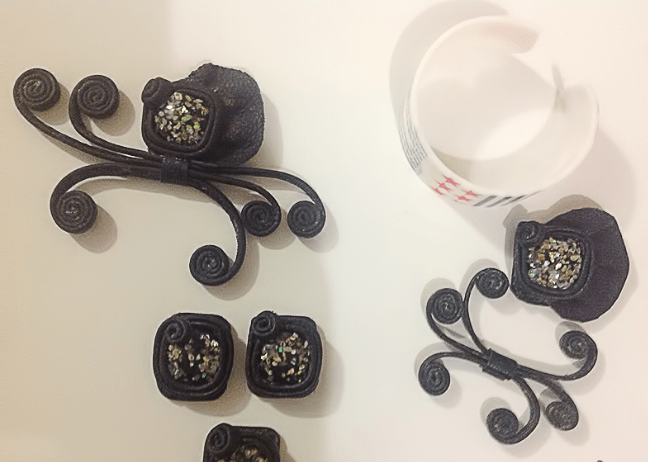
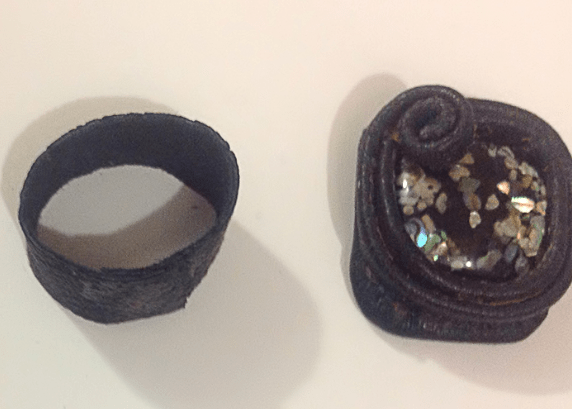
Cut a bracelet blank from the empty tube and even its edges. Cover the bracelet blank with a wide leather strip and glue the cabochon with its “skirt” onto the base.
Step 7
Step 8
Step 9
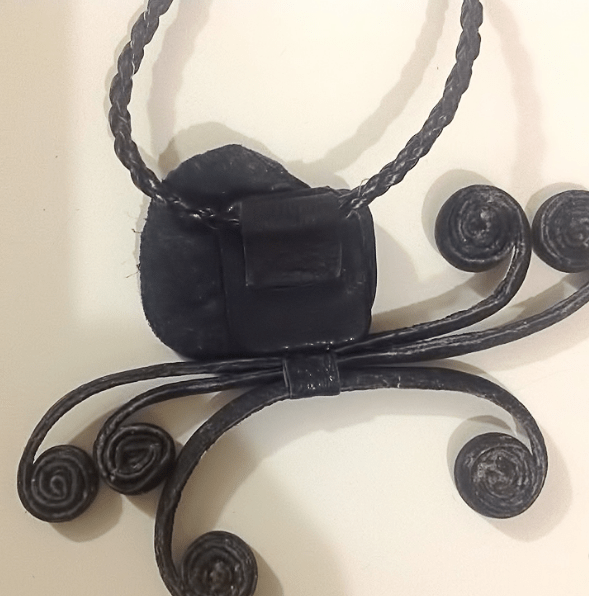
For the necklace, twist leather trim into cord and attach it to the reverse side of the cabochon.
Step 10
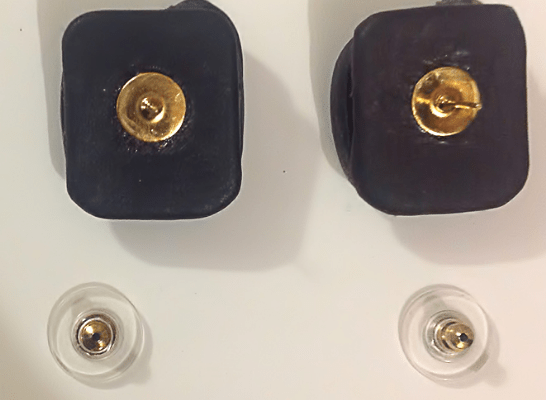
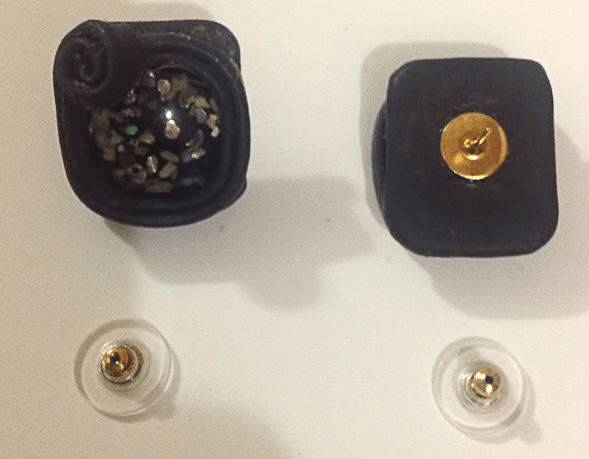
Glue earring-post pads onto the earring cabochons and let them dry, then attach the plastic backs.
Step 11
Step 12
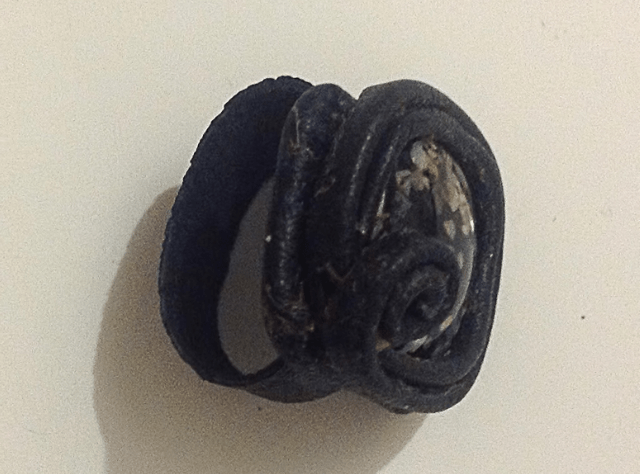
For the ring, cut a leather strip to fit your finger and glue the blank ends together. Glue the cabochon over the joined ends.
Step 13
Remove any glue traces from the jewelry, then carefully paint the leather surface with acrylic paint. I used an ordinary cotton swab. That is all. Some people may find the process too difficult and others may not, but the jewelry is truly original, and in practice everything is easier than it first appears.

 BeginnerFree