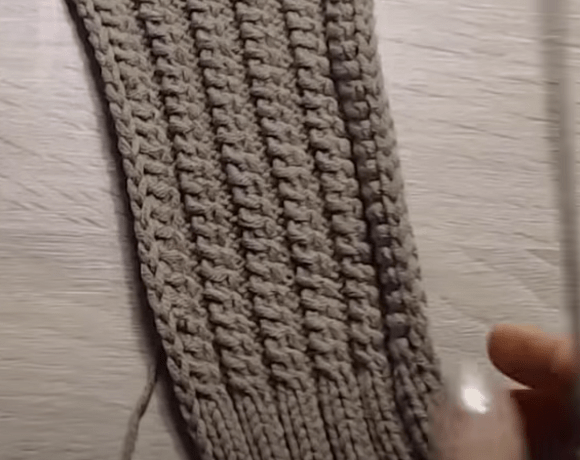
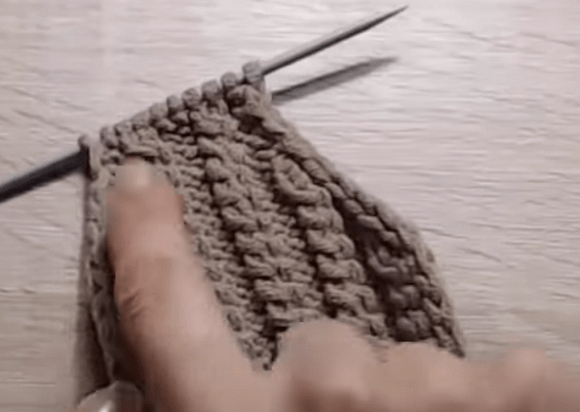
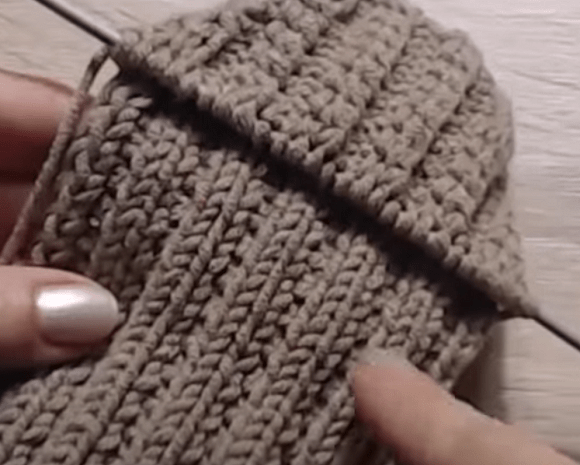
This master class explains how to calculate stitches, knit the upper and lower parts of a mitten on two needles, join them as you work, and shape the thumb.
BeginnerFree
Translated
Things you will learn
This method is useful if you do not like or do not yet know how to knit mittens on 5 needles.
The upper and lower halves are joined during knitting, so the mitten does not need to be sewn together.
The cuff is worked in 2x2 rib, then the main pattern forms a small cable effect.
In the author's example, 44 cuff stitches are divided in half, so 22 stitches are cast on for one part.
The thumb is worked in mirror image for the right and left mitten.
Seamless Mitten on Two Needles
The finished mitten is made without sewing the upper and lower halves together. The model has a rounded top, and the thumb is worked in mirror image for the right and left hand.
Materials and tools
Materials
Yarn for mittens, The source does not specify fiber content or yardage; choose yarn according to the desired size and gauge.
Tools
2 knitting needles, The main mitten is worked on two needles.
Extra needle, Use it to hold 8 stitches for the thumb.
Preparation
Calculate the stitches
First calculate the number of stitches for the cuff. In the author's example, the result is 44 stitches, which are then divided by 2.
Decide which mitten is right and left
The thumb is shaped in mirror image: for the right mitten, place the first 8 stitches on an extra needle; for the left mitten, place the last 8 stitches on it.
Cuff and Main Part
The work begins with half of the calculated stitch count: the upper and lower parts of the mitten are knitted separately and then joined.
Cast on half of the mitten stitches
After calculating the cuff, divide the stitch count by 2. In the example, 44 stitches become 22 stitches for one part.
Knit the cuff in rib
Cast on 22 stitches and knit 4-5 cm in 2x2 rib.
Cuff height
The source gives a cuff height of 4-5 cm.
Switch to the main pattern
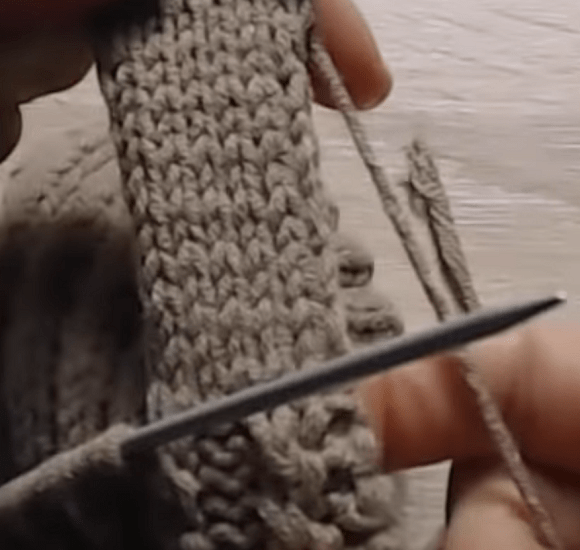
After the ribbing, continue in the main pattern to the required length, approximately to the beginning of the little finger. On every 2nd knit-side row, swap the knit stitches to create a small cable. The slant can go either right or left.
Decreases and Joining the Parts
Next, shape the rounded top and begin knitting in mirror image while joining the parts at the same time.
Work the decreases
Knit 2 stitches together at the beginning of the knit-side row and at the beginning of the purl-side row until 10 stitches remain on the needle.
Keep the pattern aligned
Make sure the decreases do not disturb the main pattern.
Start knitting in mirror image
Continue knitting in mirror image while joining the upper part to the lower part.
Pick up the edge stitches
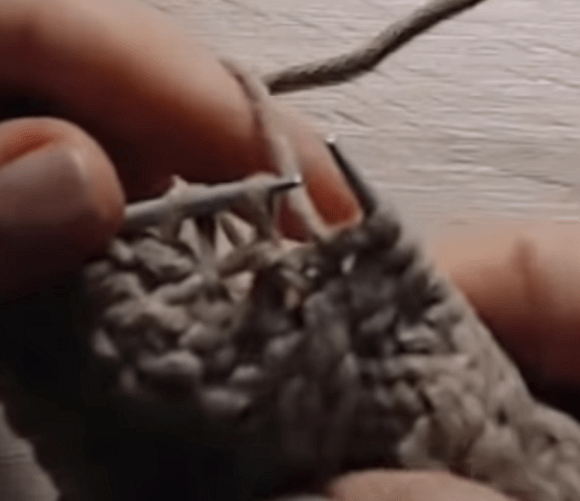
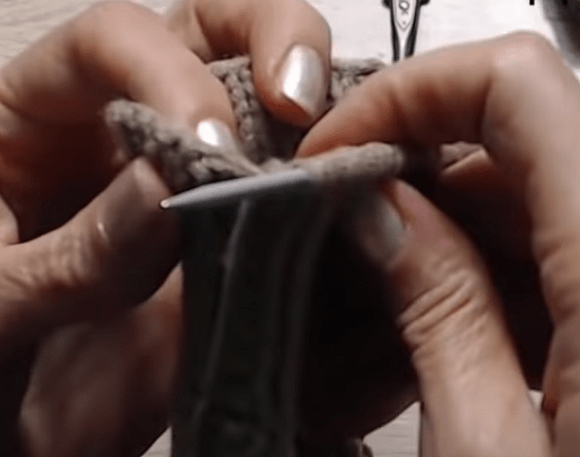
Pick up the edge stitch from the front part, slip it onto the left needle, and knit it together with the first stitch of the row, then make 1 extra stitch. At the end of the row, make an extra stitch before the last stitch, then pick up the edge stitch and knit it together with the stitch from the front part.
Return to 22 stitches
Continue this way until there are 22 stitches on the needle again. Make sure each increase is worked according to the pattern.
Stitch check
At the end of this stage, there should be 22 stitches on the needle.
Thumb and Finishing the Mitten
The straight section is knitted to the thumb, then the thumb is shaped according to whether you are making the right or left mitten.
Knit the straight section to the thumb
Knit the straight section of the mitten by picking up the edge stitch, but without increases now. The length to the thumb is about 13 cm.
Place stitches on an extra needle for the thumb
For the right mitten, place the first 8 stitches on an extra needle. For the left mitten, place the last 8 stitches on the extra needle.
Knit the thumb
Knit the thumb straight to the required length, then work the decreases. Knit the back of the thumb in the same way as the top of the mitten, picking up the edge stitches.
Finish the mitten
When the thumb is finished, place the stitches on one needle and continue knitting to the end of the ribbing. Bind off all stitches and hide the yarn end.
Knit the second mitten in mirror image
Knit the second mitten the same way, but work the thumb in mirror image.
Finish and variations
Finish
Hide the yarn end
After binding off, hide the working yarn neatly so the cuff edge looks clean.
Credit the source of the idea
The author notes that the knitting method was found in the "School of Needlework" and thanks the makers there.
Variations
Cable slant
In the main pattern, the small cable can slant either to the right or to the left.
The stitches no longer match the pattern after increases
Problem
The cable effect or main pattern becomes uneven after the parts are joined.
Likely cause
The increases were worked without following the pattern.
How to fix it
When returning to 22 stitches, make sure every increase is worked according to the pattern.
The thumb ended up on the wrong side
Problem
After shaping the thumb, it is positioned for the wrong hand.
Likely cause
The wrong group of 8 stitches was placed on the extra needle.
How to fix it
For the right mitten, place the first 8 stitches on the extra needle; for the left mitten, place the last 8 stitches on it. Work the second mitten in mirror image.
?FAQ
Why are these mittens seamless?
The upper and lower halves are joined while knitting by picking up the edge stitches, so they do not need to be sewn together later.
How many stitches are cast on in the example?
The author first calculated 44 stitches for the cuff, then divided the number in half and cast on 22 stitches for one part.
What pattern is used after the cuff?
The cuff is knitted in 2x2 rib. Then, on every second knit-side row, the knit stitches are swapped to create a small cable effect.
How do I shape the thumb for the right and left mitten?
For the right mitten, place the first 8 stitches on an extra needle; for the left mitten, place the last 8 stitches on it. Knit the second mitten in mirror image.
Your project
Log in to track your project, attach photos, and publish your result into the shared feed.

 BeginnerFree