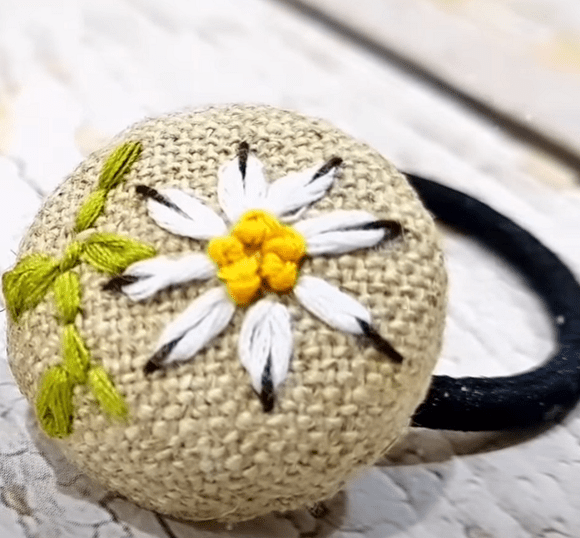
Embroidered Hair Ties: Make Your Own Accessory Design
A tutorial for embroidered hair ties: cut round fabric pieces, satin-stitch a flower motif, gather the piece around a button, make a backing with the elastic attached, and join the two pieces together.
Beginner1 hrFree
Translated
Things you will learn
Folk-style accessories are trending right alongside embroidered shirts these days; an embroidered hair tie gives you plenty of room for creativity and suits beginners too — the motif's complexity and even the stitching technique are entirely up to you.
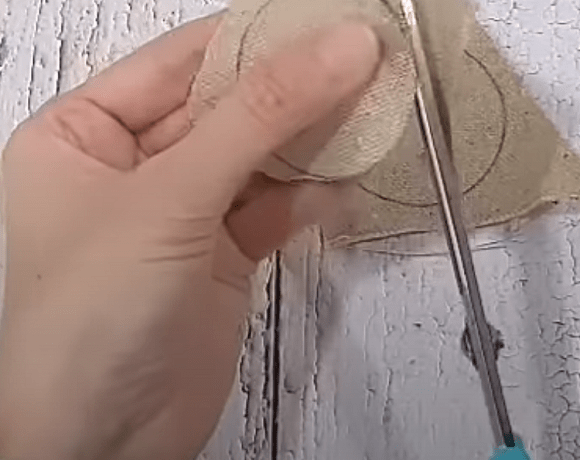
Cut the fabric pieces from homespun cloth, linen, or natural-toned embroidery canvas: trace a paper template and cut out circles 5 to 7 cm across.
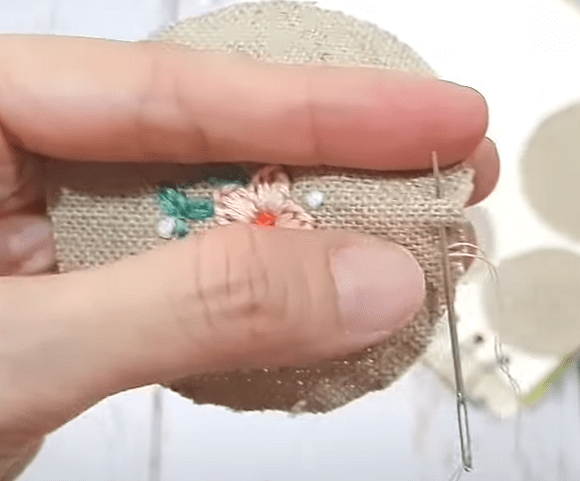
Beginners are better off with simple flower designs; any thread you have at home works — darning thread, thin knitting yarn, or even sewing thread doubled 3 to 4 times — draw the flowers and leaves in pencil and satin-stitch them.
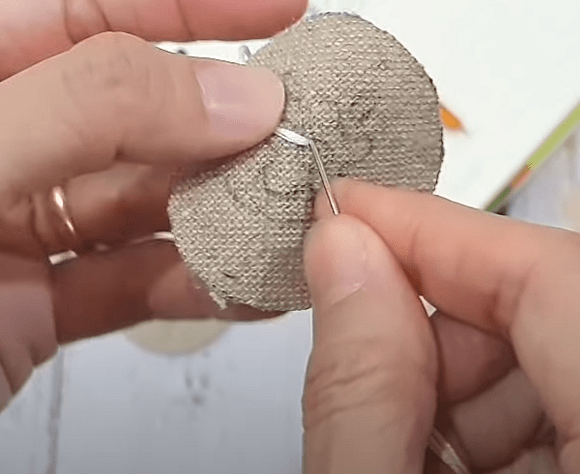
Run a basting stitch around the edge of the embroidered circle, gather it slightly, tuck a large flat button inside, pull it tight, and secure the thread with a few stitches (or use batting or cotton wool instead of a button for a puffier look).
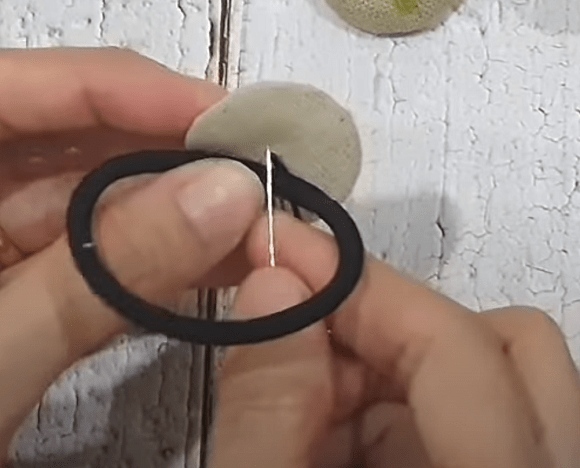
Stitch the hair elastic onto a second fabric circle with a few small stitches, gather that circle with a basting stitch around a flat button, and hand-sew the backing to the back of the embroidered piece with invisible stitches; you can glue on a pin back instead of the elastic.
What you'll get
You'll get an original, handmade hair tie with a folk-style embroidered flower motif.
Materials and tools
Materials
Fabric for the pieces, homespun cloth, linen, or natural-toned embroidery canvas
Embroidery thread, darning thread, thin knitting yarn, or sewing thread doubled 3 to 4 times
A large flat button
Batting or cotton wool, optional, instead of the button, for a puffier look
A hair elastic
A pin back, optional, instead of the hair elastic
Paper for the template, for a round template 5 to 7 cm across
Tools
Needle, for embroidering and assembling the pieces
Scissors, for the fabric and paper
Pencil, for tracing the motif onto the fabric
Preparation
Make a paper template
Make a paper template — a circle 5 to 7 cm across (depending on the accessory you want to end up with).
Prepare the fabric pieces
Cut round fabric pieces using the template.
Trace the template onto the fabric and cut out the circles
First you need to make the fabric pieces — this can be homespun cloth, but linen or natural-toned embroidery canvas work too. Trace the paper template onto the fabric and cut it out.
Cutting out a round fabric pieceThe round fabric piece
Embroider the motif
Plan your motif and satin-stitch it.
Draw and embroider a flower motif
Decide ahead of time which motif you want to embroider. For beginners, simple flower designs work best. Any thread you have at home will do — darning thread, thin knitting yarn, or even sewing thread doubled 3 to 4 times. Draw flowers and leaves in pencil and satin-stitch them.
Embroidering the flower motif
Gather the piece and add the button
Gather the embroidered piece around a button or a soft filler.
Run a basting stitch and gather the edge
Run a basting stitch around the edge and gather it slightly.
Add the button or filler
Tuck a large flat button inside, pull the thread tight, and secure it with a few stitches. Or do it differently — use batting or cotton wool instead, for a puffier look.
Make the backing
Prepare the second fabric piece — the backing with the elastic.
Sew the elastic onto the second circle
Sew the hair elastic onto the second fabric circle with a few small stitches.
Sewing the piece onto the hair elastic
Gather the backing around a button
Run a basting stitch around the edge and gather it around a flat button.
Assemble the hair tie
Join the embroidered piece and the backing together.
Sew the backing to the embroidered piece
Hand-sew the backing to the back of the embroidered piece with invisible stitches. Instead of the elastic, you can glue a pin back onto the backing — this gives you an original folk-style accessory instead.
Attaching the embroidered pieceA hair tie with an embroidered daisy
Finish and variations
Finish
Your hair tie is ready
Your embroidered hair tie is done! Instead of the elastic, you can glue a pin back onto the backing for an original folk-style accessory.
Variations
Make a brooch instead of a hair tie
Instead of the hair elastic, you can glue a pin back onto the backing — this gives you an original folk-style accessory instead.
Use a filler instead of a button
Instead of a button, you can use batting or cotton wool for a puffier look.

 Beginner1 hrFree