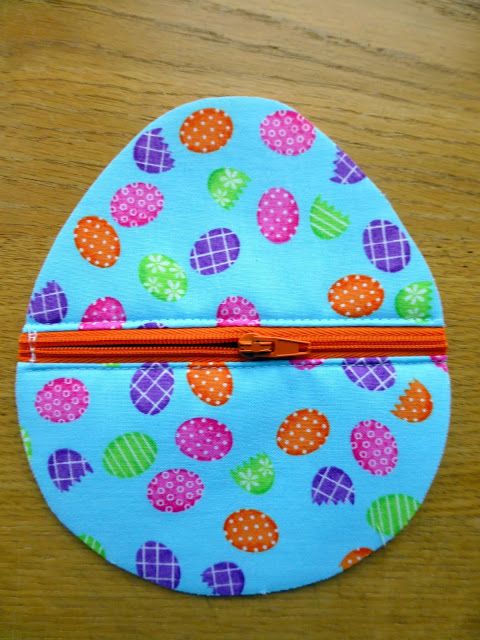
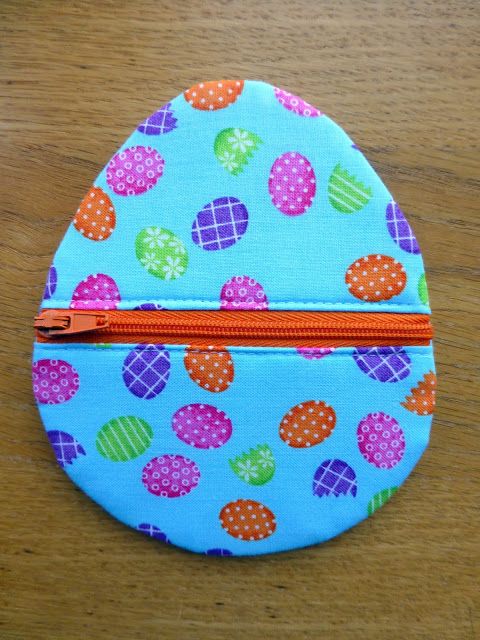
There are about 20 days left until the Easter holidays—the perfect amount of time, I think, to get everything done 😉 I suggest putting one of the main Easter symbols on the agenda: the egg. But in an especially bright, “kid-friendly” version 😀 I think patchwork lovers
BeginnerFree
Translated
Directions
Step 1
There are about 20 days left until the Easter holidays—the perfect amount of time, I think, to get everything done 😉 I suggest putting one of the main Easter symbols on the agenda: the egg. But in an especially bright, “kid-friendly” version 😀 I think patchwork lovers will enjoy it ))
Illustration 2
Step 3
What you'll need: bright fabric scraps, a short zipper, and interfacing. The latter comes in handy if the fabric isn't sturdy enough or if you want a more structured pouch in the end.
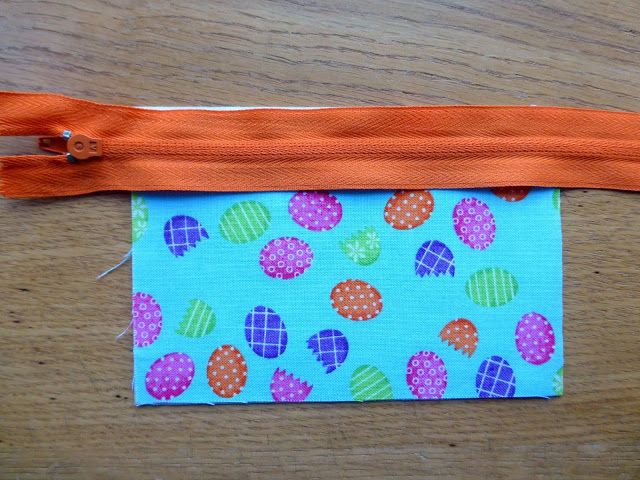
Let's begin: place the zipper wrong side up on the first fabric scrap.
Illustration 4
Step 5
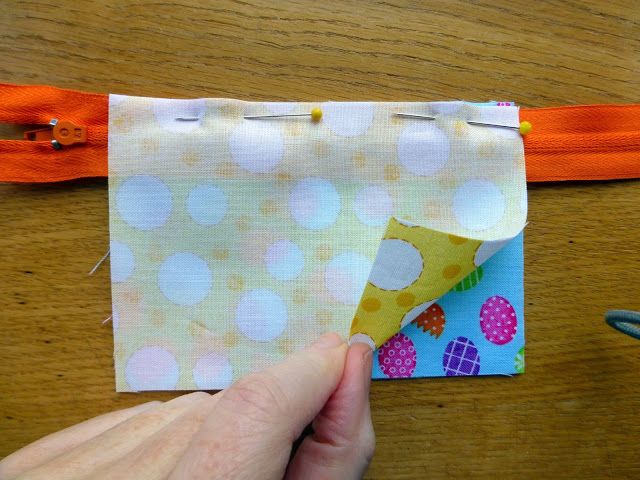
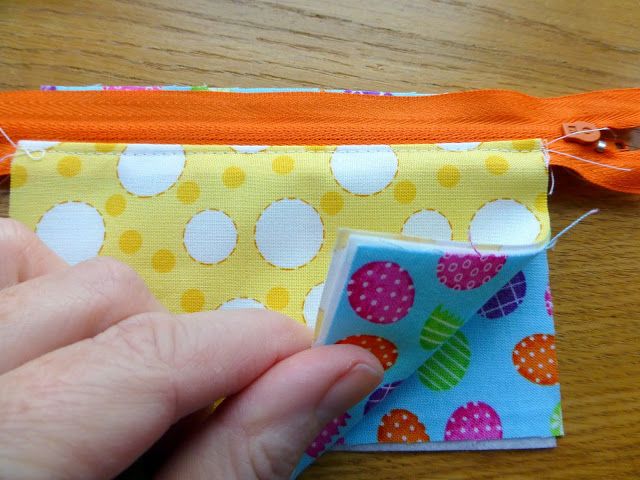
Place the second fabric scrap on top, right side down—pin all three layers together so nothing shifts while sewing.
Illustration 6
Step 7
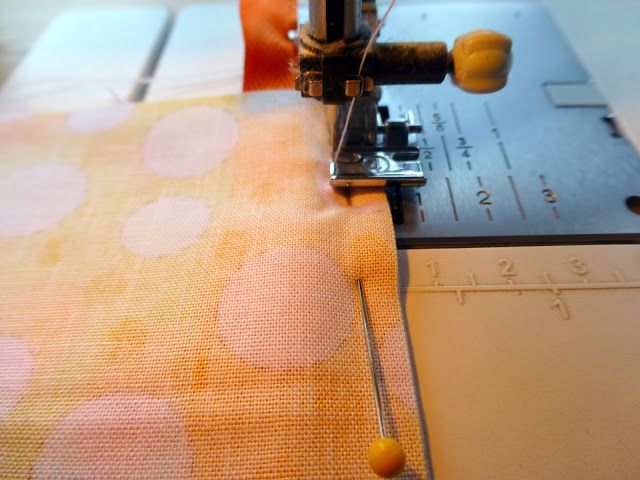
Stitch the layers together.
Illustration 8
Step 9
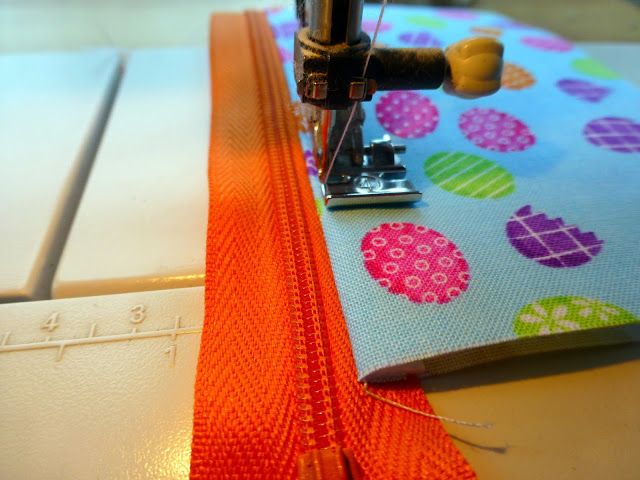
Fold back the edge and topstitch along the outside.
Illustration 10
Step 11
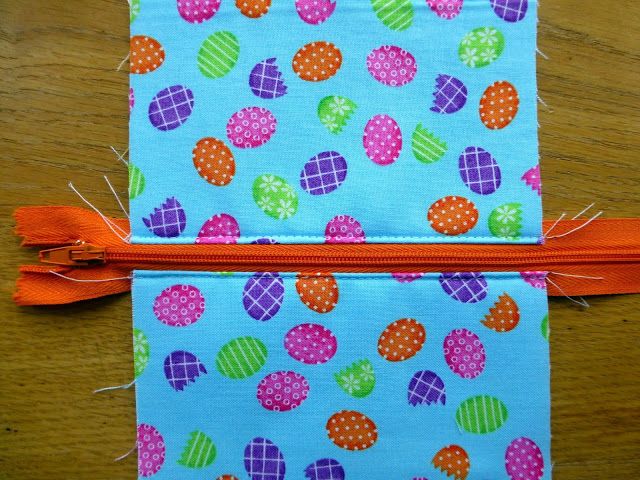
Repeat the same steps with the other side of the zipper 👍
Illustration 12
Step 13
And you get a piece like this (this is the right side view).
Illustration 14
Step 15
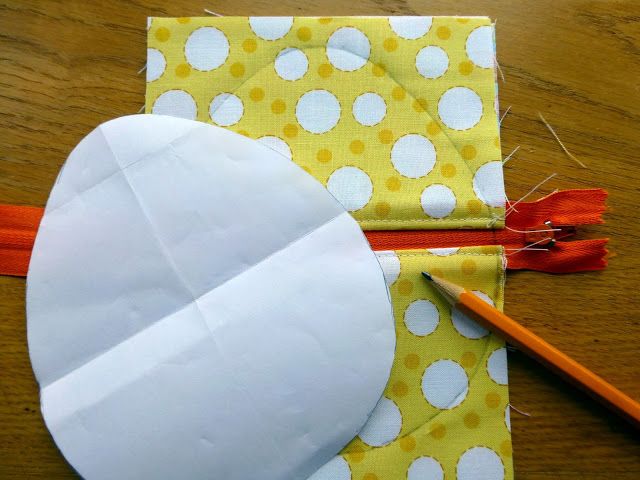
Turn the piece wrong side up and trace the egg outline/pattern using a pre-cut template.
Illustration 16
Step 17
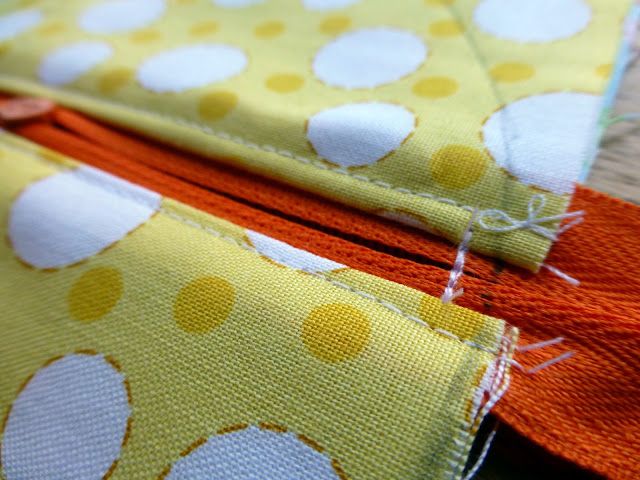
You can cut out the piece! The only thing you need to do first is secure the zipper with tacking stitches.
Illustration 18
Step 19
Here is what it looks like after cutting—view from the right side.
Illustration 20
Step 21
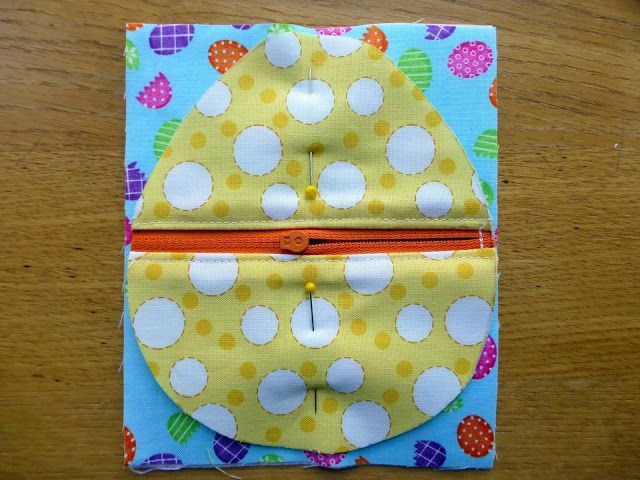
Now it's time to make the back for our egg :sneaky: Fold the fabric in half with wrong sides together, place the piece on top (right side down), and pin the layers together.
Illustration 22
Step 23
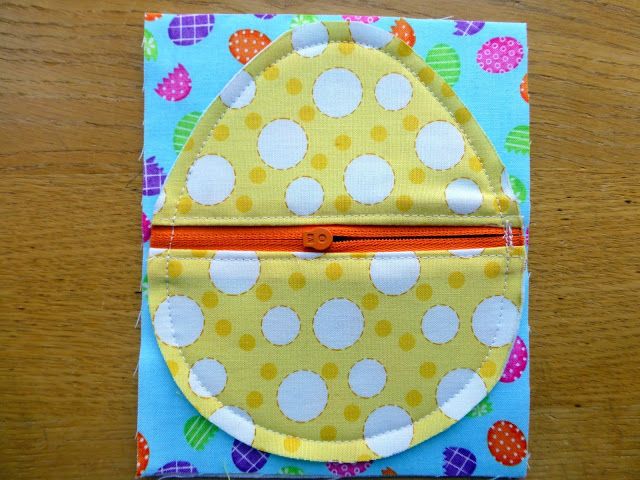
To keep the zipper pull out of the way, open it about halfway. Now you can stitch along the drawn outline.
Illustration 24
Step 25
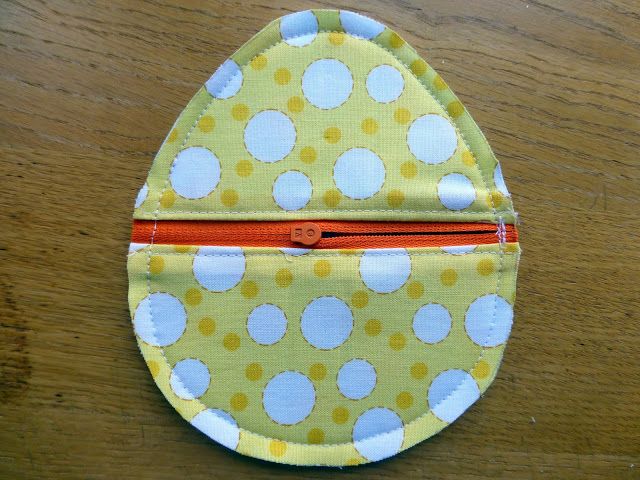
Trim the excess fabric, leaving a seam allowance of about 0.5 cm.
Illustration 26
Step 27
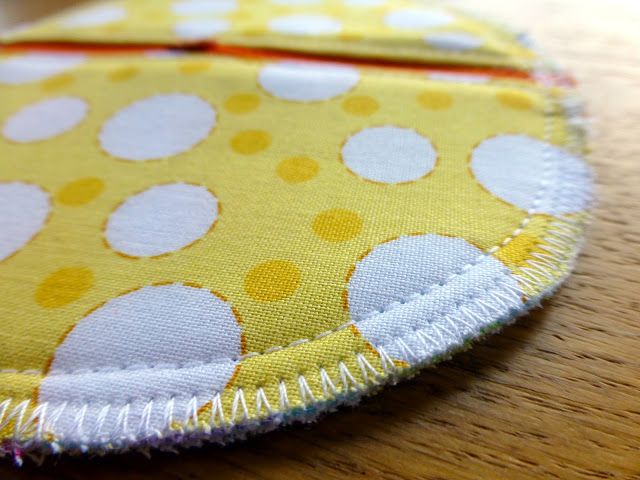
Finish the raw edge—it looks neat and won't fray 😎
Illustration 28
Step 29
Turn it right side out and give our wonderful little pouch a good press 😍
Illustration 30
Step 31
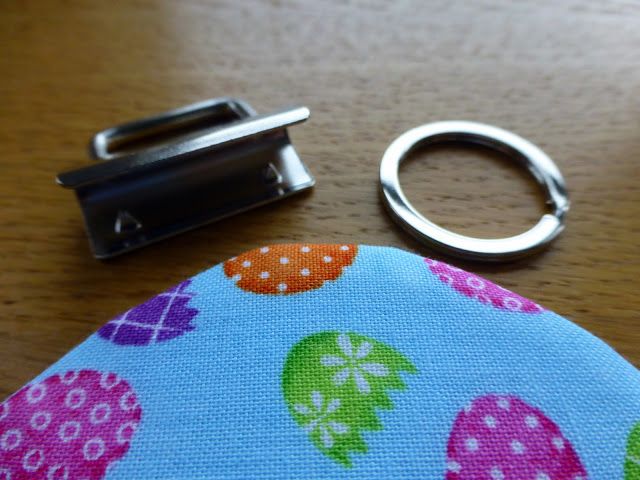
If you like, you can add a swivel clasp, keychain charm, or brooch. Let your imagination guide you here ))
Illustration 32
Step 33
Happy upcoming Easter, everyone! It's almost here 🥰🥰🥰
Special thanks to judith-justjude.blogspot.com for the wonderful idea!

 BeginnerFree