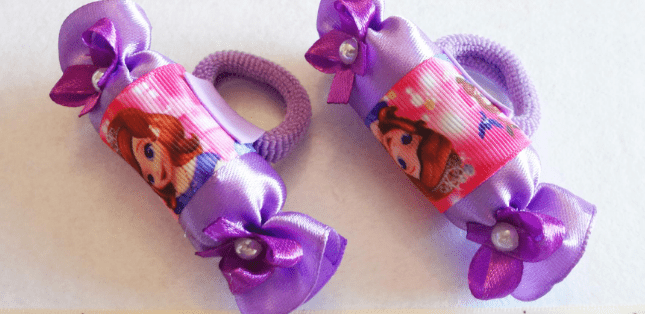
Kanzashi can be labor-intensive, but make charming hair ties for girls with minimal effort. Combine satin and grosgrain ribbons, filling, bows, beads, elastic, and foamiran.
BeginnerFree
Translated
Beginner Kanzashi: Original Hair Ties for Girls
Kanzashi can be labor-intensive, but make charming hair ties for girls with minimal effort. Combine satin and grosgrain ribbons, filling, bows, beads, elastic, and foamiran.
Main Steps
Step 1
Kanzashi is a very labor-intensive technique for making accessories and jewelry. But there is a small secret for creating charming fairy-tale hair ties for little girls with minimal effort. The only challenge is arranging and joining all the pieces correctly and finishing their edges.
Step 2
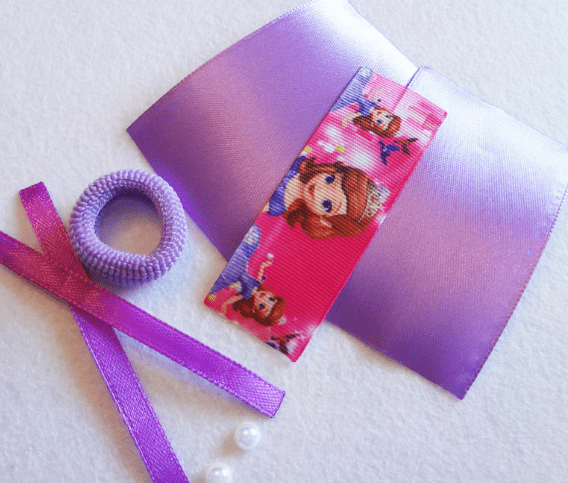
To make these hair ties, prepare: • 5 cm and 0.6 cm-wide satin ribbon, 4 pieces of each at 10 cm long; • grosgrain ribbon with a design you like, 25 mm wide, 2 pieces at 9 cm long; • decorative stones or beads; • hair elastics matching the satin ribbons; • a small piece of foamiran in the same shade as the satin ribbons; • soft stuffing that will hold the shape; • needle, thread, and scissors; • hot-glue gun; • lighter and tweezers.
Finish the edges of all cut ribbons. Use a lighter, or a candle in a pinch, to carefully seal the ribbon edges. Work quickly and carefully so you do not damage the delicate satin.
Step 3
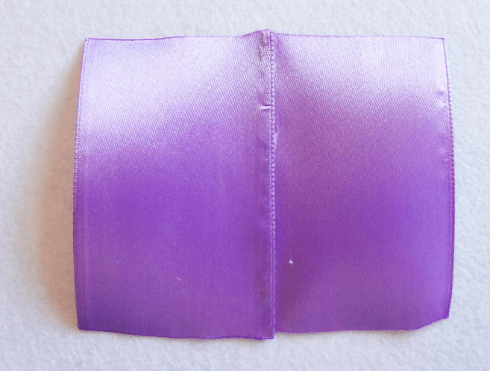
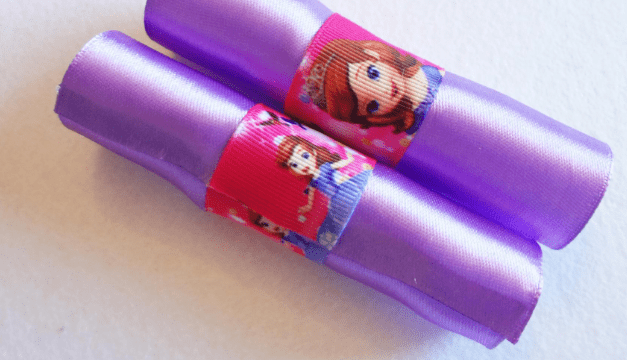
Fold the wide satin ribbons together along their wide edges and secure the edges with hot glue. You can try making this decoration from fabric; in that case, simply cut a 10 × 10 cm square. However, you will then need to mark where the grosgrain ribbon will attach.
Step 4
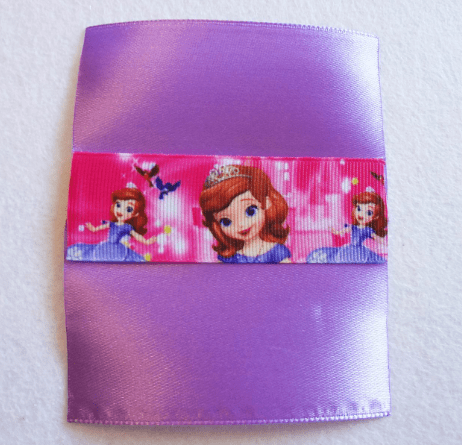
Glue the grosgrain ribbon along the improvised seam line.
Step 5
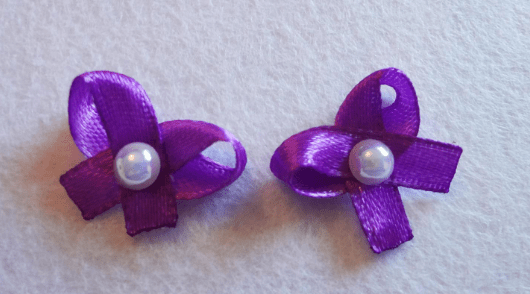
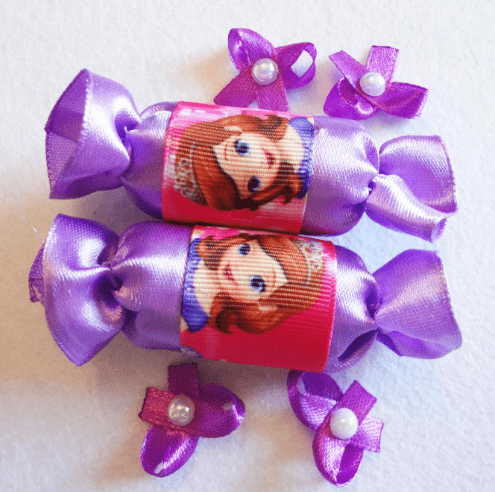
Make small bows from the narrow satin ribbons. Form loops and press the middle of each loop to create a bow.
Step 6
Glue a stone or bead into the center of the bow, which will hide any irregularities or defects.
Step 7
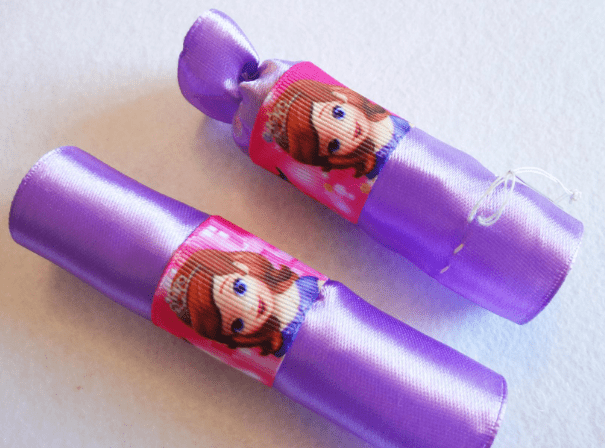
Roll the wide ribbons into cylindrical tubes after placing soft stuffing inside. The stuffing should stop about 1–1.5 cm short of each tube end. Glue the edges.
Step 8
Use a needle and thread to stitch the ribbon at its free ends. Make small running stitches around the ribbon circumference, then pull them tight to create pretty candy-wrapper tails.
Step 9
Step 10
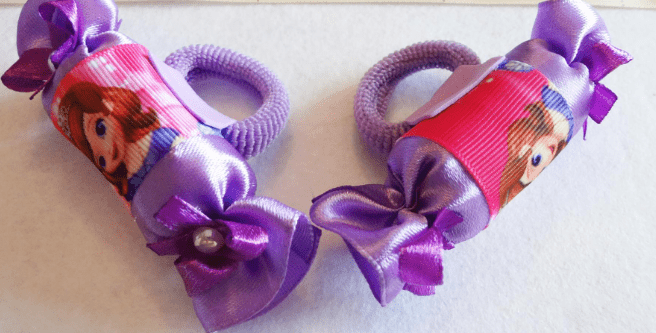
Glue the elastic to the back of the blank where the ribbons join. Cut a small foamiran strip and glue it to the blank, threading it through the elastic opening. This hides imperfections and makes the construction stronger.
 BeginnerFree