Beautiful Pincushion: A March 8 Gift for a Seamstress
The idea to sew a beautiful pincushion came from my daughter, who really loves her crafts teacher. After thinking it over, we decided on a small keepsake that could be hand-sewn and decorated in an original way. If...
BeginnerFree
Translated
Directions
Step 1
The idea to sew a beautiful pincushion came from my daughter, who really loves her crafts teacher. After thinking it over, we decided on a small keepsake that could be hand-sewn and decorated in an original way. If you also want to make a lovely gift for a friend or a mom who loves sewing and embroidery, I recommend giving a pincushion. A piece like this is sure to come in handy and will be a sweet reminder of your love and care.
Illustration 2
Step 3
Making this pincushion will appeal to anyone who enjoys crafting and crazy quilting in particular. This wrist or tabletop accessory can be pieced together from tiny scraps of pretty fabric (velvet, velour, silk, and even bits of fur) and then embellished with beads and decorative stitches. There are countless variations, so I'm sharing the core idea, which I hope you'll find useful.
Sewing the Pincushion
Option 1
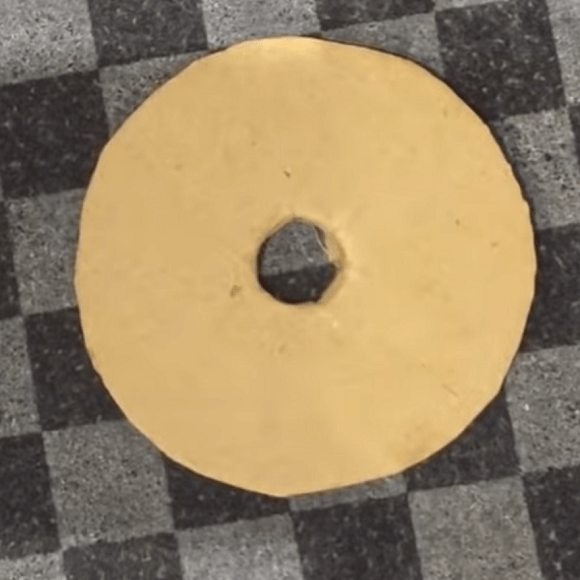
First, you need to decide on the size. If you want a wrist pincushion, measure your wrist; if you prefer a tabletop pincushion, use an old CD to make a template. Cut 2 circles of the required size from heavy cardboard. Make a hole about 1 cm in diameter in the center of one of them.
Illustration 4
Step 5
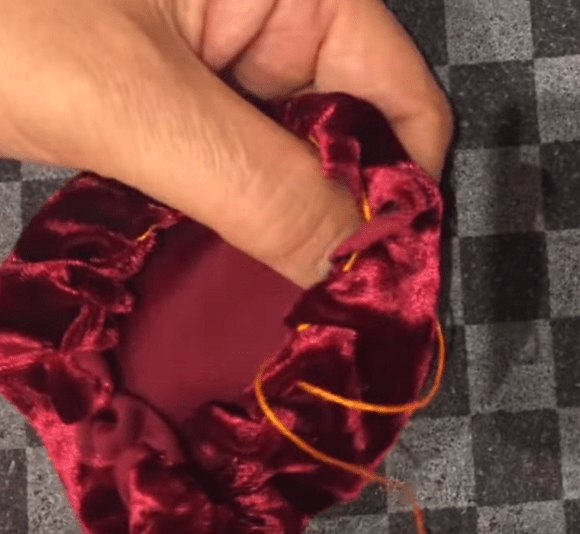
On the wrong side of the fabric chosen for the cushion, trace the template with the hole, adding a seam allowance of at least 2 cm. Work an overcast stitch (using wide stitches) around the edge of the piece and gently gather it.
Illustration 6
Step 7
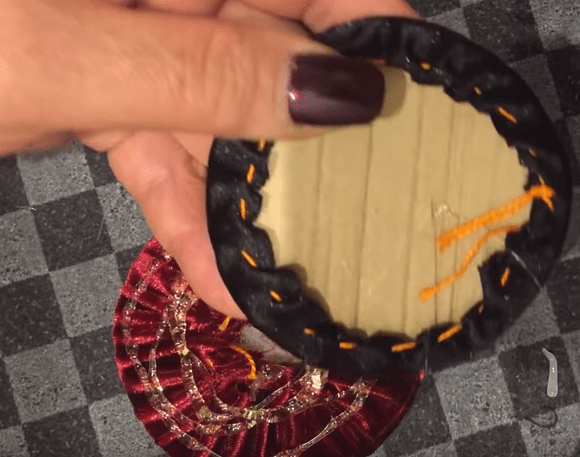
Do the same with the second cardboard circle, but choose a fabric that will be used for the base.
Illustration 8
Step 9
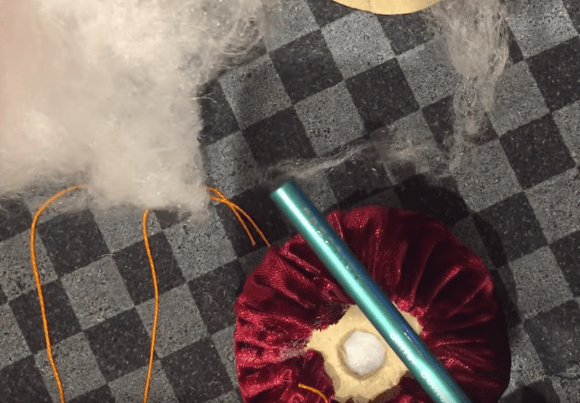
Lightly fill the pincushion piece with polyester fiberfill. You don't need to use much filling. Insert the cardboard circle with the hole into the cushion and pull the thread tight. Now, firmly stuff the cushion with fiberfill through the opening.
Illustration 10
Step 11
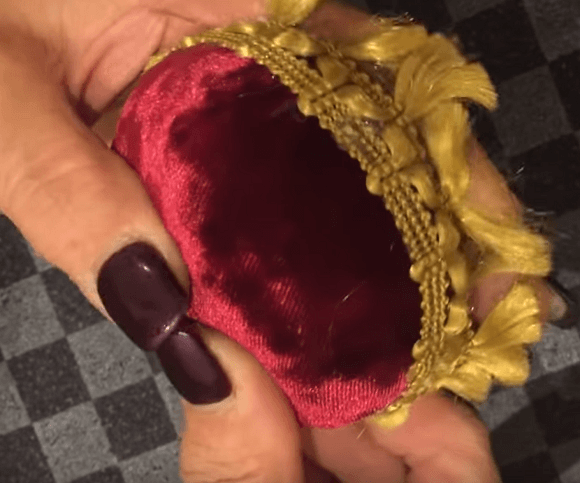
Apply hot glue to the back of the pincushion and glue on the base. Along the seam line, use the same glue to attach pretty trim or a piece of delicate lace.
Illustration 12
Step 13
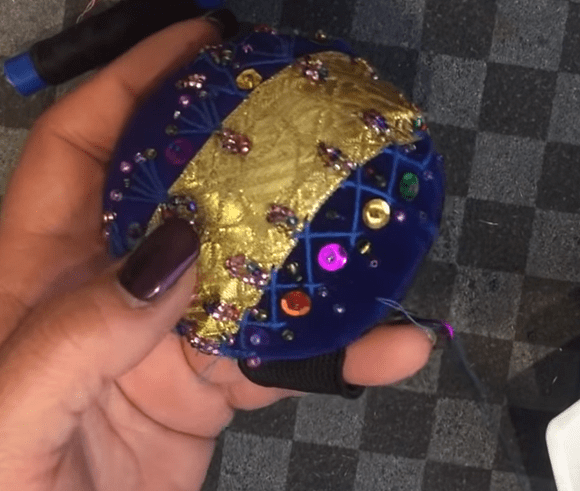
You have to admit, it looks truly royal! Option 2 This pincushion idea is perfect for anyone who pieces crazy-quilt blocks. Use art fabric pieced from your prettiest scraps. Trace the template onto it and repeat all the steps. Embellish the finished cushion with decorative stitches, beads, and rhinestones. It looks truly lavish!
Illustration 14
Step 15
If you want to wear the pincushion on your wrist—which is very convenient—secure an elastic band (measuring the required length beforehand) between the base and the cushion. You can also make a version of the pincushion that attaches to the body of your sewing machine, which crafters will also find very handy.

 BeginnerFree