A tutorial for a beaded lucky clover brooch: trace a clover template onto felt, decorate two petals with shibori ribbon, embroider a rivoli crystal centerpiece with beads, cover the remaining petals with seed beads and bugle beads, then back the piece with leather and finish the edge with a whipstitch.
Beginner3 hrFree
Translated
Things you will learn
Make this brooch and you'll end up with more than jewelry — it's a lucky charm; you'll need a scrap of green felt, seed beads and bugle beads, shibori ribbon, sturdy thread, a scrap of leather, a ready-made pin back, "Moment Crystal" glue, a 14 mm rivoli crystal, and a small embroidery hoop.
Draw or trace a clover-leaf template, mark its outline on the felt, and hoop the felt before you start any beadwork.
Decorate two of the petals with shibori ribbon, secured with neat stitches and a beaded center, then edge-stitch the whole leaf with beads using a backstitch.
Embroider the rivoli crystal with beads separately, using about 36 beads closed into a ring plus a couple of extra rows in a different bead size, then sew it onto a petal through its bottom row of beads.
Cover the rest of the petal surface freely with seed beads and bugle beads, cut out the finished leaf, back it with leather and a pin back secured with fabric glue, then finish the edge with an American whipstitch, leaving empty loops between the petals.
What you'll get
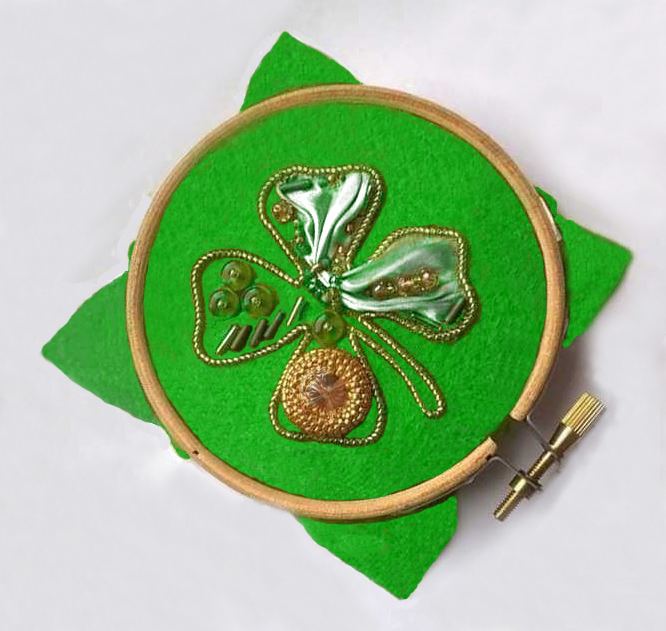
You'll get a hand-beaded four-leaf clover brooch with a rivoli crystal centerpiece and shibori ribbon accents — a lucky charm as well as a finished piece of jewelry.
Materials and tools
Materials
A scrap of green felt
Seed beads and bugle beads
Shibori ribbon, matching the felt
Sturdy thread, matching the felt and ribbon
A scrap of leather, for the backing
A ready-made pin back
"Moment Crystal" glue
A 14 mm rivoli crystal
A small-diameter embroidery hoop
Tools
Beading needle, for stitching the beads and finishing the edge
Scissors, for cutting the felt, ribbon, and leather
Trace the template and decorate the first two petals
Start by preparing the felt and decorating two petals with shibori ribbon.
Trace the template and hoop the felt
Draw the clover leaf yourself, or trace it from a ready-made picture, and cut out a template. Use it to draw the outline of the future brooch onto the felt. Place the felt in a hoop.
The template marked on the felt
Decorate two petals with shibori ribbon
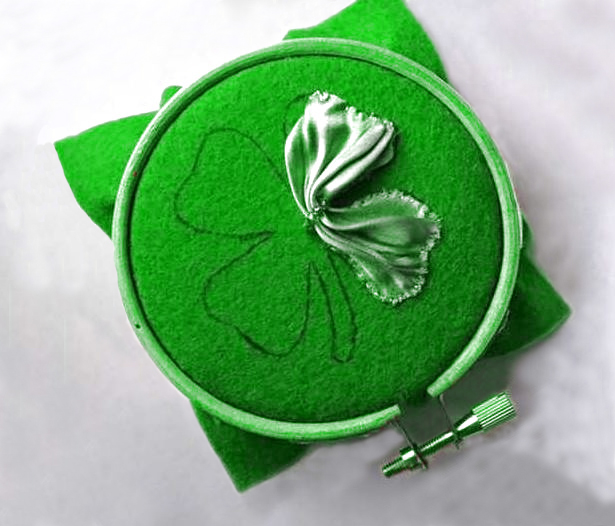
Decorate two of the petals with shibori ribbon. Secure it along the edges with neat stitches. Anchor the center with thread and a few beads.
Sewing the shibori ribbon onto a petal
Edge-stitch the leaf with beads
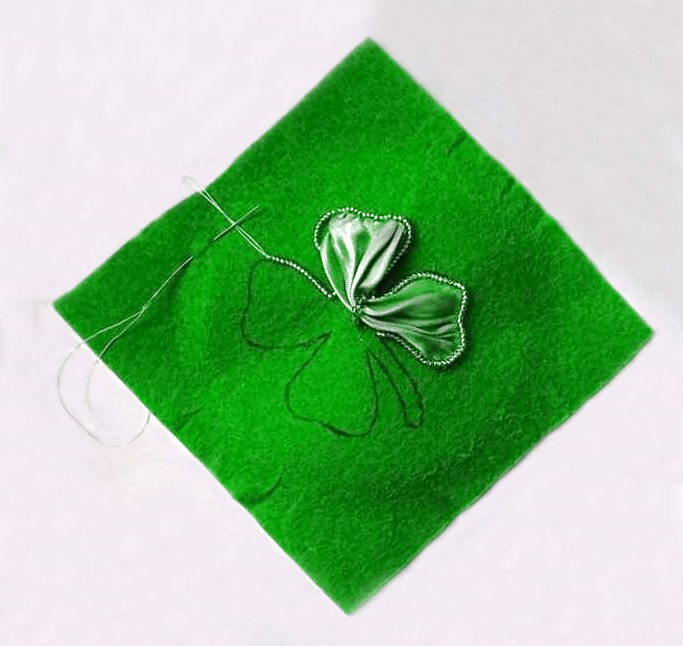
Next, stitch beads along the edge of the leaf, working a backstitch. For convenience, take the piece out of the hoop (if you find it easier to work in the hoop, leave it in).
The ribbon secured on the first petalPetals decorated with ribbon before beading
Embroider the rivoli crystal with beads
The next stage is one of the trickiest — beading around the rivoli crystal.
Bead around the rivoli crystal
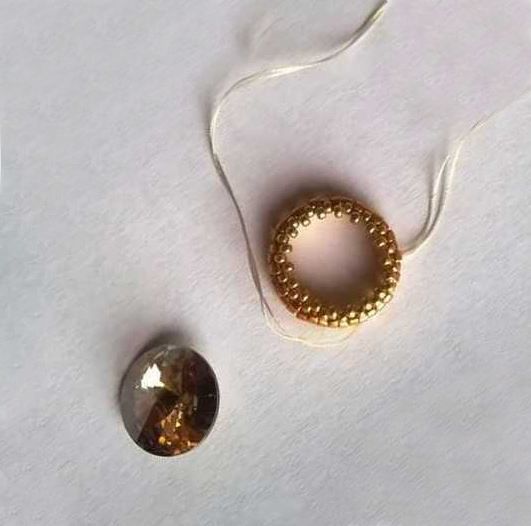
Now bead around the rivoli. You'll need about 36 beads. Close the thread into a ring, alternating beads every other one. This forms a beaded chain. Then work a few more rows, using a different bead size for them. Secure the rivoli and pull the thread tight.
Beading the rivoli crystalBeads stitched around the center crystal
Sew the rivoli onto the petal
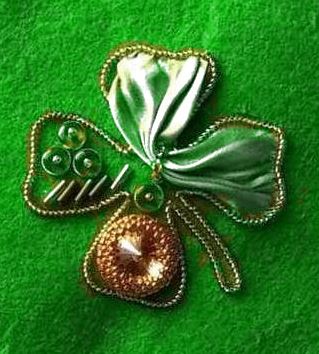
Place the beaded rivoli onto the petal and stitch it on through the bottom row of beads.
The brooch with ribbon, beads, and the crystal
Cover the petals with beads
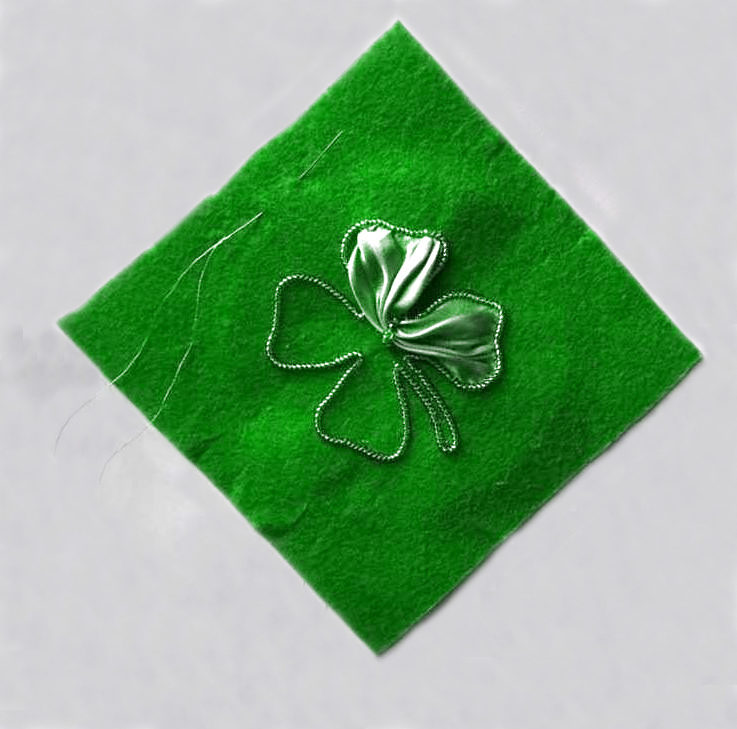
Fill in the rest of the petal surface with seed beads and bugle beads.
Put the felt back in the hoop
From here on it's easier to work in the hoop. So if you were embroidering in your hands, put the felt back in the hoop.
Cover the petals with seed beads and bugle beads
Now cover the petals with seed beads and bugle beads. There's no special pattern for this — just follow your own original composition.
Fastening the center crystal
Assemble the leather backing
Cut out the leaf and prepare the leather backing for the pin.
Cut out the embroidered leaf
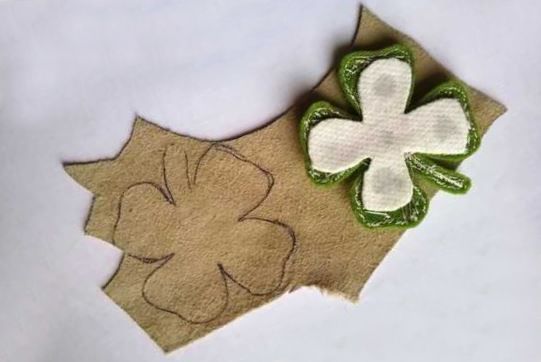
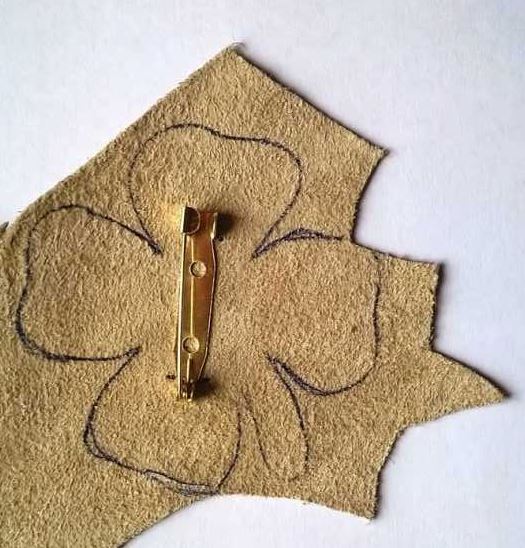
Cut out the finished, embroidered leaf. Mark the leaf's outline on a piece of leather.
Templates and a brooch shape before cutting
Mark the pin placement
Mark the spot where you'll attach the pin back.
The back of the embroidery after securing the threads
Glue the leather backing in place
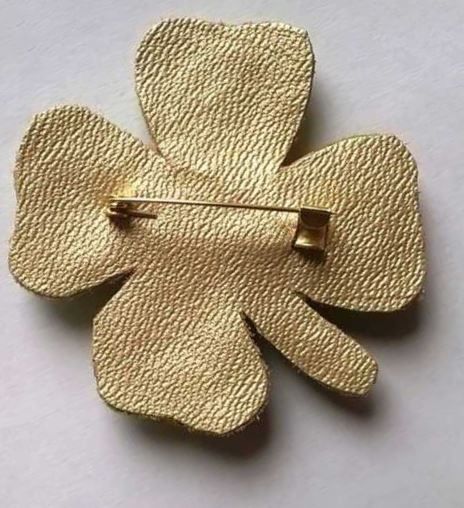
Insert the pin back, secure it with a few drops of glue, and cut out the leather base.
The reverse side with the prepared backing
Finish the edge of the brooch
Finish the brooch by working the edge.
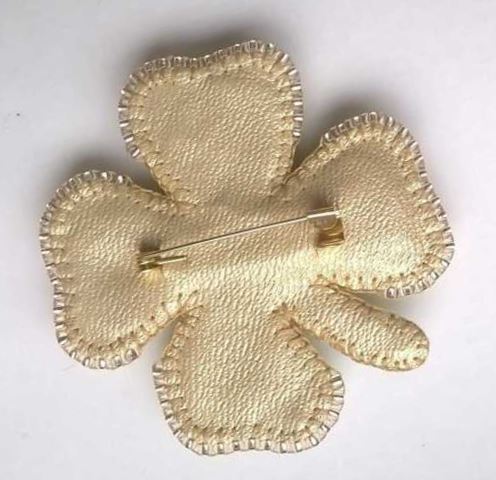
Finish the edge with an American whipstitch
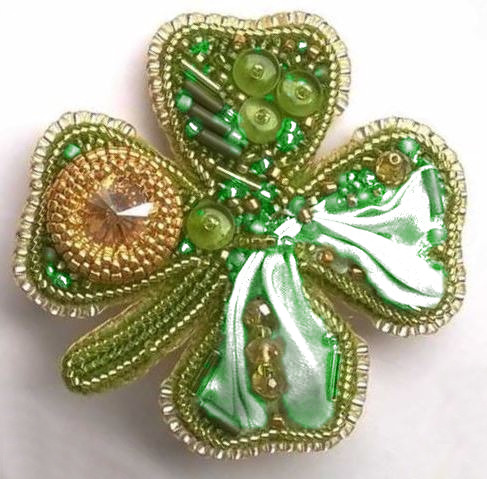
Finish the brooch's edge using an American whipstitch. Leave empty loops without beads between the sides of the petals. Your brooch is ready!
The brooch after attaching the backingThe finished lucky clover brooch
Finish and variations
Finish
Your lucky clover brooch is ready
The brooch is done! Wear it as a lucky charm, or give it as a one-of-a-kind handmade gift.
Variations
Use your own bead composition
There's no set pattern for covering the rest of the petals with beads — choose your own original composition and color combination.
Skip the hoop if you prefer
If it's more comfortable for you to work without a hoop, you can leave the felt out of the hoop for the later steps too.
Original take with the ribbon. I've never seen anything like it!
Yeah, it's unusual)) Shibori isn't used very actively in handmade crafts here yet. Which is a shame! I discovered this wonder for myself a while back. In case anyone's not familiar with it, let me explain. It's a Japanese silk ribbon, cut on the bias. You can shape it into any form, and it won't crease. At the same time, its edges don't fray. It's dyed only by hand, so each one turns out unique. All in all, it's a total delight for creative ideas!

 Beginner3 hrFree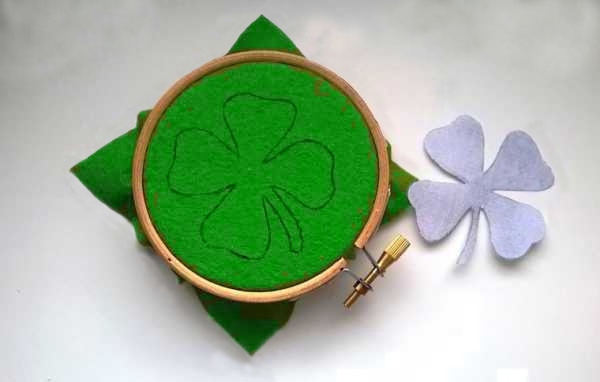


Such an original take with the ribbon. I've never seen anything like it!