
Knitting with Natural Fur Trim
Winter items like mittens, scarves, and hats gain a sophisticated look when trimmed with natural fur. For such decor, you can not only use store-bought fur tape but also make it yourself from old items. The only requirement is to check the quality of the leather side (it should not tear) and the fur itself. If the pieces are fragile, they are not suitable for knitting; it is better to use them for appliqués or other types of crafts.
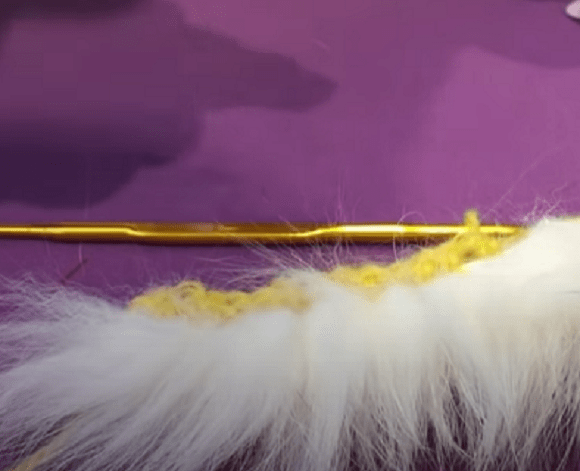
What you need for the project:
- Fur scraps, for example from an old hat.
- Knitting yarn.
- Crochet hook.
Making fur tape
Turn the fur scraps leather-side up and carefully cut them by hand into strips about 1 cm wide.
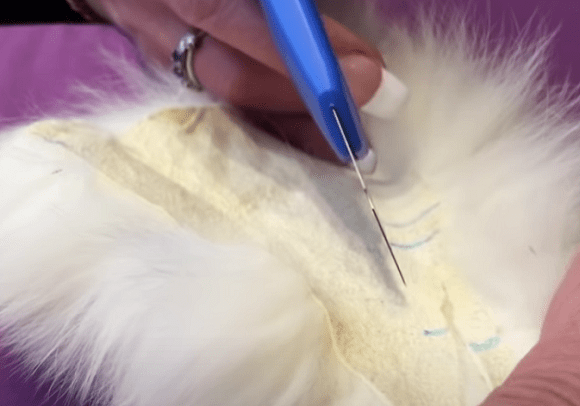
Sew them together with a needle and thread into one long strip. You can also attach pieces as you work, whichever is more convenient for you.
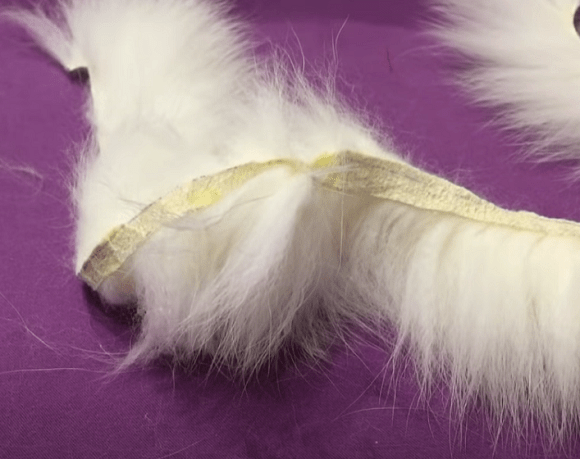
Knitting with fur
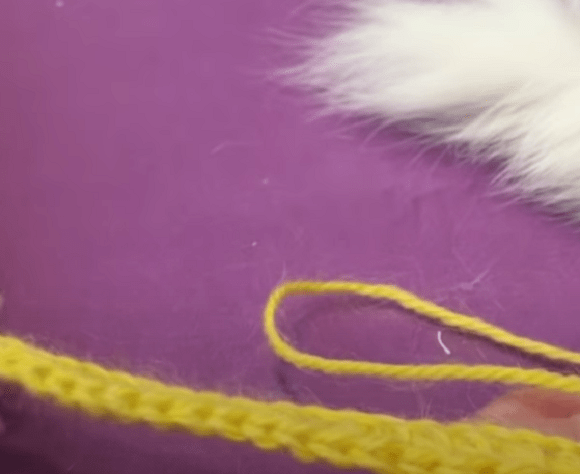
Chain the required number of stitches and crochet 1 row of double crochets. If you are trimming a scarf, you can edge it with single crochets using yarn that matches the item, and then add the fur trim.
Next, knit a row with the fur. To do this, position the strip BEHIND the knitting. Yarn over, insert the hook into the stitch of the previous row, and pull through, catching the base of the fur tape. You can make working with long-haired fur easier by lightly misting it with water. Continue knitting the entire row with double crochets in this manner.
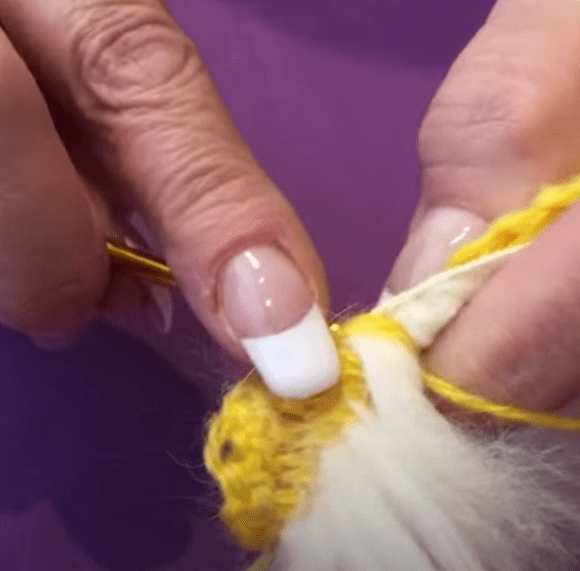
Knit the trim by alternating a row without fur and a row with fur until you reach the desired width.
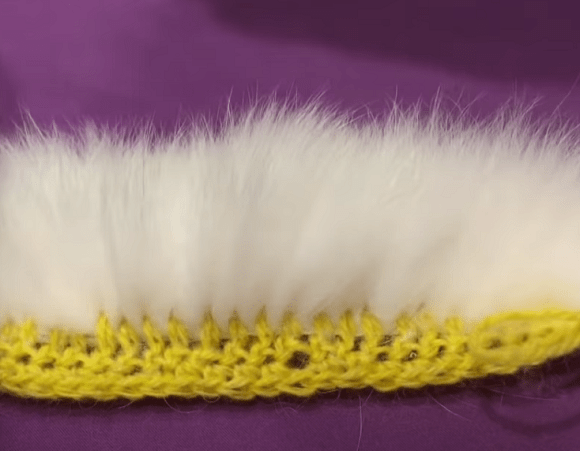
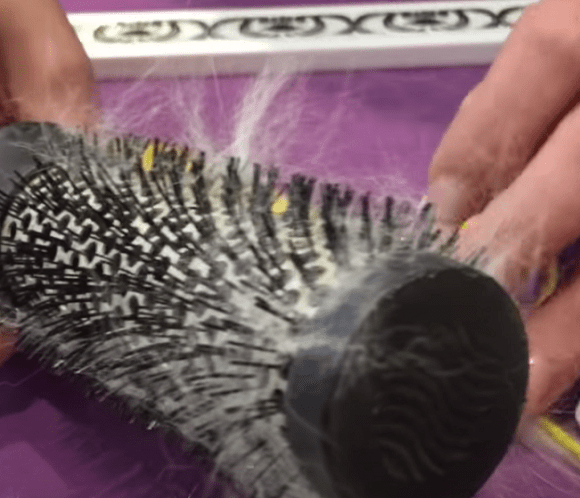
Be sure to brush the finished trim with a hairbrush to remove any loose fur.
This method can also be used for circular knitting, for example, for a hat brim or mitten cuffs.


@kisLinka, so many ideas! You could even make a clutch bag like that. The fur usage would be minimal, and the piece would definitely be one of a kind.